Skip to content
Material Design 3
Main Navigation
v3
v2
v1

English

简体中文
繁體中文
Español
Français
Русский
Português – Brasil
Deutsch
日本語
한국어
Italiano
Polski
Türkçe
čeština
magyar

English

简体中文
繁體中文
Español
Français
Русский
Português – Brasil
Deutsch
日本語
한국어
Italiano
Polski
Türkçe
čeština
magyar

Appearance

Sidebar Navigation

Foundations

Accessibility

Overview: Principles

Overview: Assistive technology

Designing: Overview

Designing: Color contrast

Designing: Structure

Designing: Flow

Designing: Elements

Writing and text: Best practices

Writing and text: Text truncation

Writing and text: Text resizing

Building for all: User needs

Building for all: Co-design

Content design

Overview

Alt text

Global writing: Overview

Global writing: Word choice

Notifications

Style guide: UX writing best practices

Style guide: Word choice

Style guide: Grammar and punctuation

Customizing Material

Devices

Watches: Overview

Watches: Foundations

Watches: Styles

Watches: Layout

XR

Design: Overview

Design: Interaction

Design: Layout

Design: Accessibility

Components: Overview

Components: App bars

Components: Dialogs

Components: Nav bar

Components: Nav rail

Components: Toolbars

Design tokens: Overview

Design tokens: How to use tokens

Interaction

Gestures

Inputs

Selection

States: Overview

States: State layers

States: Applying states

Layout

Overview: Overview

Overview: Parts of layout

Overview: Adaptive design

Scaffold: Overview

Scaffold: Bars

Scaffold: Rails

Scaffold: Panes

Grids & spacing: Overview

Grids & spacing: Grids

Grids & spacing: Spacing

Grids & spacing: Density

Breakpoints: Overview

Breakpoints: Compact

Breakpoints: Medium

Breakpoints: Expanded

Breakpoints: Large & extra-large

Bidirectionality & RTL

Canonical examples: Overview

Canonical examples: Feed

Canonical examples: List-detail

Canonical examples: Supporting pane

Usability: Overview

Usability: Applying M3 Expressive

Material A-Z

Styles

Color

Color system: Overview

Color system: How the system works

Color roles

Color schemes

Choosing a scheme

Static: Baseline

Static: Custom brand

Dynamic: Choosing a source

Dynamic: User-generated source

Dynamic: Content-based source

Advanced: Overview

Advanced: Apply colors

Advanced: Define new colors

Advanced: Adjust existing colors

Color resources

Elevation: Overview

Elevation: Applying elevation

Elevation: Tokens

Icons: Overview

Icons: Designing icons

Icons: Applying icons

Motion

Motion physics system: How it works

Motion physics system: Specs

Easing and duration: Applying easing and duration

Easing and duration: Tokens & specs

Transitions: Transition patterns

Transitions: Applying transitions

Shape: Overview & principles

Shape: Corner radius scale

Shape: Shape morph

Spacing: Overview

Spacing: Applying spacing

Spacing: Tokens

Typography: Overview

Typography: Fonts

Typography: Type scale & tokens

Typography: Applying type

Typography: Editorial treatments

Components

App bars: Overview

App bars: Specs

App bars: Guidelines

App bars: Accessibility

Badges: Overview

Badges: Specs

Badges: Guidelines

Badges: Accessibility

Buttons

All buttons

Button groups: Overview

Button groups: Specs

Button groups: Guidelines

Button groups: Accessibility

Buttons: Overview

Buttons: Specs

Buttons: Guidelines

Buttons: Accessibility

Extended FABs: Overview

Extended FABs: Specs

Extended FABs: Guidelines

Extended FABs: Accessibility

FAB menu: Overview

FAB menu: Specs

FAB menu: Guidelines

FAB menu: Accessibility

FABs: Overview

FABs: Specs

FABs: Guidelines

FABs: Accessibility

Icon buttons: Overview

Icon buttons: Specs

Icon buttons: Guidelines

Icon buttons: Accessibility

Segmented buttons: Overview

Segmented buttons: Specs

Segmented buttons: Guidelines

Segmented buttons: Accessibility

Split button: Overview

Split button: Specs

Split button: Guidelines

Split button: Accessibility

Cards: Overview

Cards: Specs

Cards: Guidelines

Cards: Accessibility

Carousel: Overview

Carousel: Specs

Carousel: Guidelines

Carousel: Accessibility

Checkbox: Overview

Checkbox: Specs

Checkbox: Guidelines

Checkbox: Accessibility

Chips: Overview

Chips: Specs

Chips: Guidelines

Chips: Accessibility

Date & time pickers

Date pickers: Overview

Date pickers: Specs

Date pickers: Guidelines

Date pickers: Accessibility

Time pickers: Overview

Time pickers: Specs

Time pickers: Guidelines

Time pickers: Accessibility

Dialogs: Overview

Dialogs: Specs

Dialogs: Guidelines

Dialogs: Accessibility

Divider: Overview

Divider: Specs

Divider: Guidelines

Divider: Accessibility

Lists: Overview

Lists: Specs

Lists: Guidelines

Lists: Accessibility

Loading & progress

Loading indicator: Overview

Loading indicator: Specs

Loading indicator: Guidelines

Loading indicator: Accessibility

Progress indicators: Overview

Progress indicators: Specs

Progress indicators: Guidelines

Progress indicators: Accessibility

Menus: Overview

Menus: Specs

Menus: Guidelines

Menus: Accessibility

Navigation

Navigation bar: Overview

Navigation bar: Specs

Navigation bar: Guidelines

Navigation bar: Accessibility

Navigation drawer: Overview

Navigation drawer: Specs

Navigation drawer: Guidelines

Navigation drawer: Accessibility

Navigation rail: Overview

Navigation rail: Specs

Navigation rail: Guidelines

Navigation rail: Accessibility

Radio button: Overview

Radio button: Specs

Radio button: Guidelines

Radio button: Accessibility

Search: Overview

Search: Specs

Search: Guidelines

Search: Accessibility

Sheets

Bottom sheets: Overview

Bottom sheets: Specs

Bottom sheets: Guidelines

Bottom sheets: Accessibility

Side sheets: Overview

Side sheets: Specs

Side sheets: Guidelines

Side sheets: Accessibility

Sliders: Overview

Sliders: Specs

Sliders: Guidelines

Sliders: Accessibility

Snackbar: Overview

Snackbar: Specs

Snackbar: Guidelines

Snackbar: Accessibility

Switch: Overview

Switch: Specs

Switch: Guidelines

Switch: Accessibility

Tabs: Overview

Tabs: Specs

Tabs: Guidelines

Tabs: Accessibility

Text fields: Overview

Text fields: Specs

Text fields: Guidelines

Text fields: Accessibility

Toolbars: Overview

Toolbars: Specs

Toolbars: Guidelines

Toolbars: Accessibility

Tooltips: Overview

Tooltips: Specs

Tooltips: Guidelines

Tooltips: Accessibility

On this page

All buttons ​

When choosing the right button for an action, consider the level of emphasis each button type provides


There are 10 types of buttons in Material 3. ​
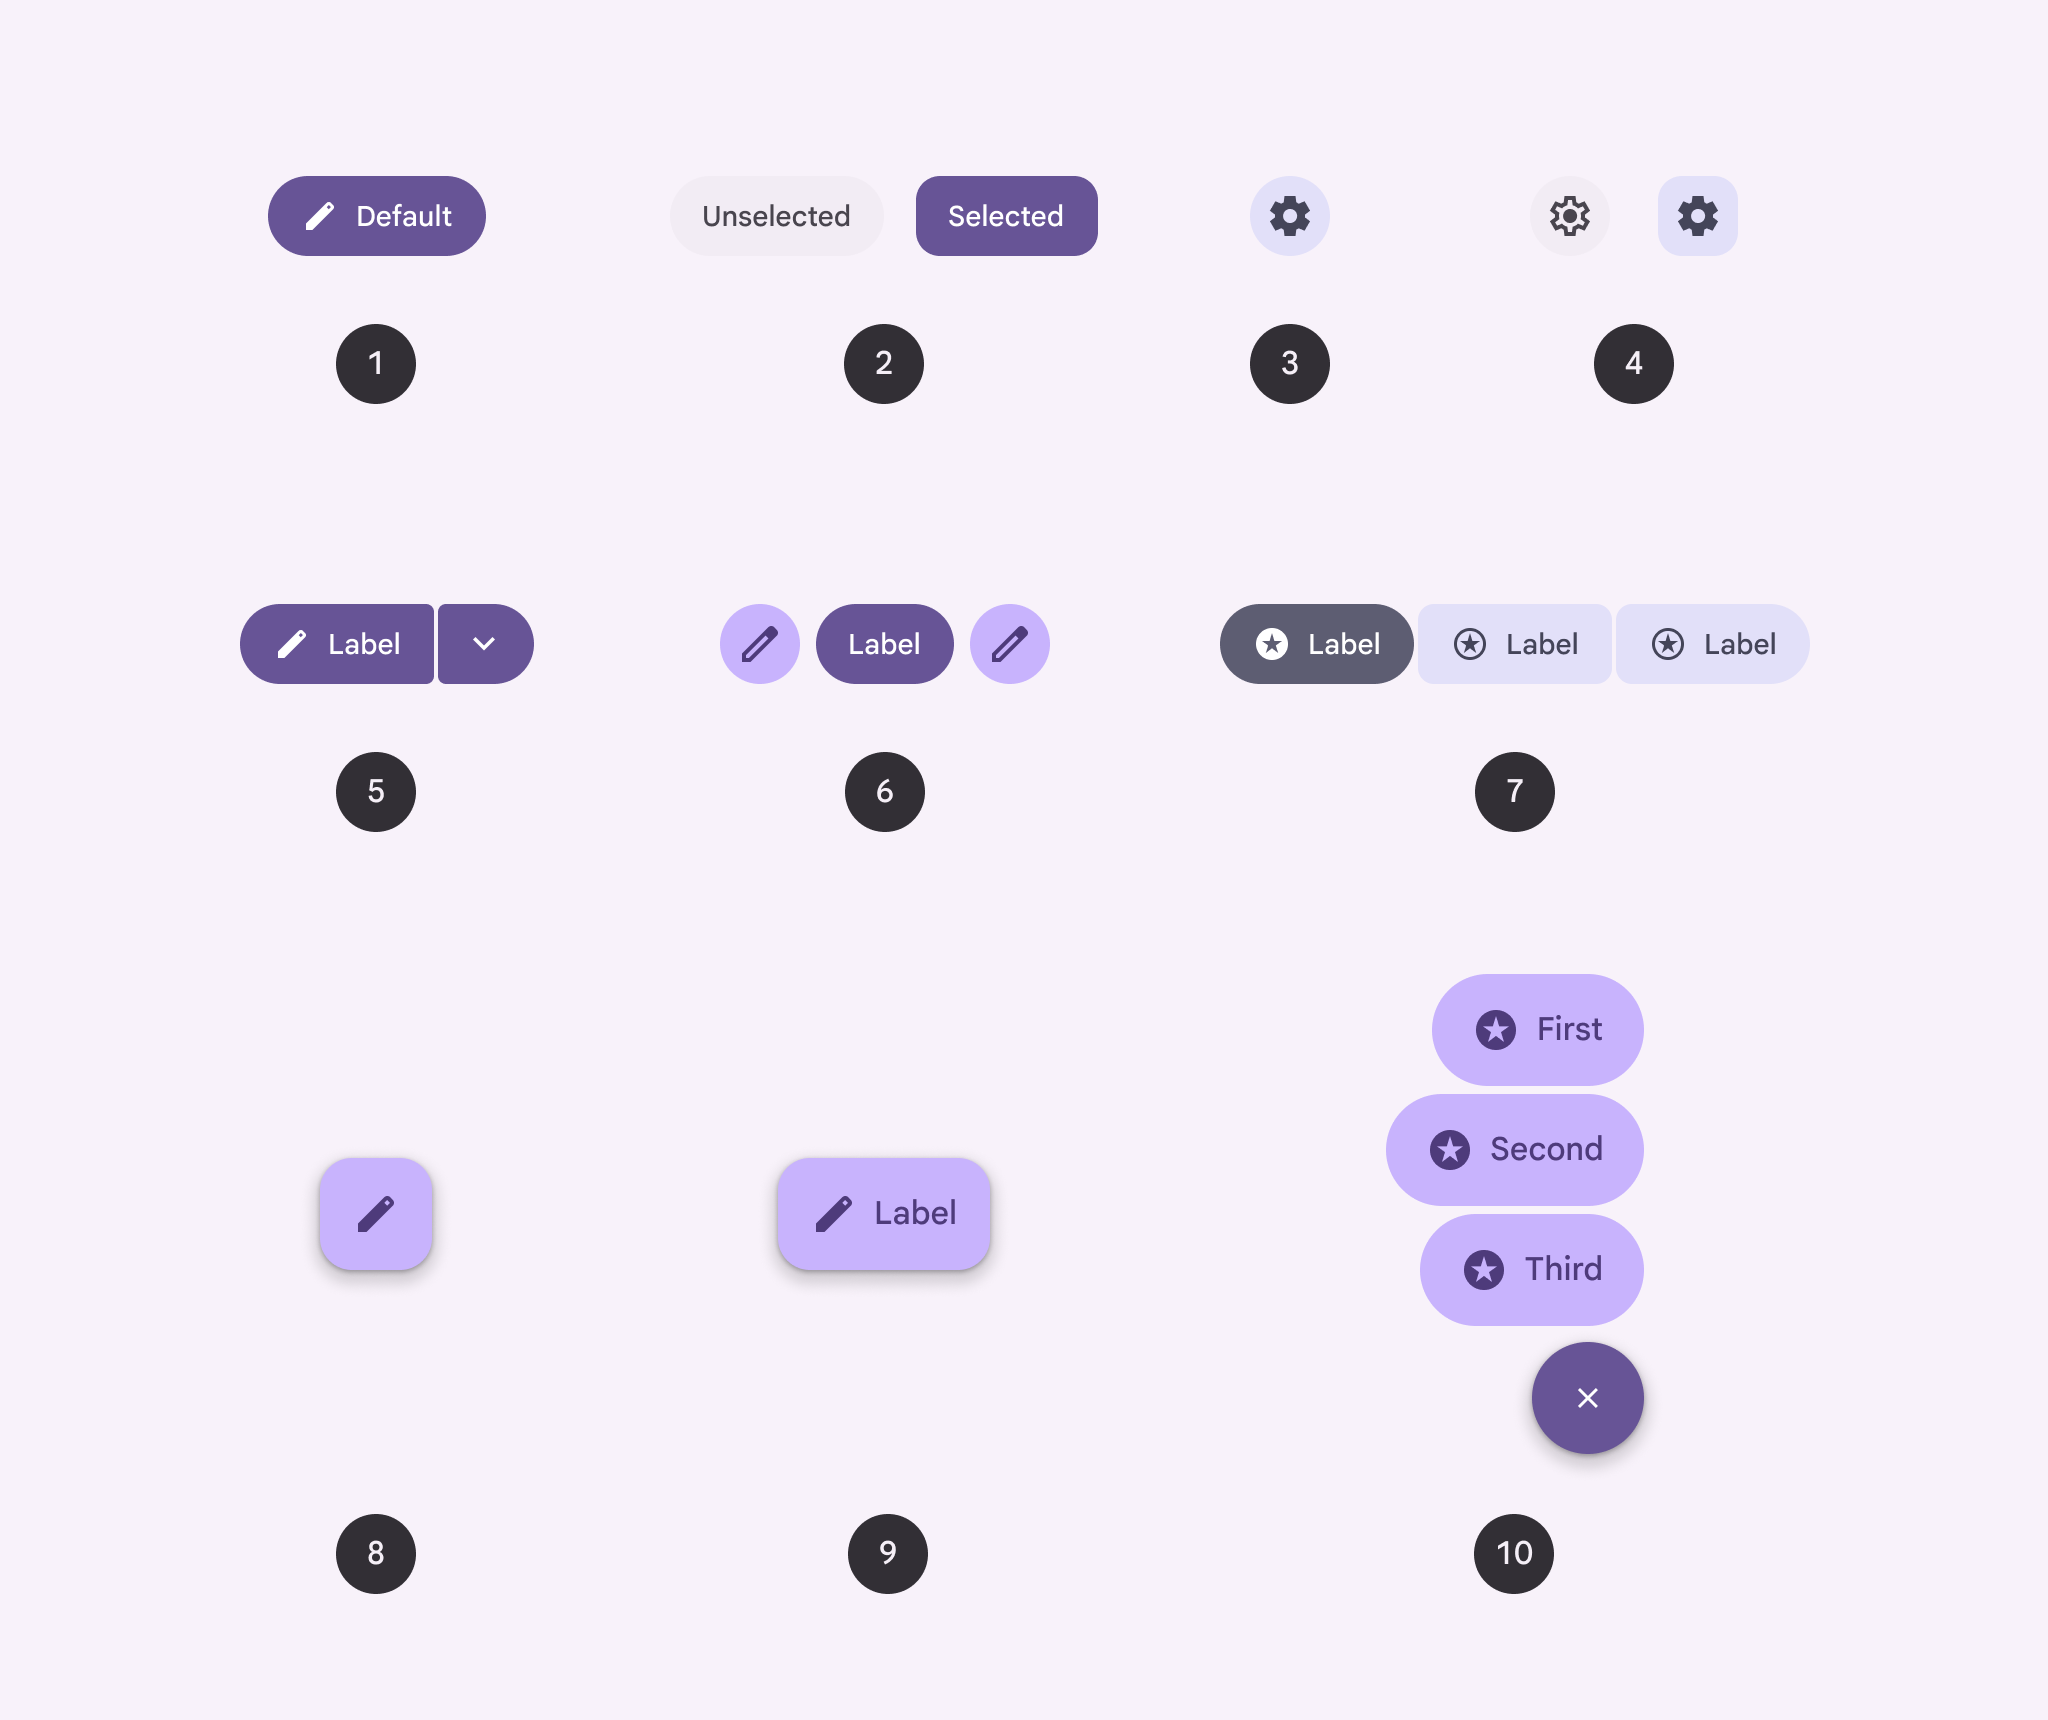
10 types of buttons.
  1. Button
  2. Toggle button
  3. Icon button
  4. Toggle icon button
  5. Split button
  6. Standard button group
  7. Connected button group
  8. Floating action button (FAB)
  9. Extended FAB
  10. FAB menu

Choosing buttons ​

Level of emphasisComponentRationaleExample actions
High emphasis: For the primary, most important, or most common action on a screenExtended FAB, FAB, and FAB menuThe FAB and extended FAB are the largest and most visually prominent buttons. They’re designed for a page’s primary action. The extended FAB is best on large screens. The FAB menu provides multiple options.Create
Compose
New thread
New file
Button (filled)The filled button’s primary color palette makes it the most prominent button after the FAB. It’s used for final or unblocking actions in a flow.Save
Confirm
Done
Split buttonThe split button’s primary color palette and menu icon are best used for key actions with multiple options.Send
Add
Create
Button groupThe standard button group uses color, motion, and shape to capture attention. Use it to show multiple key actions.Back, Pause, Next
Medium emphasis: For important actions that don’t distract users from the main taskButton (tonal)The tonal button has a secondary color palette, making it less visually prominent than a regular, filled button. It can be used for final or unblocking actions, or for supporting actions.Save
Confirm
Done
Button (elevated)The elevated button has a secondary color palette and a shadow. Only use it when a button requires visual separation from a patterned background.Reply
View all
Add to cart
Take out of trash
Button (outlined)Use an outlined button for actions that need attention but aren’t the primary action, such as “See all” or “Add to cart.” This is also the button to use for giving someone the opportunity to change their mind or escape a flow.Reply
View all
Add to cart
Take out of trash
Low emphasis: For optional or supplementary actions with the least amount of prominenceThe connected button group shows multiple related options. Use it for changing the content visible on a page.Walk, Bike, Drive
Button (text)The text button has no outline or fill. It should be used for actions not essential to the user journey.Learn more
View all
Change account
Turn on
Icon buttonThe most compact and subtle type of button, icon buttons are used for optional supplementary actions such as “Bookmark” or “Star.”Add to Favorites
Print

Hierarchy ​

One high emphasis button

Each screen should contain a single prominent button for the primary action. This high-emphasis button commands the most attention. The arrangement of on-screen elements should clearly communicate that other buttons are less important.

Other buttons

A product can show more than one button at a time in a layout. Use different color styles to create visual hierarchy and indicate the importance of each button.
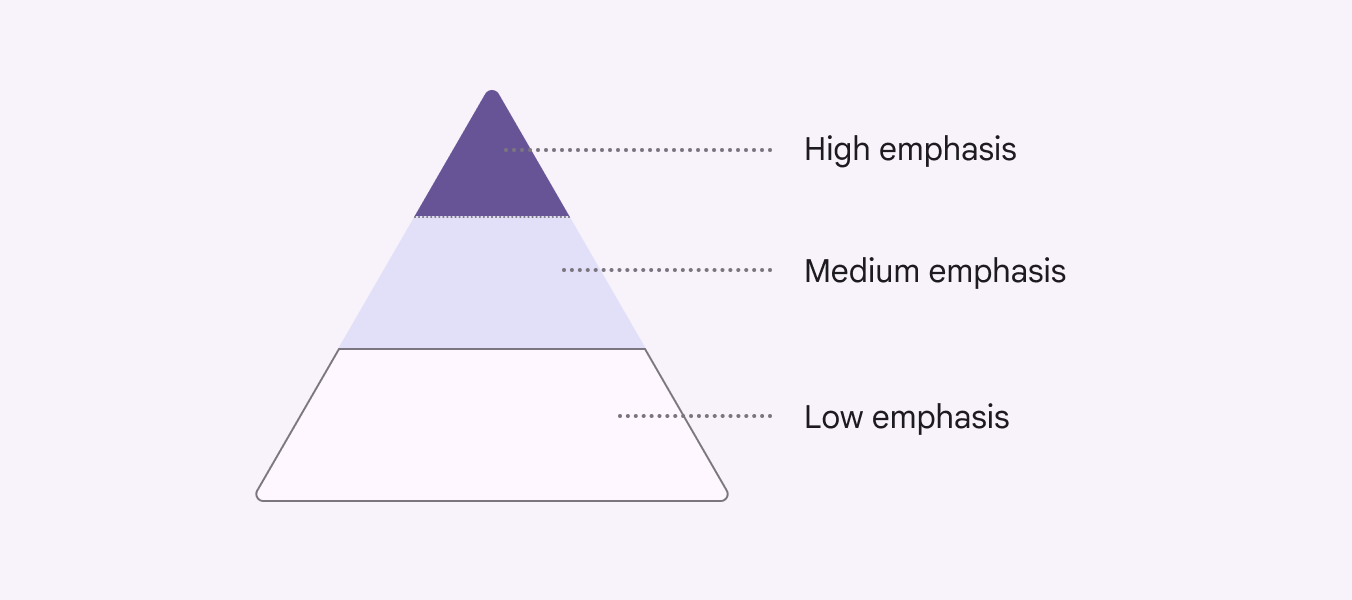
3 types of hierarchy: high emphasis, medium emphasis, and low emphasis.
A button’s level of emphasis helps determine its appearance, typography, and placement

Placement ​

Use a combination of button styles on the same screen to focus attention on a primary action, while offering alternatives.
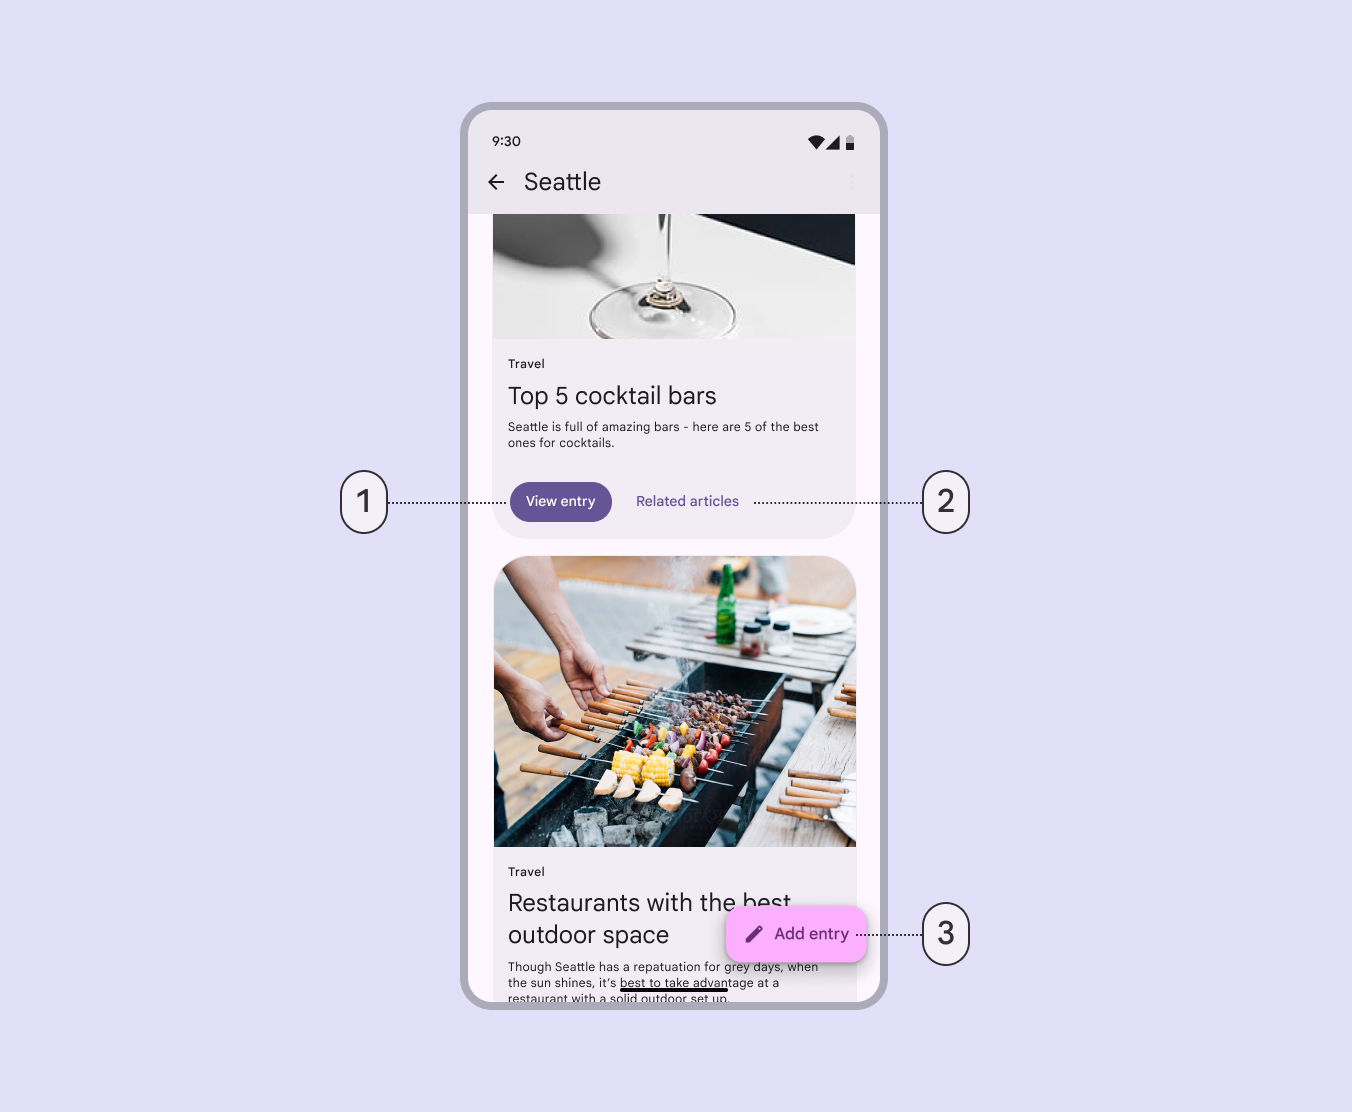
Newsfeed screen with 3 different types of buttons following the emphasis hierarchy.
  1. A filled button for a high-emphasis action
  2. A text button for a low-emphasis action
  3. An extended FAB for the highest emphasis action
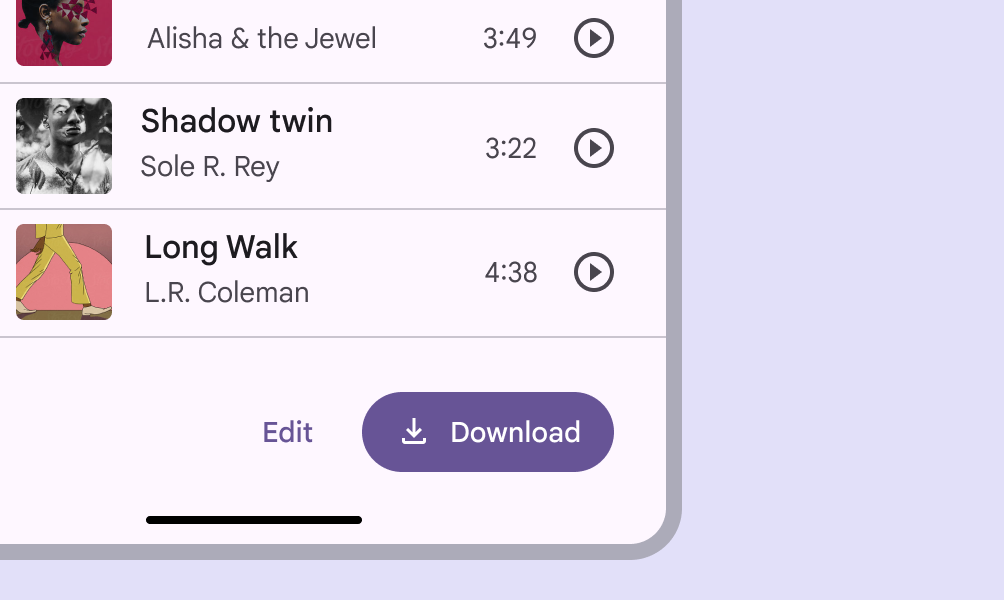
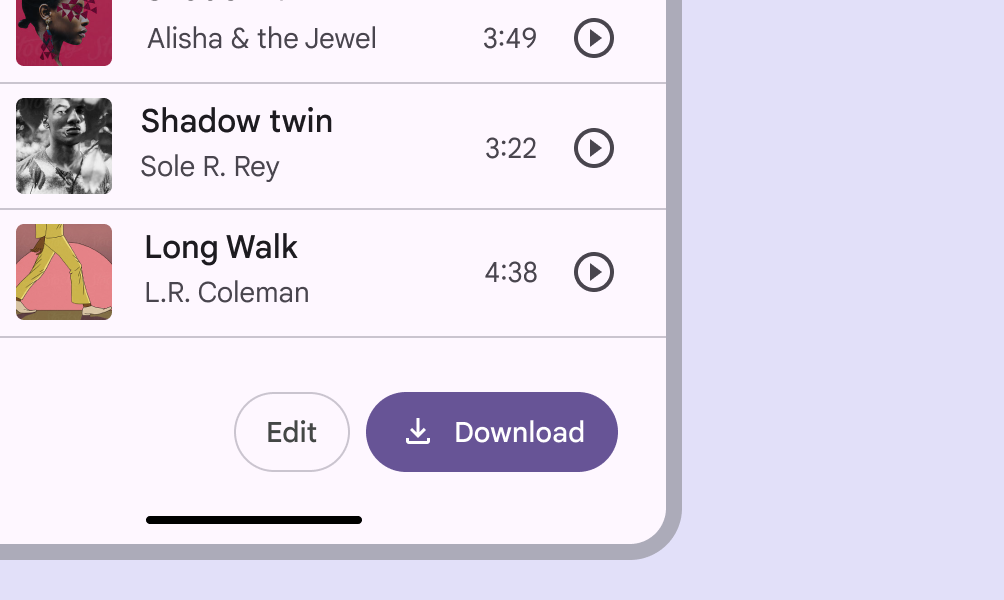
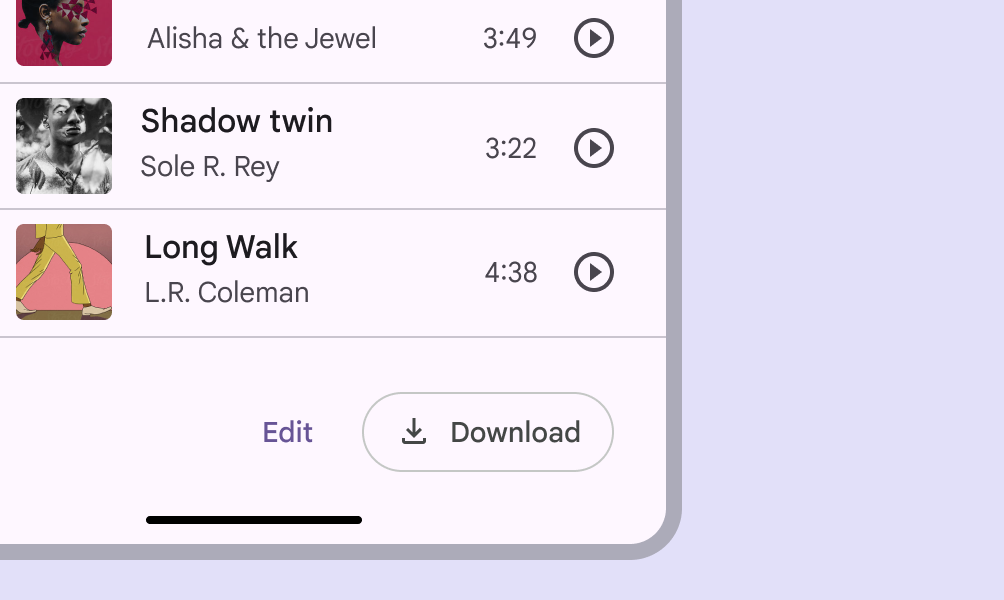
Text button to the left of a filled button.
Do For multiple actions, choose a higher-emphasis button for the more important action, such as a filled button next to a text button
Outlined button to the left of a filled button.
Do When using multiple buttons, you can place an outlined button (medium emphasis) next to a filled button (high emphasis)
Text button to the left of an outlined button.
Do When using multiple buttons, you can place a text button (low emphasis) next to an outlined button (medium emphasis)
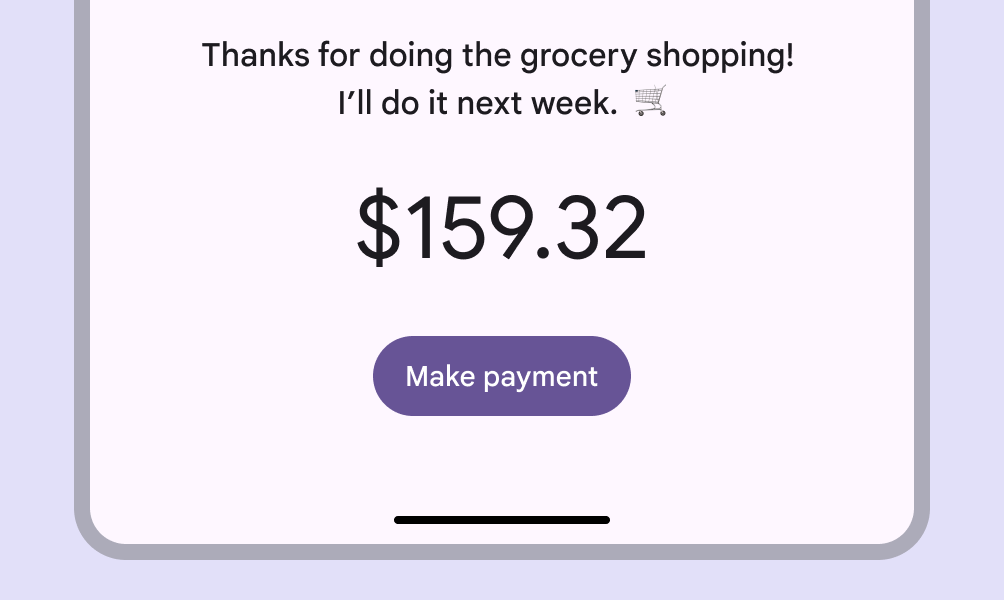
Single filled button at the bottom of a mobile screen.
Do Use a filled button on its own for a single important action
Filled button stacked above a text button.
Don't Avoid placing a button below another button if there's space to place them side-by-side
Pager
Previous pageBadges: Accessibility
Next pageButton groups: Overview

Released under the Apache 2.0 or CC BY 4.0

Copyright © 2018-Present Google

https://m3.material.io/components/all-buttons

Released under the Apache 2.0 or CC BY 4.0

Copyright © 2018-Present Google