Skip to content
Material Design 3
Main Navigation
v3
v2
v1

English

简体中文
繁體中文
Español
Français
Русский
Português – Brasil
Deutsch
日本語
한국어
Italiano
Polski
Türkçe
čeština
magyar

English

简体中文
繁體中文
Español
Français
Русский
Português – Brasil
Deutsch
日本語
한국어
Italiano
Polski
Türkçe
čeština
magyar

Appearance

Sidebar Navigation

Foundations

Accessibility

Overview: Principles

Overview: Assistive technology

Designing: Overview

Designing: Color contrast

Designing: Structure

Designing: Flow

Designing: Elements

Writing and text: Best practices

Writing and text: Text truncation

Writing and text: Text resizing

Building for all: User needs

Building for all: Co-design

Content design

Overview

Alt text

Global writing: Overview

Global writing: Word choice

Notifications

Style guide: UX writing best practices

Style guide: Word choice

Style guide: Grammar and punctuation

Customizing Material

Devices

Watches: Overview

Watches: Foundations

Watches: Styles

Watches: Layout

XR

Design: Overview

Design: Interaction

Design: Layout

Design: Accessibility

Components: Overview

Components: App bars

Components: Dialogs

Components: Nav bar

Components: Nav rail

Components: Toolbars

Design tokens: Overview

Design tokens: How to use tokens

Interaction

Gestures

Inputs

Selection

States: Overview

States: State layers

States: Applying states

Layout

Overview: Overview

Overview: Parts of layout

Overview: Adaptive design

Scaffold: Overview

Scaffold: Bars

Scaffold: Rails

Scaffold: Panes

Grids & spacing: Overview

Grids & spacing: Grids

Grids & spacing: Spacing

Grids & spacing: Density

Breakpoints: Overview

Breakpoints: Compact

Breakpoints: Medium

Breakpoints: Expanded

Breakpoints: Large & extra-large

Bidirectionality & RTL

Canonical examples: Overview

Canonical examples: Feed

Canonical examples: List-detail

Canonical examples: Supporting pane

Usability: Overview

Usability: Applying M3 Expressive

Material A-Z

Styles

Color

Color system: Overview

Color system: How the system works

Color roles

Color schemes

Choosing a scheme

Static: Baseline

Static: Custom brand

Dynamic: Choosing a source

Dynamic: User-generated source

Dynamic: Content-based source

Advanced: Overview

Advanced: Apply colors

Advanced: Define new colors

Advanced: Adjust existing colors

Color resources

Elevation: Overview

Elevation: Applying elevation

Elevation: Tokens

Icons: Overview

Icons: Designing icons

Icons: Applying icons

Motion

Motion physics system: How it works

Motion physics system: Specs

Easing and duration: Applying easing and duration

Easing and duration: Tokens & specs

Transitions: Transition patterns

Transitions: Applying transitions

Shape: Overview & principles

Shape: Corner radius scale

Shape: Shape morph

Spacing: Overview

Spacing: Applying spacing

Spacing: Tokens

Typography: Overview

Typography: Fonts

Typography: Type scale & tokens

Typography: Applying type

Typography: Editorial treatments

Components

App bars: Overview

App bars: Specs

App bars: Guidelines

App bars: Accessibility

Badges: Overview

Badges: Specs

Badges: Guidelines

Badges: Accessibility

Buttons

All buttons

Button groups: Overview

Button groups: Specs

Button groups: Guidelines

Button groups: Accessibility

Buttons: Overview

Buttons: Specs

Buttons: Guidelines

Buttons: Accessibility

Extended FABs: Overview

Extended FABs: Specs

Extended FABs: Guidelines

Extended FABs: Accessibility

FAB menu: Overview

FAB menu: Specs

FAB menu: Guidelines

FAB menu: Accessibility

FABs: Overview

FABs: Specs

FABs: Guidelines

FABs: Accessibility

Icon buttons: Overview

Icon buttons: Specs

Icon buttons: Guidelines

Icon buttons: Accessibility

Segmented buttons: Overview

Segmented buttons: Specs

Segmented buttons: Guidelines

Segmented buttons: Accessibility

Split button: Overview

Split button: Specs

Split button: Guidelines

Split button: Accessibility

Cards: Overview

Cards: Specs

Cards: Guidelines

Cards: Accessibility

Carousel: Overview

Carousel: Specs

Carousel: Guidelines

Carousel: Accessibility

Checkbox: Overview

Checkbox: Specs

Checkbox: Guidelines

Checkbox: Accessibility

Chips: Overview

Chips: Specs

Chips: Guidelines

Chips: Accessibility

Date & time pickers

Date pickers: Overview

Date pickers: Specs

Date pickers: Guidelines

Date pickers: Accessibility

Time pickers: Overview

Time pickers: Specs

Time pickers: Guidelines

Time pickers: Accessibility

Dialogs: Overview

Dialogs: Specs

Dialogs: Guidelines

Dialogs: Accessibility

Divider: Overview

Divider: Specs

Divider: Guidelines

Divider: Accessibility

Lists: Overview

Lists: Specs

Lists: Guidelines

Lists: Accessibility

Loading & progress

Loading indicator: Overview

Loading indicator: Specs

Loading indicator: Guidelines

Loading indicator: Accessibility

Progress indicators: Overview

Progress indicators: Specs

Progress indicators: Guidelines

Progress indicators: Accessibility

Menus: Overview

Menus: Specs

Menus: Guidelines

Menus: Accessibility

Navigation

Navigation bar: Overview

Navigation bar: Specs

Navigation bar: Guidelines

Navigation bar: Accessibility

Navigation drawer: Overview

Navigation drawer: Specs

Navigation drawer: Guidelines

Navigation drawer: Accessibility

Navigation rail: Overview

Navigation rail: Specs

Navigation rail: Guidelines

Navigation rail: Accessibility

Radio button: Overview

Radio button: Specs

Radio button: Guidelines

Radio button: Accessibility

Search: Overview

Search: Specs

Search: Guidelines

Search: Accessibility

Sheets

Bottom sheets: Overview

Bottom sheets: Specs

Bottom sheets: Guidelines

Bottom sheets: Accessibility

Side sheets: Overview

Side sheets: Specs

Side sheets: Guidelines

Side sheets: Accessibility

Sliders: Overview

Sliders: Specs

Sliders: Guidelines

Sliders: Accessibility

Snackbar: Overview

Snackbar: Specs

Snackbar: Guidelines

Snackbar: Accessibility

Switch: Overview

Switch: Specs

Switch: Guidelines

Switch: Accessibility

Tabs: Overview

Tabs: Specs

Tabs: Guidelines

Tabs: Accessibility

Text fields: Overview

Text fields: Specs

Text fields: Guidelines

Text fields: Accessibility

Toolbars: Overview

Toolbars: Specs

Toolbars: Guidelines

Toolbars: Accessibility

Tooltips: Overview

Tooltips: Specs

Tooltips: Guidelines

Tooltips: Accessibility

On this page

Lists: Guidelines ​

Lists are continuous, vertical indexes of text and images
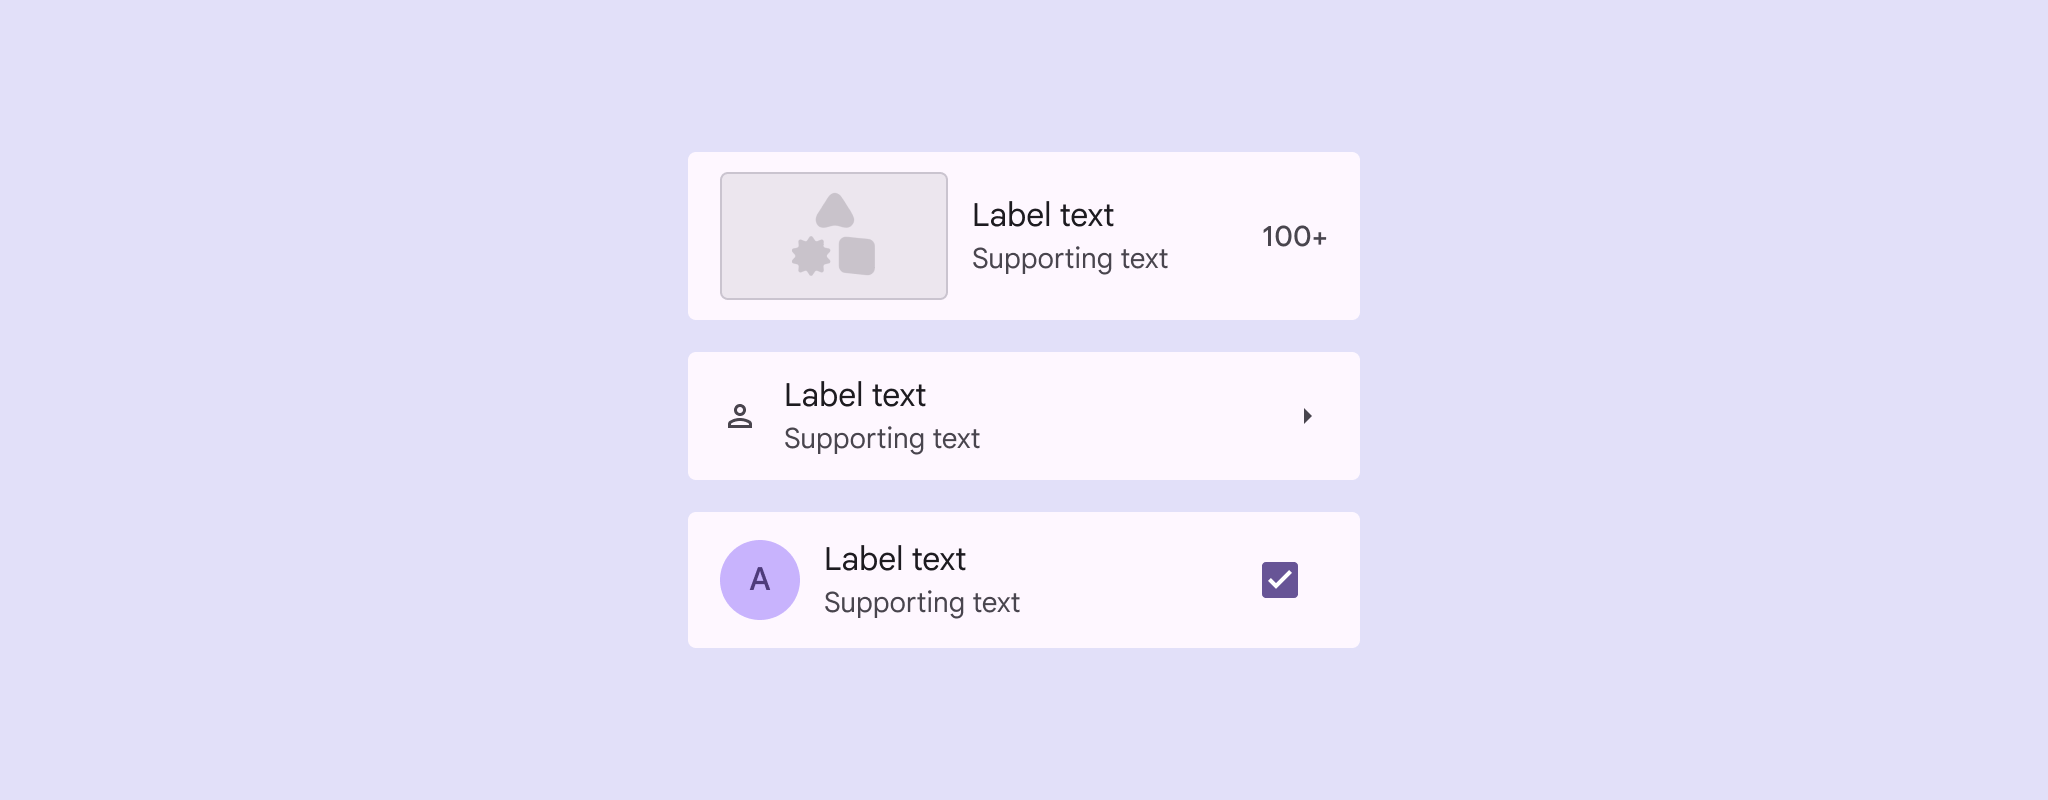

3 list items show different layout options, with varying sizes of elements in the leading slot.
Lists can include a range of layout combinations:
  1. Leading images, videos, icons, or avatars
  2. Trailing text, icons, or icon buttons

Usage ​

Lists are vertical groups of text, icons, images, and other elements, optimized for reading comprehension.

List items can contain multiple actions at once, like selection, icon buttons, overflow menus, and more.
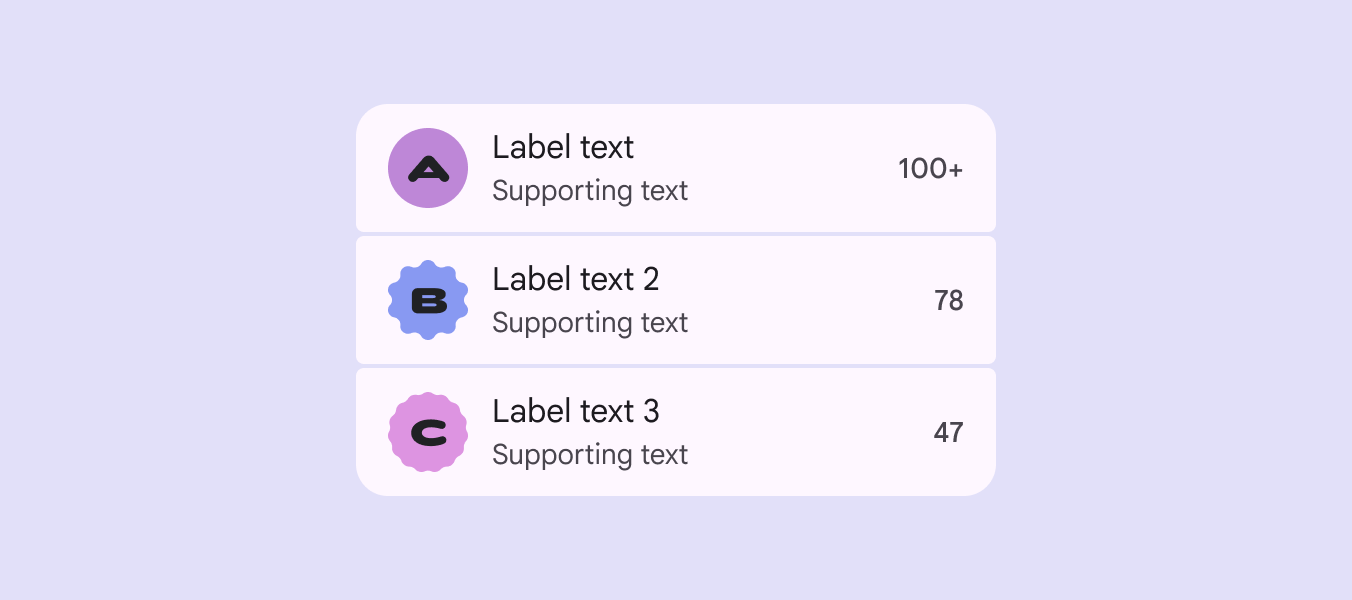
3 list items with avatars using different expressive shapes.
A clear visual hierarchy makes lists easy to scan and read

Use lists for communicating or selecting discrete items, such as choosing from a set of colors.
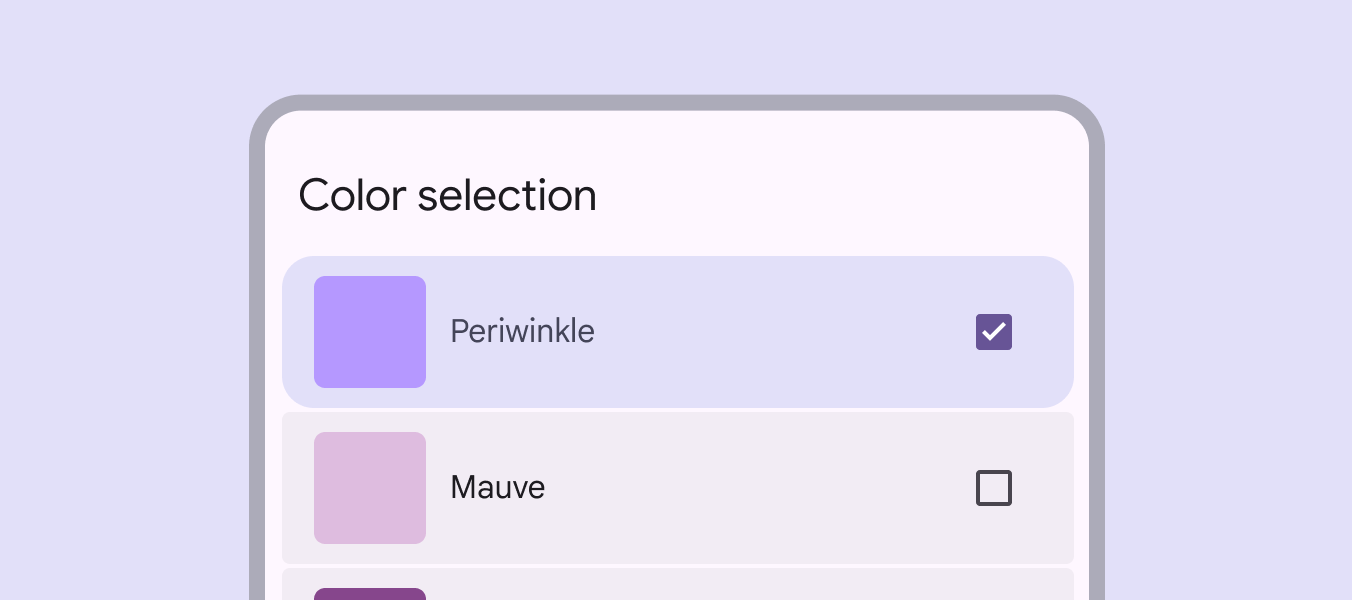
A list of colors with Periwinkle selected.
Lists are an organized way to add imagery and supporting elements to selection. In this color selection example, the list contains color swatches, color names, and a checkbox action.

A list should be easy to scan. Any element can be used to anchor and align list item content.

Place supporting visuals and primary text in the same position in each list item.

Don’t vary the position of elements within a list.
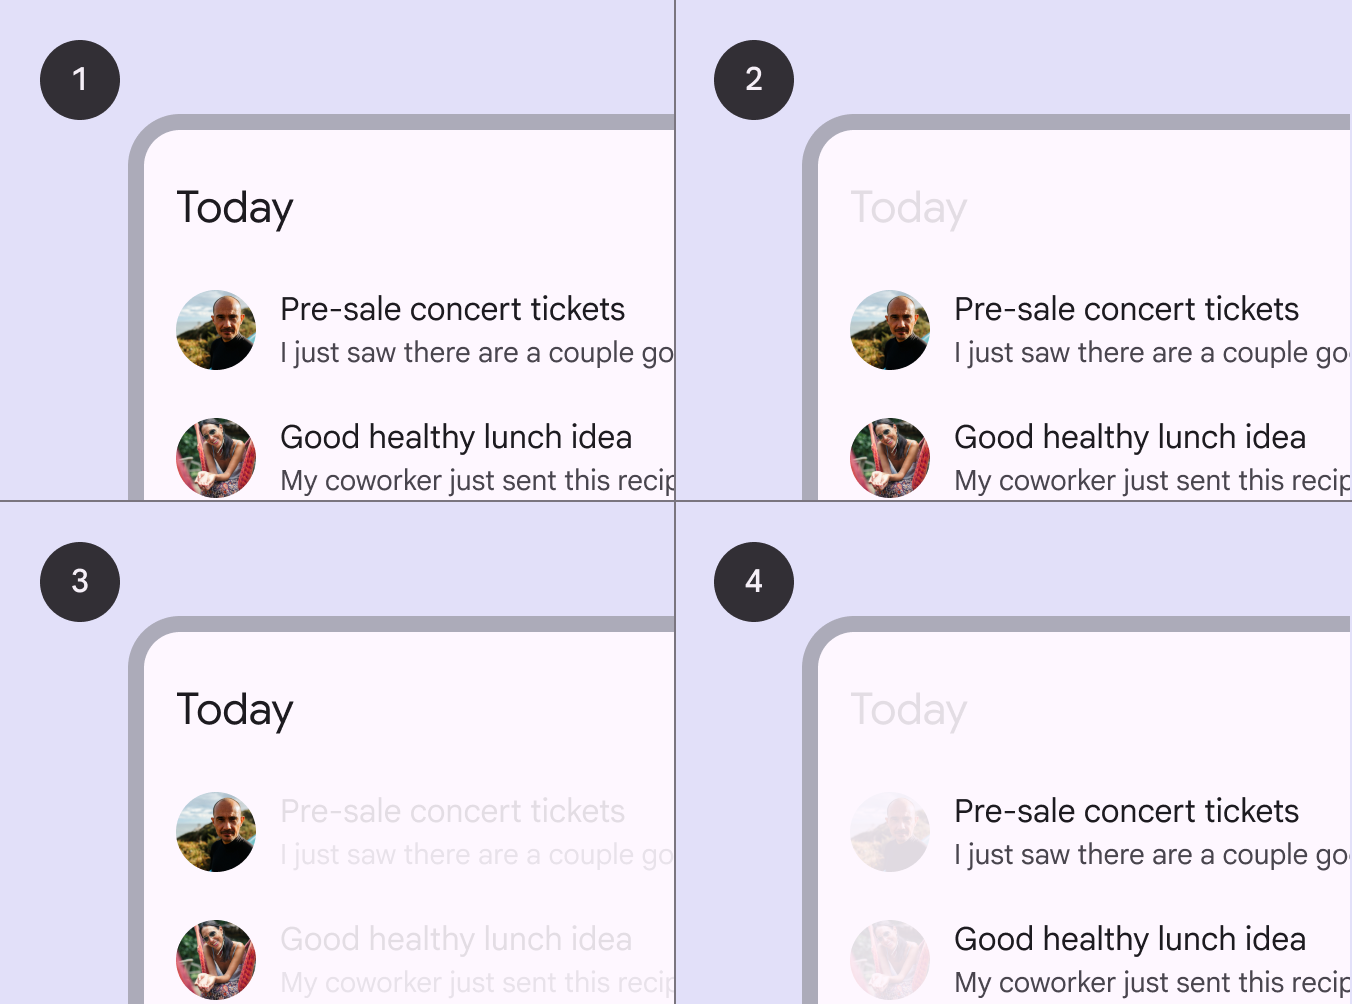
4 versions of the same list highlighting avatar and text alignment.
  1. Sample list
  2. Content placement in a row
  3. Supporting visuals are aligned for easy scanning
  4. Primary text is aligned for easy scanning

List items can adapt to different lengths of text:

Label text only
A list item can contain a single line of label text. If the text doesn’t fit on one line, it can wrap or be truncated.

Label text with supporting text
A list item can include supporting text below the label text. Both the label and supporting text can wrap or be truncated.
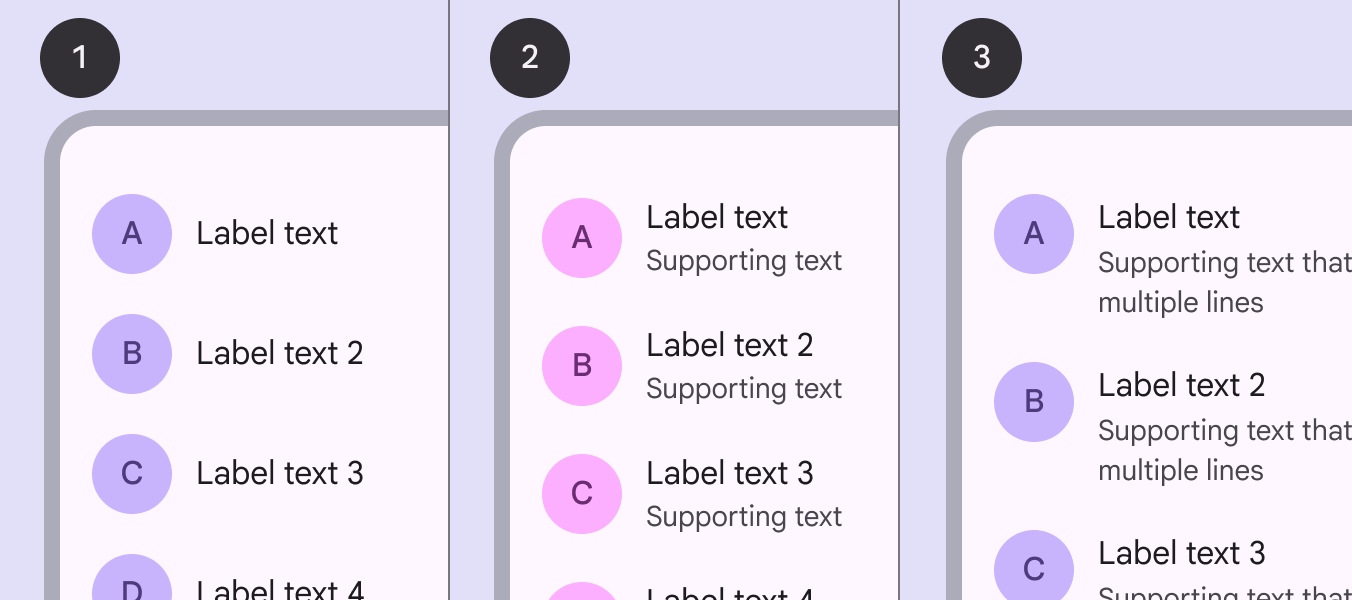
3 lists show items with label text only, label text with 1-line of supporting text, and label text with 2-lines of supporting text.
Three examples of list item sizes:
  1. Label text only
  2. Label text with supporting text on one line
  3. Label text with supporting text that wraps to two lines

Anatomy ​
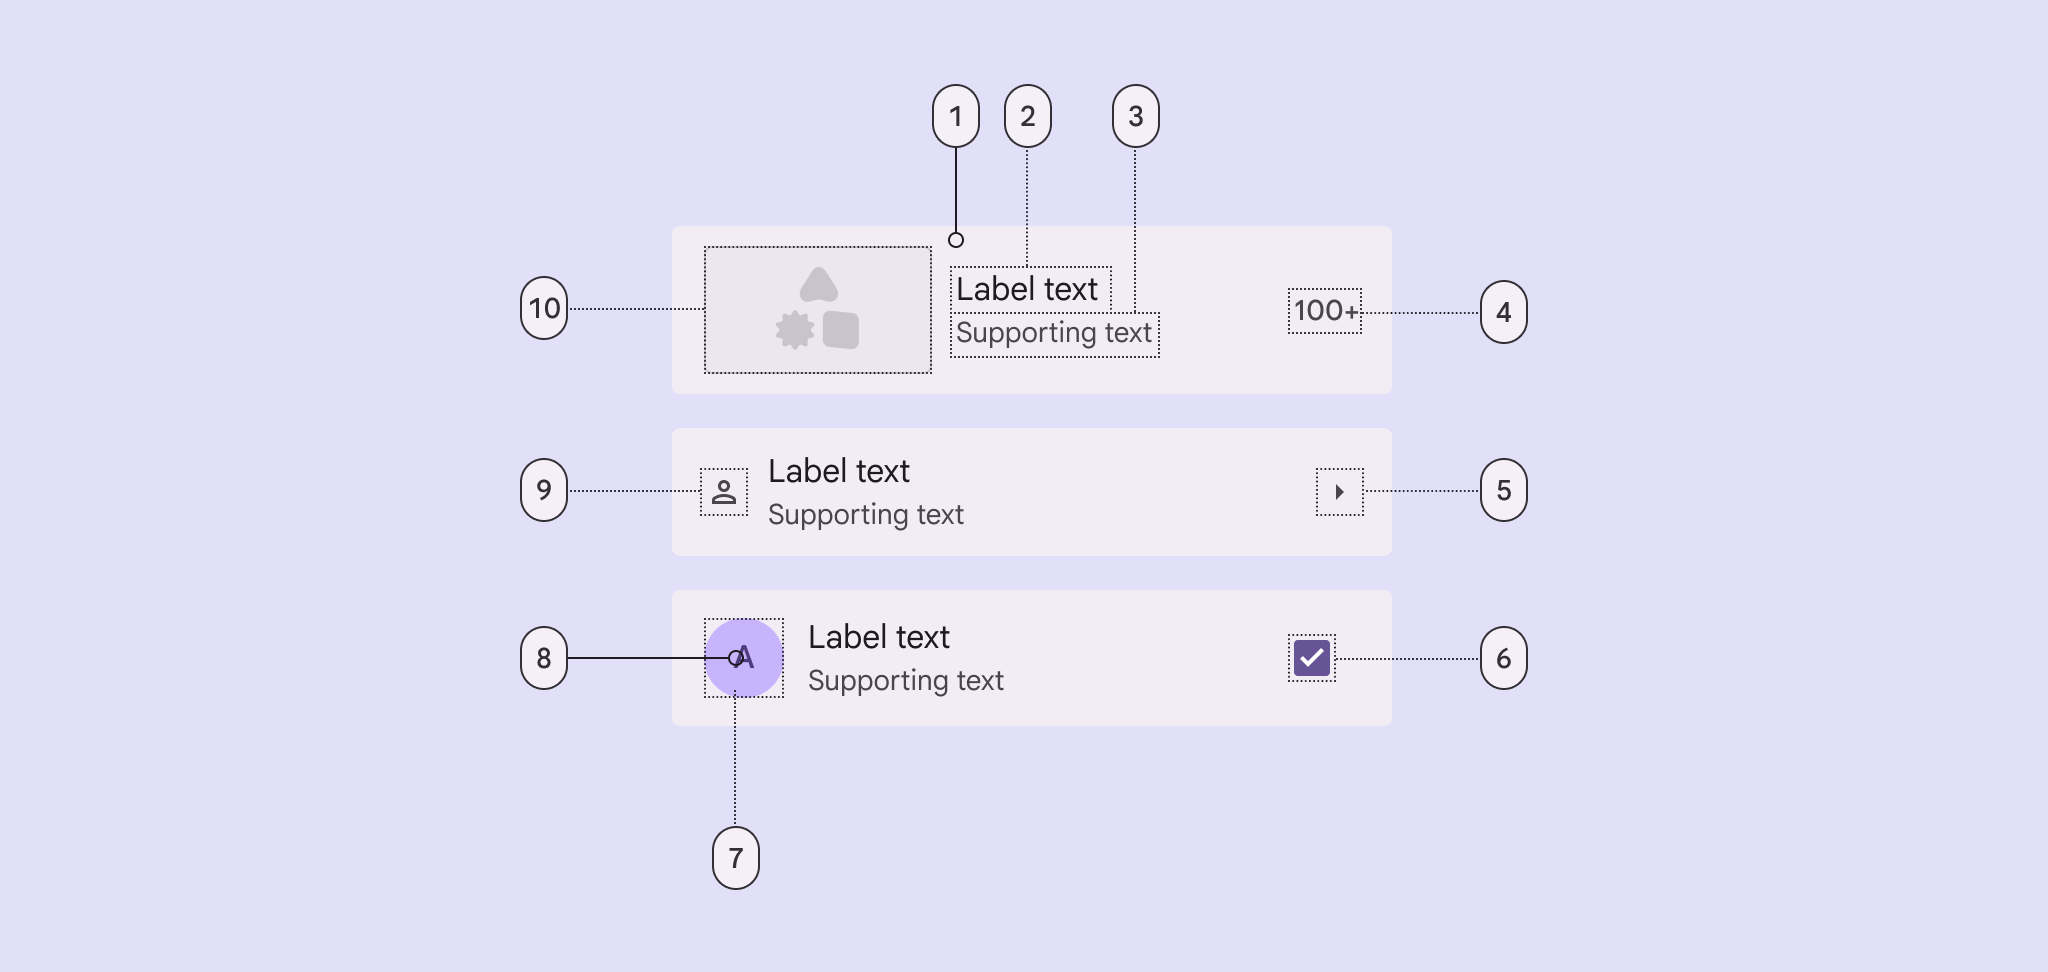
List diagram with 10 elements.
Container and label text are required. All other elements are optional:
  1. Container
  2. Label text
  3. Supporting text
  4. Trailing text
  5. Trailing icon
  6. Trailing selection control - checkbox, radio button, switch
  7. Leading avatar container
  8. Leading avatar text
  9. Leading icon
  10. Leading media - image or video

Container

List containers hold all list items and their elements. List item size is determined by the tallest element within the list item. See layout measurements

When a list item features an image, consider customizing the container color to use a content-based color scheme. This should be applied to either the enabled state or for an interaction.

A list item can include a leading image and a vibrant color

Label & supporting text

Keep label text brief.

To ensure list items are scannable:

  • Limit supporting text to one to three lines
  • Truncate supporting text, depending on screen size
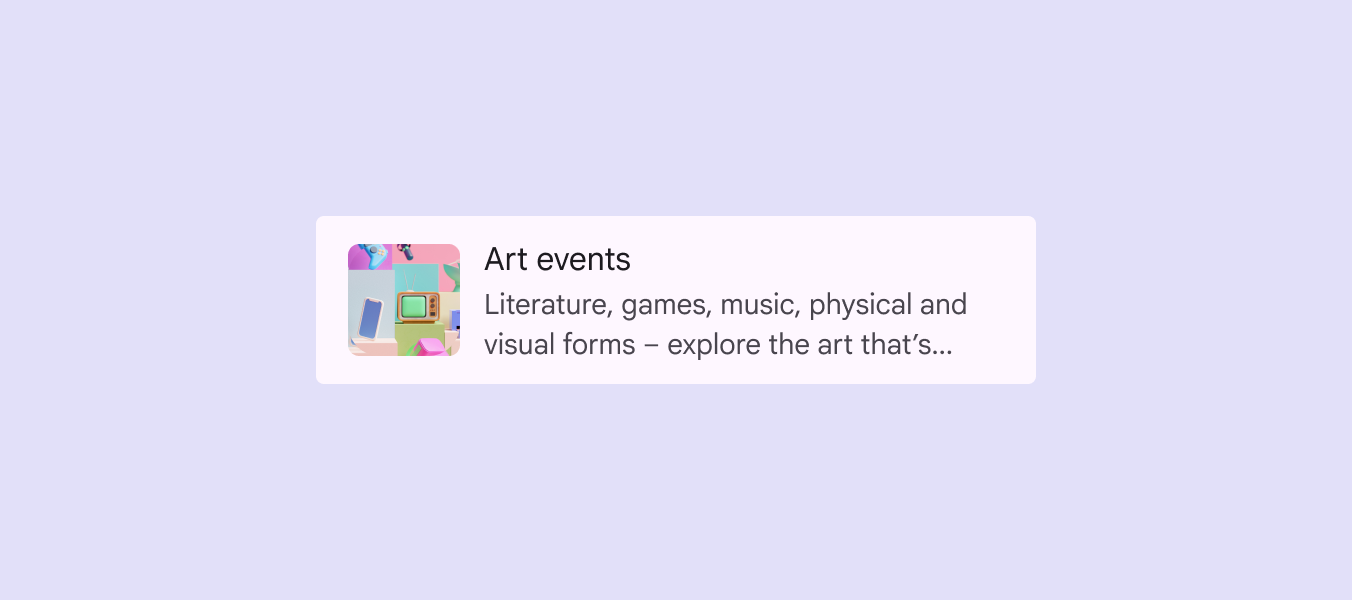
See adaptive guidance

A list item with a leading image, concise label text “Art events”, and 2 lines of truncated supporting text.
Limit supporting text to one to three lines

Icons

Leading icon
A leading icon should provide a quick visual cue that relates to the item's label text, helping people scan the list.

Trailing icon
A trailing icon is often used to communicate status or indicate an action, like Show more.
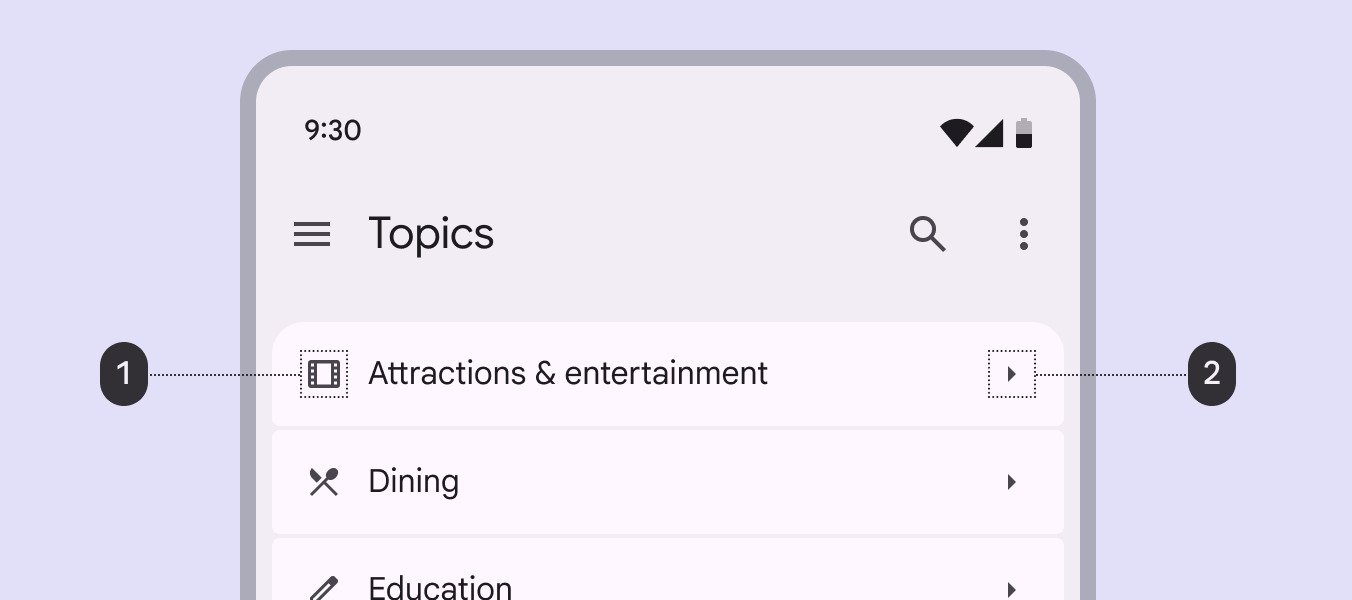
Leading icons should relate to the label text A list of items with leading and trailing icons on a mobile device.
  1. Leading icons should relate to the label text
  2. Trailing icons can communicate an action

Leading media

List items can contain a leading avatar, image, or video. Anchor visuals to the leading edge of the list to improve scannability.

Leading video thumbnails can open a video player or even play within the list.
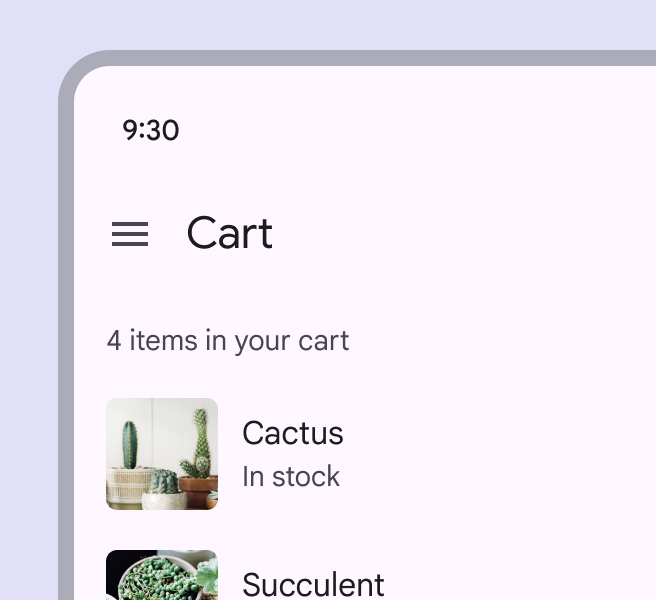
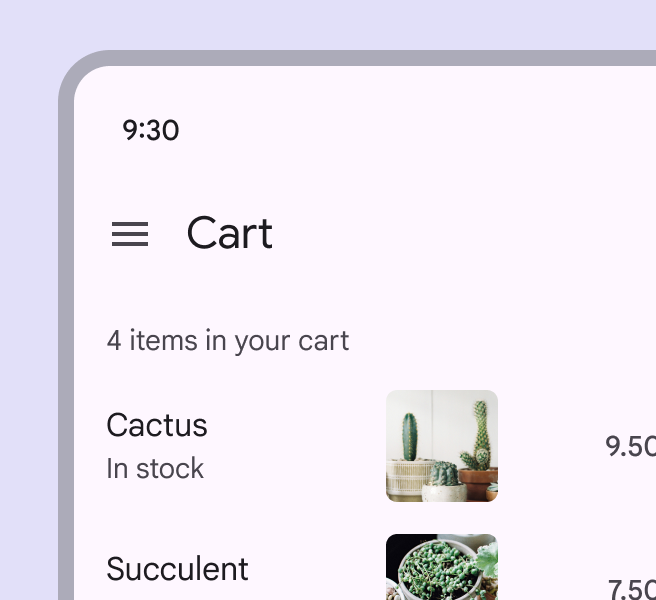
A list of plants with images at leading edge.
Do Place supporting visuals, like thumbnails, at the leading edge of a row to improve scannability
A list of plants with an image in the middle of the row makes it difficult to align the name and price.
Caution Avoid placing visuals in the center of a row because it makes the list difficult to scan

Avatars

List items can include images in circular or expressive shapes to represent a person or entity.

Use square or rectangular images for other content, such as products or videos.
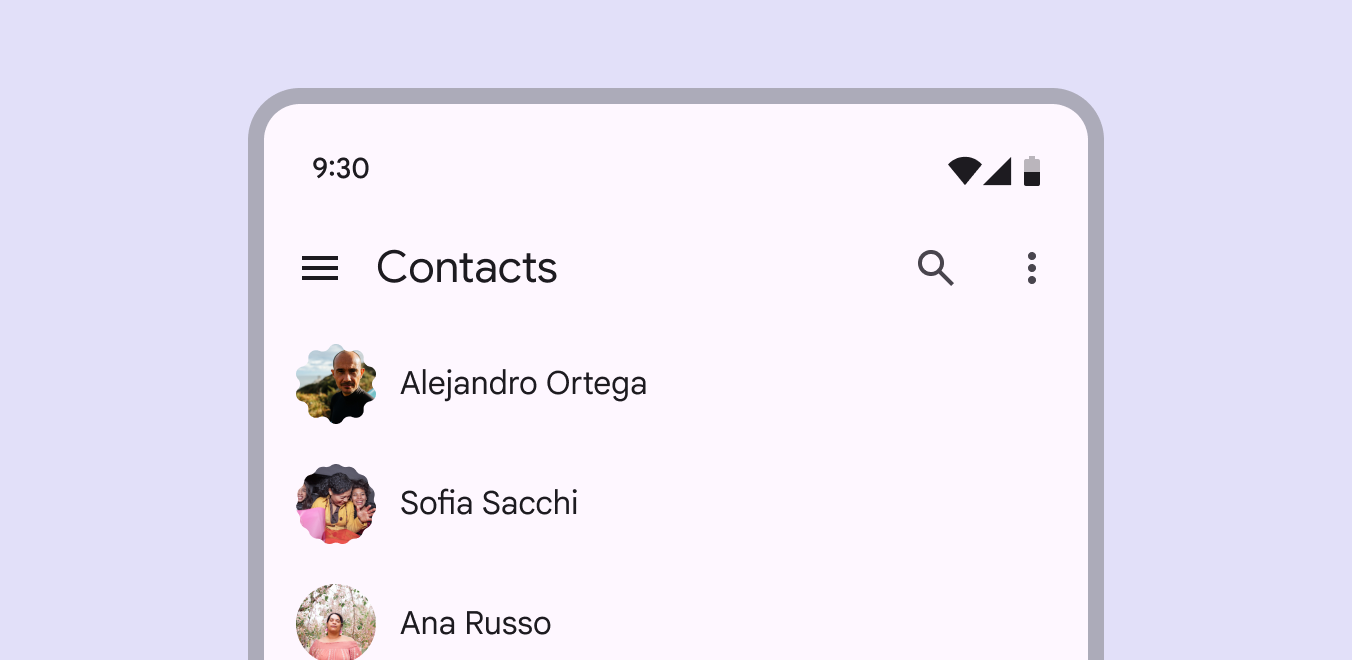
List of contacts with avatars with a circular, expressive crop to indicate a person.
Use an expressive, circular avatar to represent a person or entity

Primary & secondary actions

Use spacing to draw attention to the most important aspect of the list item, usually the primary action area or key content.
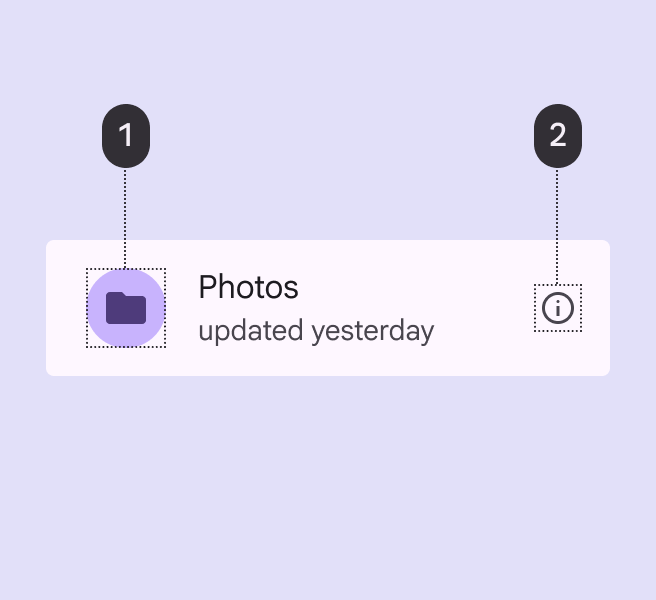
A folder icon in the primary action area takes up the full height of the list item.

The primary action takes up more space:

  1. Primary action area
  2. Secondary action area
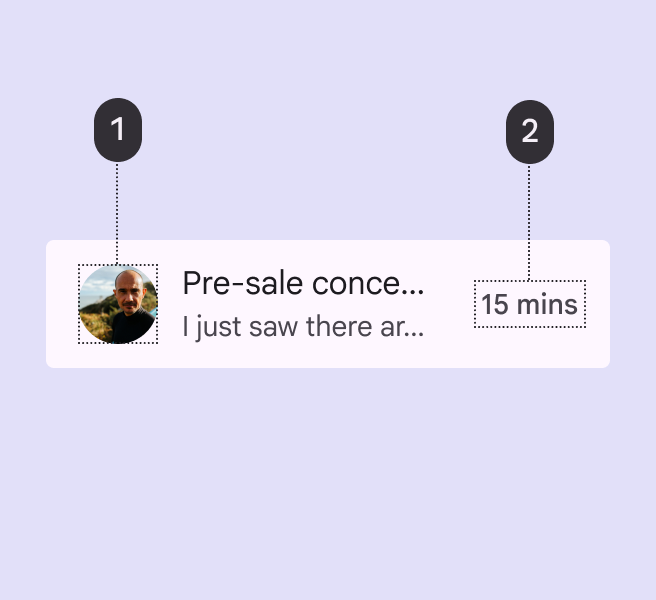
A list item has an avatar in the more distinguishing content position on the left, and “15 min” trailing text on the right.

Align content by importance:

  1. More distinguishing content
  2. Less distinguishing content

Trailing text

Trailing text can provide additional meta-information about a list item, such as a price, count, or other details.
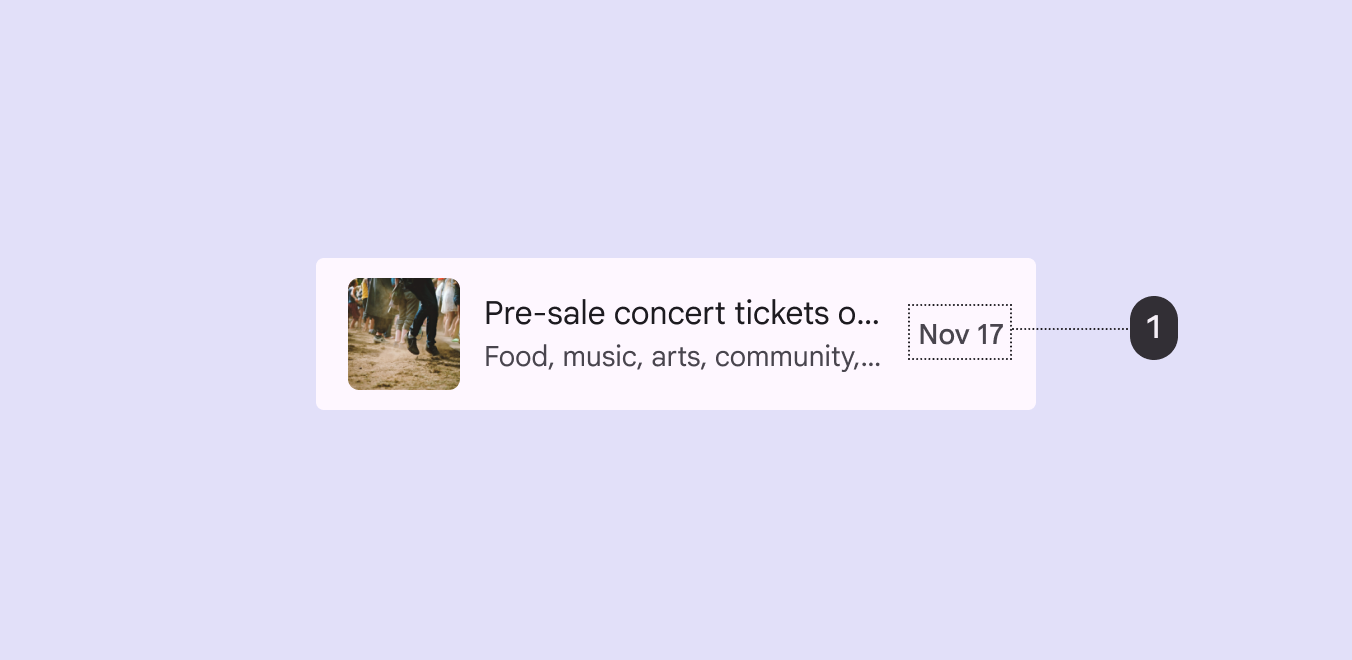
The date “Nov 17” as trailing text in a concert ticket list item.
Use trailing text for supplemental details, like a price, count, or date

Selection controls

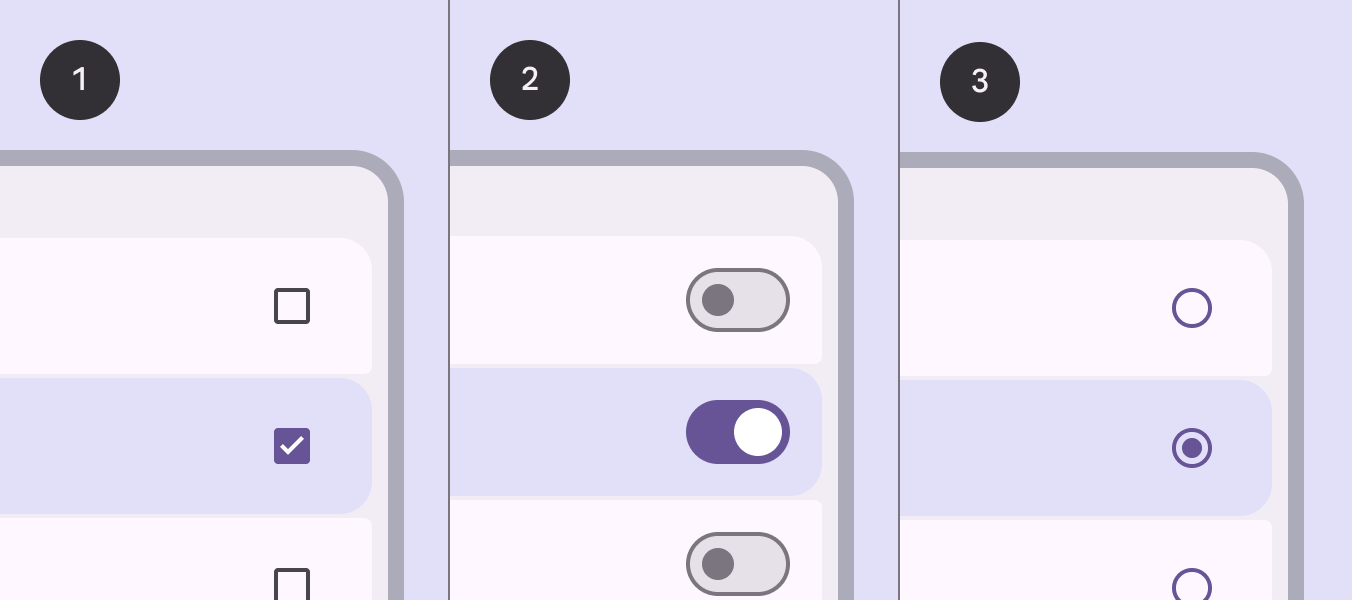
SelectionSelection lets users choose specific items to act on.More on selection controls display list item actions. Position controls at the leading or trailing end of a list item:

  • Use checkboxesCheckboxes let users select one or more items from a list, or turn an item on or off.More on checkboxes to select multiple items
  • Use switchesSwitches toggle the state of an item on or off.More on switches to toggle settings on or off
  • Use radio buttonsRadio buttons let people select one option from a set of options.More on radio buttons to select a single item
3 lists with different selection controls.
List items with:
  1. Checkboxes
  2. Switches
  3. Radio buttons

Gaps & dividers

Gaps or dividers can separate lists into items and groups:

  • Use gaps for contained lists. Gaps leverage expressive shape and containment tactics.
  • Limit dividers to uncontained or complex lists, only when a stronger visual separation is necessary.
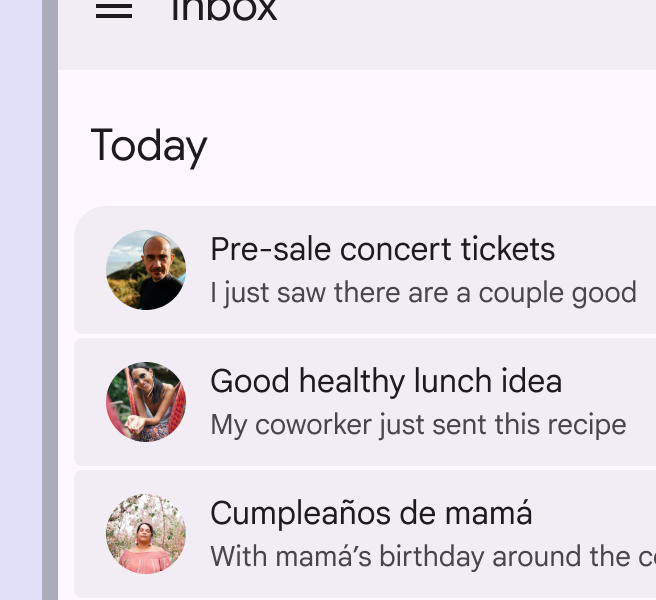
Filled list items in an inbox separated by gaps.
Do Use segmented gaps and filled list items to define a list group
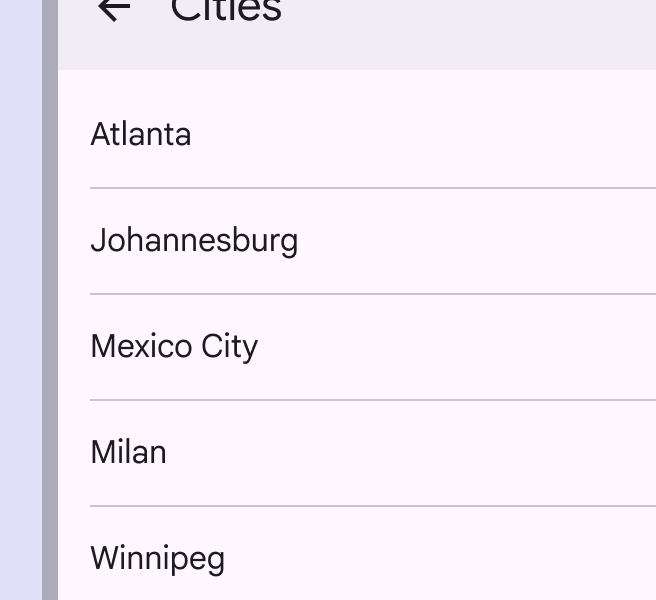
An uncontained list with city names separated by dividers.
Caution Limit the use of dividers to uncontained lists

Adaptive design ​

Line length

In fluid layoutsLayout is the visual arrangement of elements on the screen.More on layout, avoid excessively long lines of text when expanding containers and text-heavy components. This often means changing marginsMargins are the spaces between the edge of a nested element and its parent element, such as the space between a button's label text and the edge of its container.More on margins and typography properties as the container scales.
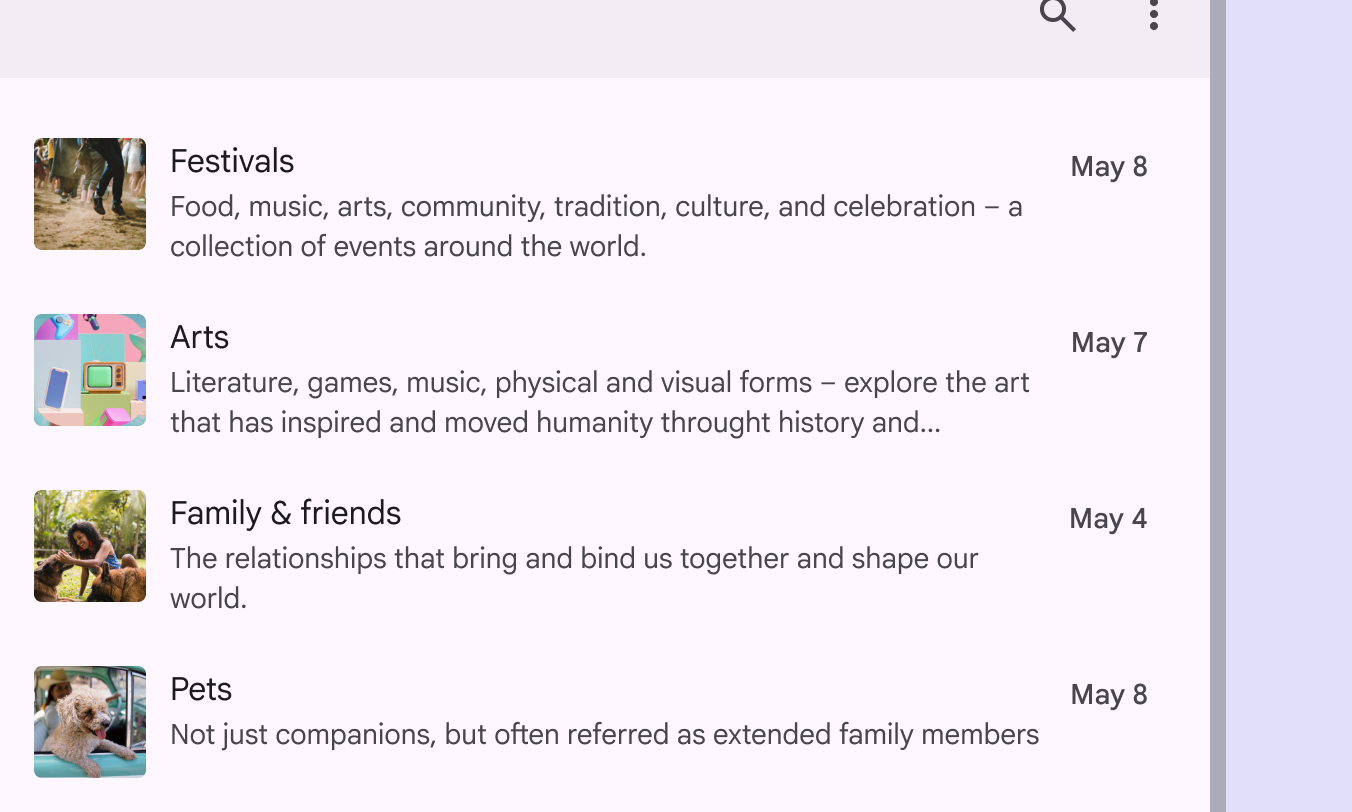
4 list items with 2-line supporting text have adjusted margins to preserve readability.
Do Adjust margins to create a more comfortable line length for reading

Adapt the width of the list container based on a line’s length, or by switching to a multi-column layout.
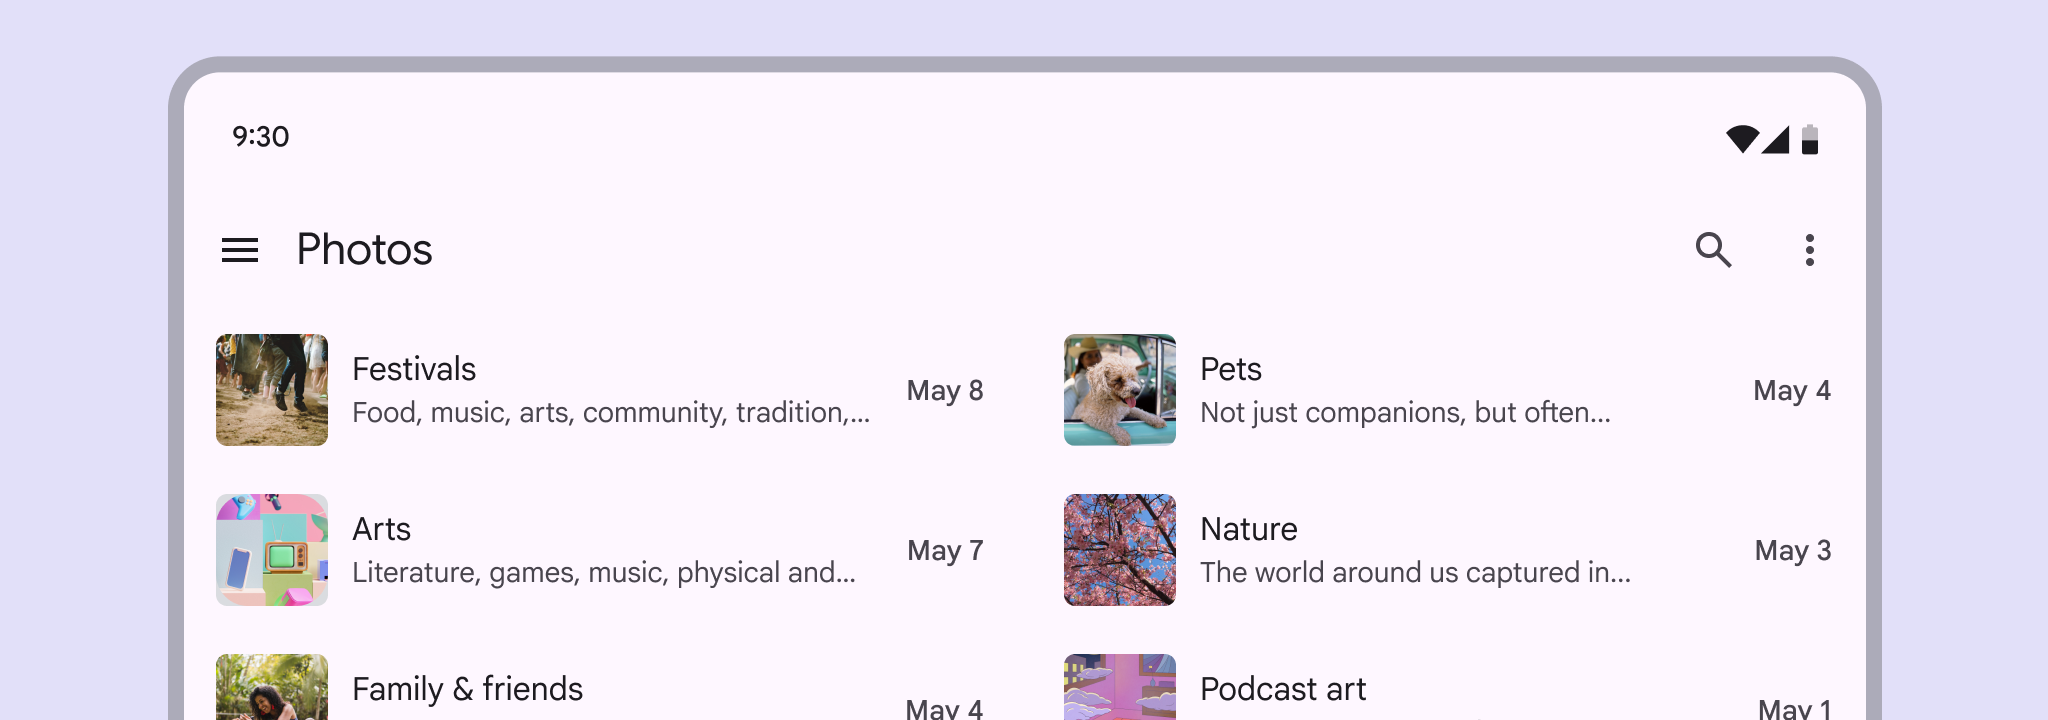
List items in a 2-column layout, with each item showing text preview.
Do A multi-column layout can help break up content when needed

The ideal line length for text is typically between 40 to 60 characters, but large-screen devices can accommodate up to 120 characters per line. If a line of text is close to 120 characters in length, consider increasing the line height to improve readability .
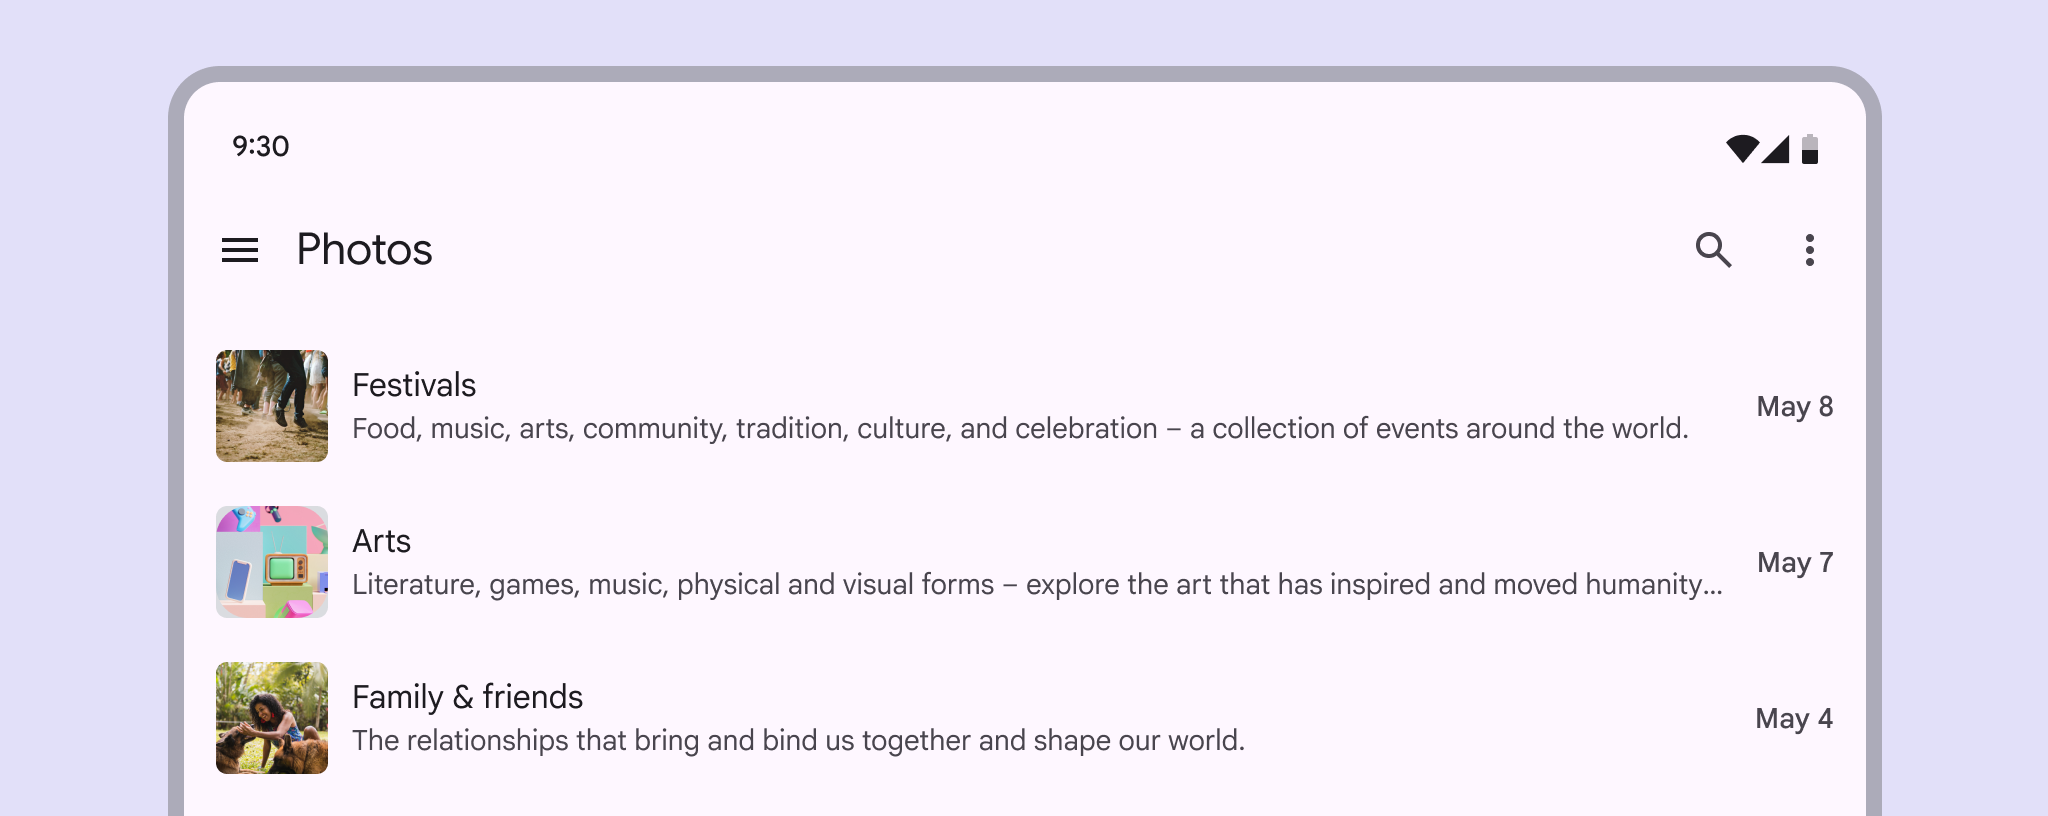
List items with elongated line length.
Don't Don’t scale components without adjusting other affected areas of the screen, such as text length. This can result in line lengths that make reading difficult.

A list with a compact breakpointWindow widths smaller than 600dp, such as a phone in portrait orientation.More on compact breakpoints can become part of a two-column layout at an expanded breakpointWindow widths 840dp to 1199dp, such as a tablet or foldable in landscape orientation, or desktop.More on expanded breakpoints, adjusting the amount of information shown in each list item.

Reduce the amount of information shown at compact breakpoints

Adapt list elements & layout

Lists can change their layout to adapt to different breakpointsBreakpoints are opinionated window sizes where a layout changes to match available space, device conventions, and ergonomics (previously window size classes).More on breakpoints. This affects the size and placement of content.

For example, a list at a compact breakpoint can adjust margins, spacing, or density to better fit an expanded window.

On larger screens, lists can show more content, like supporting text and larger imagery

Swap components

Lists are just a compact composition of images, text, and actions. Other components, like cards and carousels, use the same elements but take up more space.

At larger breakpoints, consider swapping a list to a component with a similar purpose to take advantage of available space.

Information displayed in list items on mobile can change to cards on tablet and desktop

Compact breakpoints

Lists should extend edge-to-edge in compact windows. Selecting a list item should open a page with the details.

On small screens, people can navigate between lists and full-screen detailed views

Medium & expanded breakpoints

MediumWindow widths from 600dp to 839dp, such as a tablet or foldable in portrait orientation.More on medium breakpoints and expanded breakpointsWindow widths 840dp to 1199dp, such as a tablet or foldable in landscape orientation, or desktop.More on expanded breakpoints, such as tablet and desktop screens, can display primary and secondary content in the same view.

For example, a list and the detailed information can appear side-by-side.
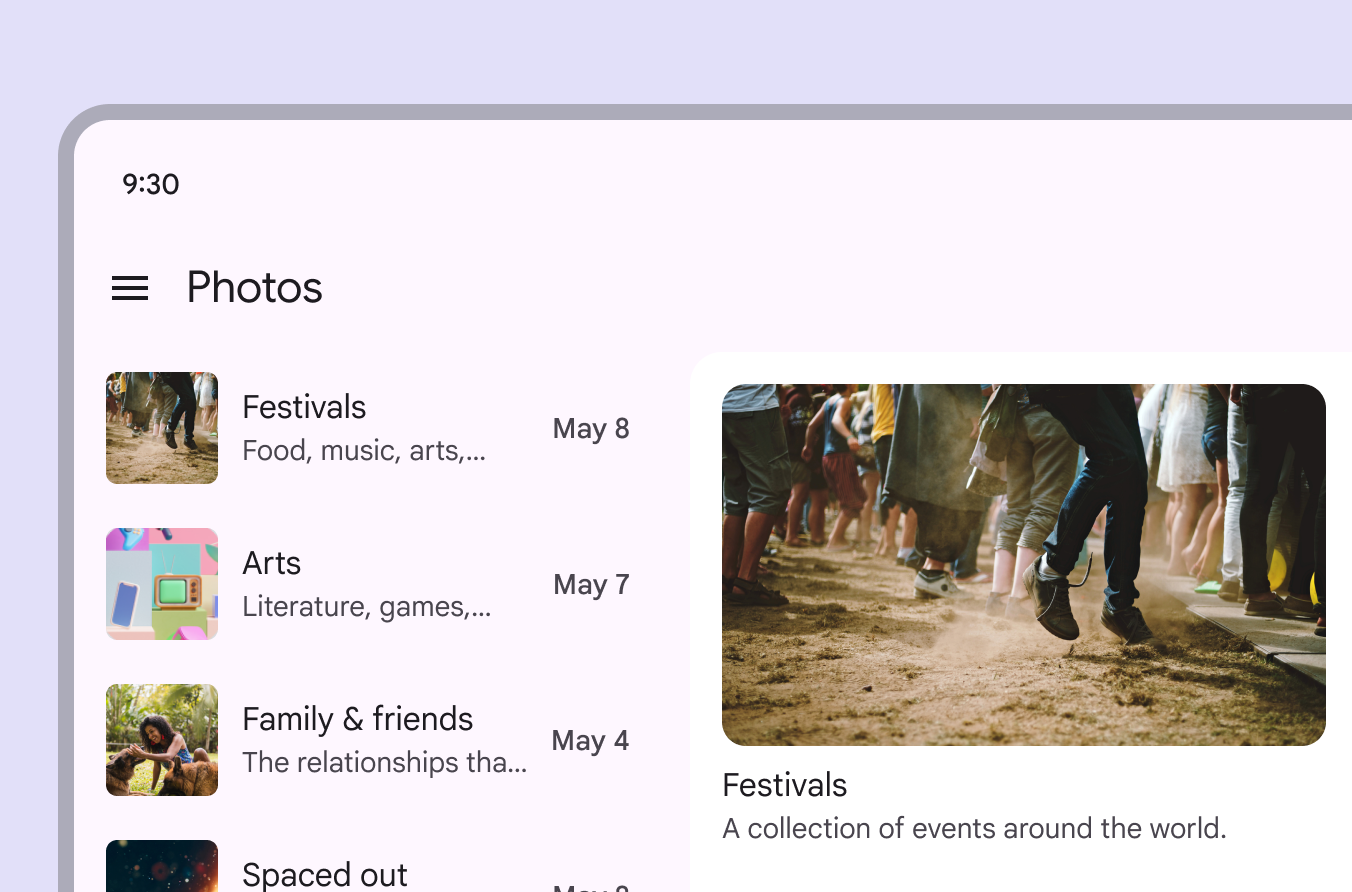
A larger screen displays list items and a detailed expansion of one item on the same screen.
On larger screens, a list-detail view can be more appropriate

At a larger breakpoint, a list may transform into a carousel.

Lists can transform into carousels in expanded windows

Lists can also show more or less content as they scale up and down in size.

For example, a list item can reveal more content when the component expands.

List items reveal supporting text at expanded breakpoints

Behavior ​

List selection modes ​

The selected state applies to the entire list item. For example, when an item with a checkbox is selected, both the list item and the checkbox show a selected state.

Single-select

Lists can feature a single-selection component such as a radio buttonRadio buttons let people select one option from a set of options.More on radio buttons.

Single-select list items:

  • Don’t support multi-actions
  • Can’t have secondary nested actions
  • Shouldn’t use checkboxes
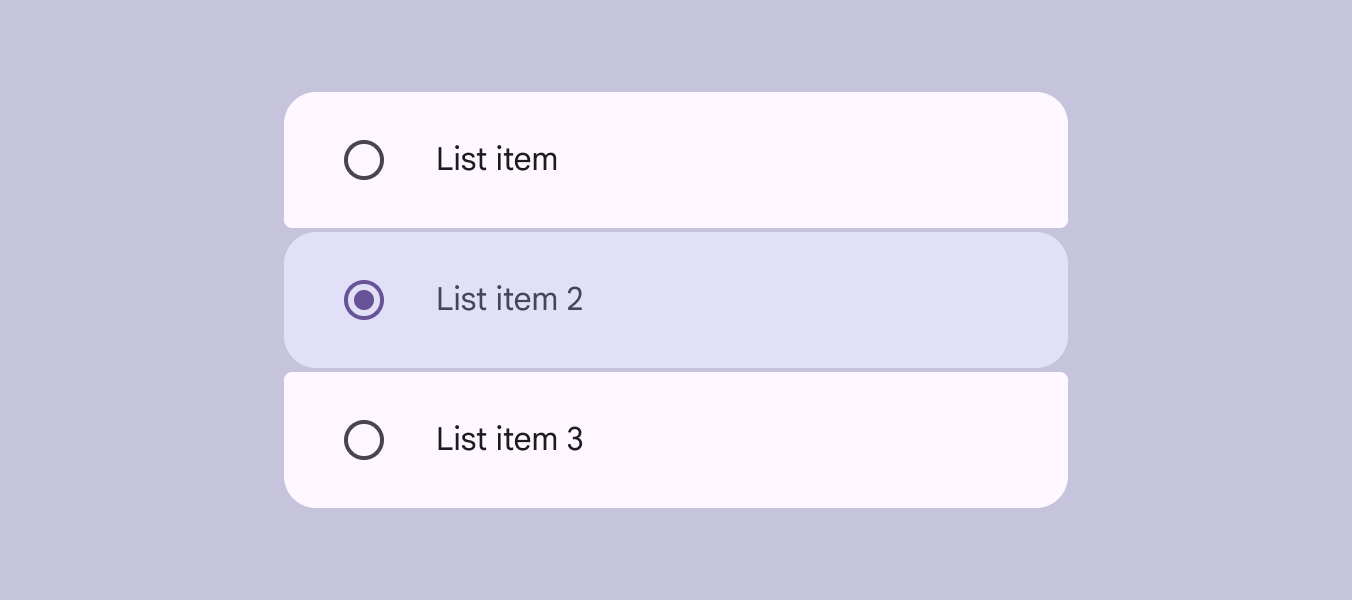
A 3-item list with radio buttons, with 1 item selected.
Use radio buttons to allow a single selection in a list

Multi-select

Multi-select lists allow for multiple list items to be toggled on.

Multi-select list items:

  • Pair well with checkboxes and switches
  • Can’t have secondary nested actions
  • Shouldn’t use radio buttons
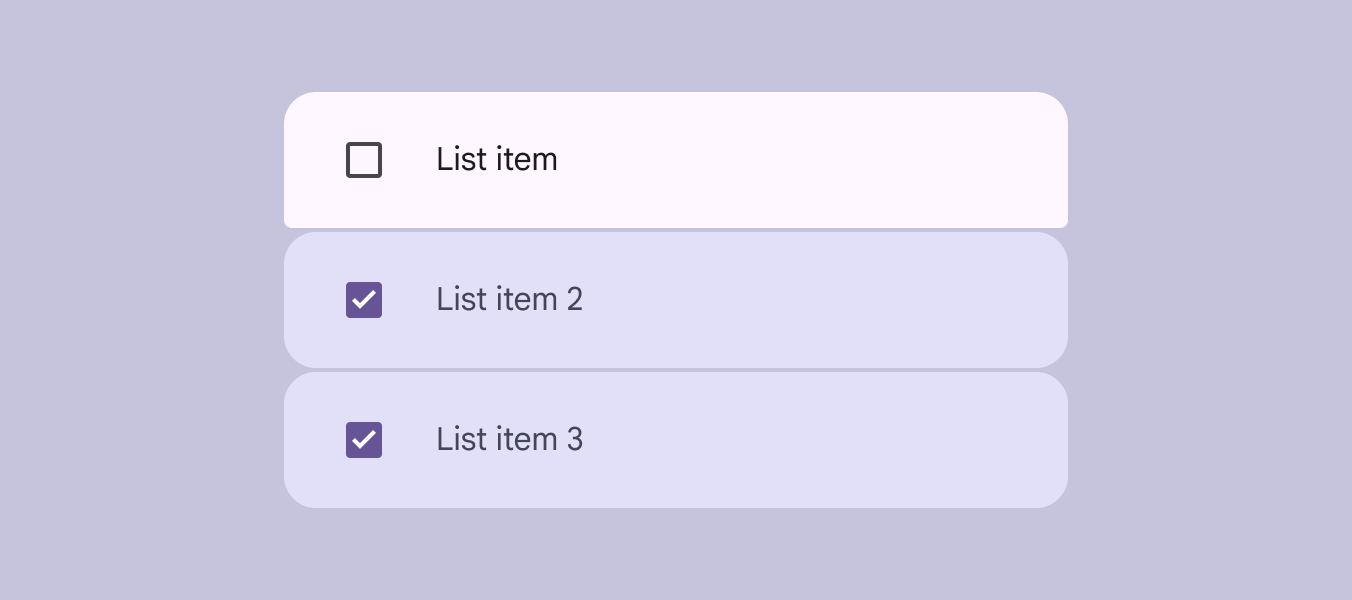
A 3-item list with checkboxes and 2 items selected.
Use checkboxes or switches for multi-select lists

Single-action

In a single-action list, the entire list item performs one action, such as navigating to a new page.

Single-action list items:

  • Can’t have secondary nested actions
  • Can’t be toggled into a persistent selected state
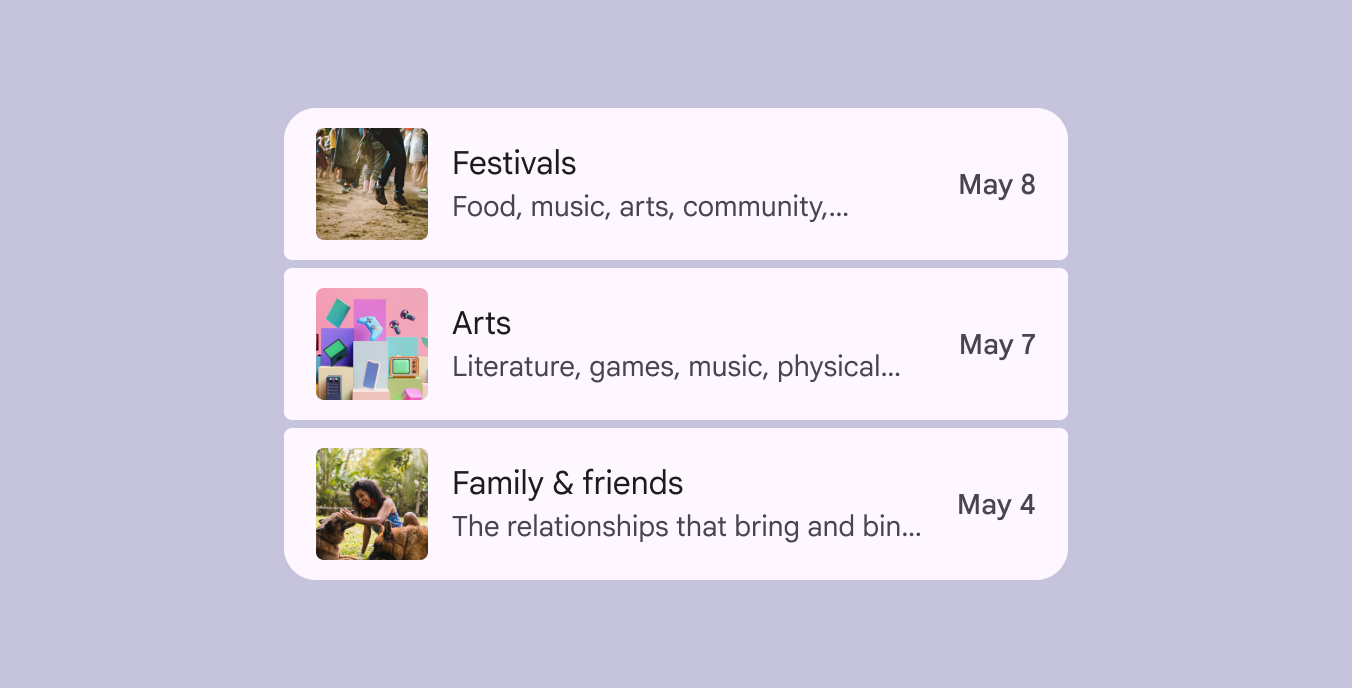
A 3-item list where each item is a single tappable area.
Use a single-action list for a primary action, like navigation

Multi-action

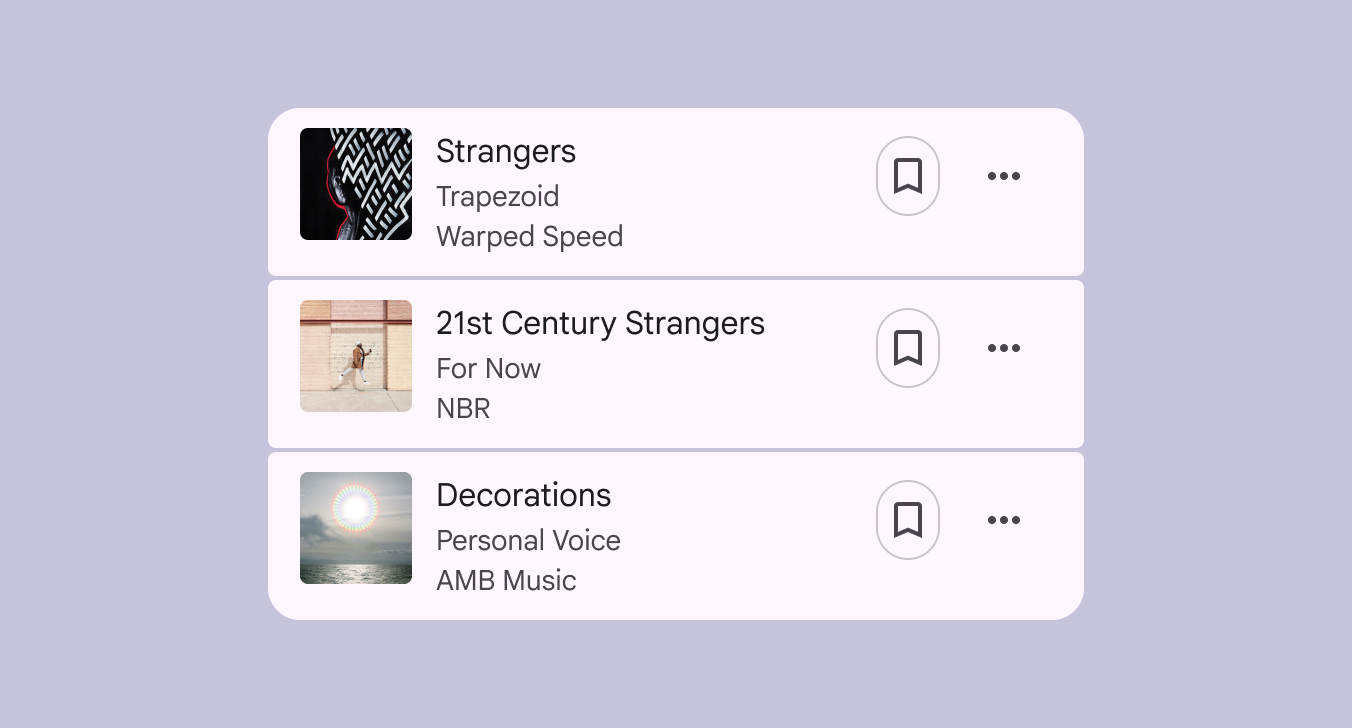
Multi-action lists can support multiple nested actions within a list item.

The primary action should take up the majority of the space in the leading and content positions.

Place supplementary actions, like a bookmark or menu, in the trailing position.
More on multi-action accessibility

A 3-item song list where each item has 2 trailing icons: a bookmark and overflow menu.
Place supplementary actions in the trailing position of a list item

Non-interactive

Non-interactive lists can organize information in a scannable way. They don’t perform any actions and can’t be selected.
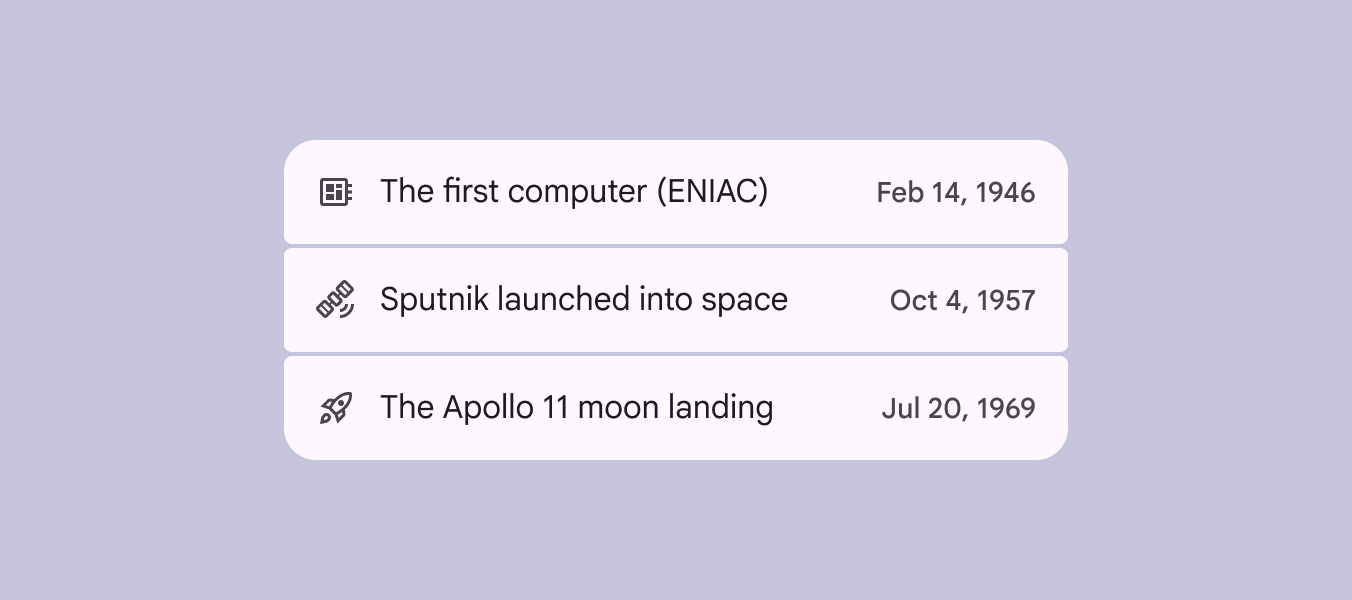
A 3-item non-interactive list showing a historic timeline of space travel.
Use non-interactive lists to make information easy to scan

List interactions ​

Expand & collapse

List items containing other list items can expand and collapse in a folder-like manner, to reveal or hide content.

Tapping a list item expands it vertically across the entire screen using a container transform transition pattern.

To expand a list item, display a parent-child transition

Swipe

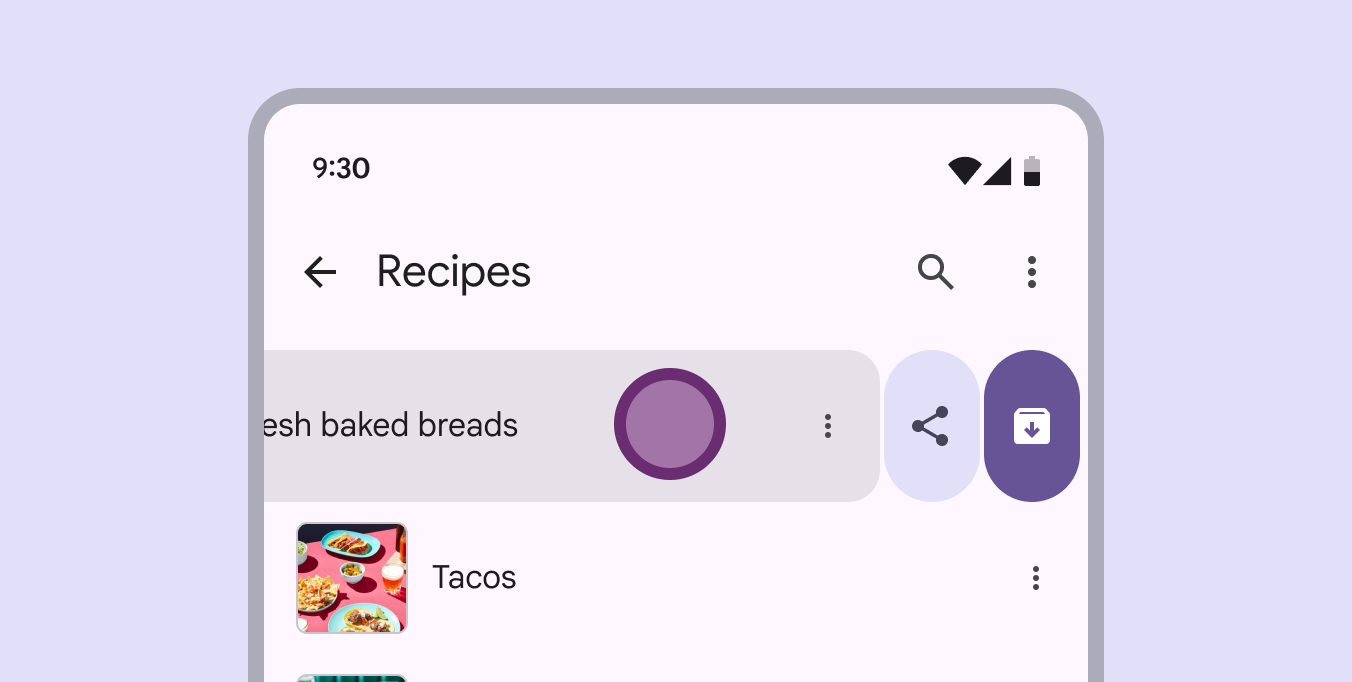
On Android, list items can reveal buttons on swipe. Use a mix of button styles for visual interest and hierarchy.

The primary action must be the final end-aligned option. A full swipe triggers this action, clearing the list item and all other actions off-screen.

Swipeable list items should include alternative ways to access hidden actions, such as a more icon.
More on swipe accessibility

List of recipes with “Fresh baked breads” swiped to reveal a archive icon.
When a list item is swiped, it can be archived or reveal more actions
Pager
Previous pageLists: Specs
Next pageLists: Accessibility

Released under the Apache 2.0 or CC BY 4.0

Copyright © 2018-Present Google

https://m3.material.io/components/lists/guidelines

Released under the Apache 2.0 or CC BY 4.0

Copyright © 2018-Present Google