Skip to content
Material Design 3
Main Navigation
v3
v2
v1

English

简体中文
繁體中文
Español
Français
Русский
Português – Brasil
Deutsch
日本語
한국어
Italiano
Polski
Türkçe
čeština
magyar

English

简体中文
繁體中文
Español
Français
Русский
Português – Brasil
Deutsch
日本語
한국어
Italiano
Polski
Türkçe
čeština
magyar

Appearance

Sidebar Navigation

Foundations

Accessibility

Overview: Principles

Overview: Assistive technology

Designing: Overview

Designing: Color contrast

Designing: Structure

Designing: Flow

Designing: Elements

Writing and text: Best practices

Writing and text: Text truncation

Writing and text: Text resizing

Building for all: User needs

Building for all: Co-design

Content design

Overview

Alt text

Global writing: Overview

Global writing: Word choice

Notifications

Style guide: UX writing best practices

Style guide: Word choice

Style guide: Grammar and punctuation

Customizing Material

Devices

Watches: Overview

Watches: Foundations

Watches: Styles

Watches: Layout

XR

Design: Overview

Design: Interaction

Design: Layout

Design: Accessibility

Components: Overview

Components: App bars

Components: Dialogs

Components: Nav bar

Components: Nav rail

Components: Toolbars

Design tokens: Overview

Design tokens: How to use tokens

Interaction

Gestures

Inputs

Selection

States: Overview

States: State layers

States: Applying states

Layout

Overview: Overview

Overview: Parts of layout

Overview: Adaptive design

Scaffold: Overview

Scaffold: Bars

Scaffold: Rails

Scaffold: Panes

Grids & spacing: Overview

Grids & spacing: Grids

Grids & spacing: Spacing

Grids & spacing: Density

Breakpoints: Overview

Breakpoints: Compact

Breakpoints: Medium

Breakpoints: Expanded

Breakpoints: Large & extra-large

Bidirectionality & RTL

Canonical examples: Overview

Canonical examples: Feed

Canonical examples: List-detail

Canonical examples: Supporting pane

Usability: Overview

Usability: Applying M3 Expressive

Material A-Z

Styles

Color

Color system: Overview

Color system: How the system works

Color roles

Color schemes

Choosing a scheme

Static: Baseline

Static: Custom brand

Dynamic: Choosing a source

Dynamic: User-generated source

Dynamic: Content-based source

Advanced: Overview

Advanced: Apply colors

Advanced: Define new colors

Advanced: Adjust existing colors

Color resources

Elevation: Overview

Elevation: Applying elevation

Elevation: Tokens

Icons: Overview

Icons: Designing icons

Icons: Applying icons

Motion

Motion physics system: How it works

Motion physics system: Specs

Easing and duration: Applying easing and duration

Easing and duration: Tokens & specs

Transitions: Transition patterns

Transitions: Applying transitions

Shape: Overview & principles

Shape: Corner radius scale

Shape: Shape morph

Spacing: Overview

Spacing: Applying spacing

Spacing: Tokens

Typography: Overview

Typography: Fonts

Typography: Type scale & tokens

Typography: Applying type

Typography: Editorial treatments

Components

App bars: Overview

App bars: Specs

App bars: Guidelines

App bars: Accessibility

Badges: Overview

Badges: Specs

Badges: Guidelines

Badges: Accessibility

Buttons

All buttons

Button groups: Overview

Button groups: Specs

Button groups: Guidelines

Button groups: Accessibility

Buttons: Overview

Buttons: Specs

Buttons: Guidelines

Buttons: Accessibility

Extended FABs: Overview

Extended FABs: Specs

Extended FABs: Guidelines

Extended FABs: Accessibility

FAB menu: Overview

FAB menu: Specs

FAB menu: Guidelines

FAB menu: Accessibility

FABs: Overview

FABs: Specs

FABs: Guidelines

FABs: Accessibility

Icon buttons: Overview

Icon buttons: Specs

Icon buttons: Guidelines

Icon buttons: Accessibility

Segmented buttons: Overview

Segmented buttons: Specs

Segmented buttons: Guidelines

Segmented buttons: Accessibility

Split button: Overview

Split button: Specs

Split button: Guidelines

Split button: Accessibility

Cards: Overview

Cards: Specs

Cards: Guidelines

Cards: Accessibility

Carousel: Overview

Carousel: Specs

Carousel: Guidelines

Carousel: Accessibility

Checkbox: Overview

Checkbox: Specs

Checkbox: Guidelines

Checkbox: Accessibility

Chips: Overview

Chips: Specs

Chips: Guidelines

Chips: Accessibility

Date & time pickers

Date pickers: Overview

Date pickers: Specs

Date pickers: Guidelines

Date pickers: Accessibility

Time pickers: Overview

Time pickers: Specs

Time pickers: Guidelines

Time pickers: Accessibility

Dialogs: Overview

Dialogs: Specs

Dialogs: Guidelines

Dialogs: Accessibility

Divider: Overview

Divider: Specs

Divider: Guidelines

Divider: Accessibility

Lists: Overview

Lists: Specs

Lists: Guidelines

Lists: Accessibility

Loading & progress

Loading indicator: Overview

Loading indicator: Specs

Loading indicator: Guidelines

Loading indicator: Accessibility

Progress indicators: Overview

Progress indicators: Specs

Progress indicators: Guidelines

Progress indicators: Accessibility

Menus: Overview

Menus: Specs

Menus: Guidelines

Menus: Accessibility

Navigation

Navigation bar: Overview

Navigation bar: Specs

Navigation bar: Guidelines

Navigation bar: Accessibility

Navigation drawer: Overview

Navigation drawer: Specs

Navigation drawer: Guidelines

Navigation drawer: Accessibility

Navigation rail: Overview

Navigation rail: Specs

Navigation rail: Guidelines

Navigation rail: Accessibility

Radio button: Overview

Radio button: Specs

Radio button: Guidelines

Radio button: Accessibility

Search: Overview

Search: Specs

Search: Guidelines

Search: Accessibility

Sheets

Bottom sheets: Overview

Bottom sheets: Specs

Bottom sheets: Guidelines

Bottom sheets: Accessibility

Side sheets: Overview

Side sheets: Specs

Side sheets: Guidelines

Side sheets: Accessibility

Sliders: Overview

Sliders: Specs

Sliders: Guidelines

Sliders: Accessibility

Snackbar: Overview

Snackbar: Specs

Snackbar: Guidelines

Snackbar: Accessibility

Switch: Overview

Switch: Specs

Switch: Guidelines

Switch: Accessibility

Tabs: Overview

Tabs: Specs

Tabs: Guidelines

Tabs: Accessibility

Text fields: Overview

Text fields: Specs

Text fields: Guidelines

Text fields: Accessibility

Toolbars: Overview

Toolbars: Specs

Toolbars: Guidelines

Toolbars: Accessibility

Tooltips: Overview

Tooltips: Specs

Tooltips: Guidelines

Tooltips: Accessibility

On this page

Inputs: Foundations ​

Inputs are devices that provide interactive control of an app. Common inputs include a mouse, keyboard, or touchpad.


  • Design for touch, keyboard, and mouse interactions
  • Embrace multiple input methods and gestures within your app
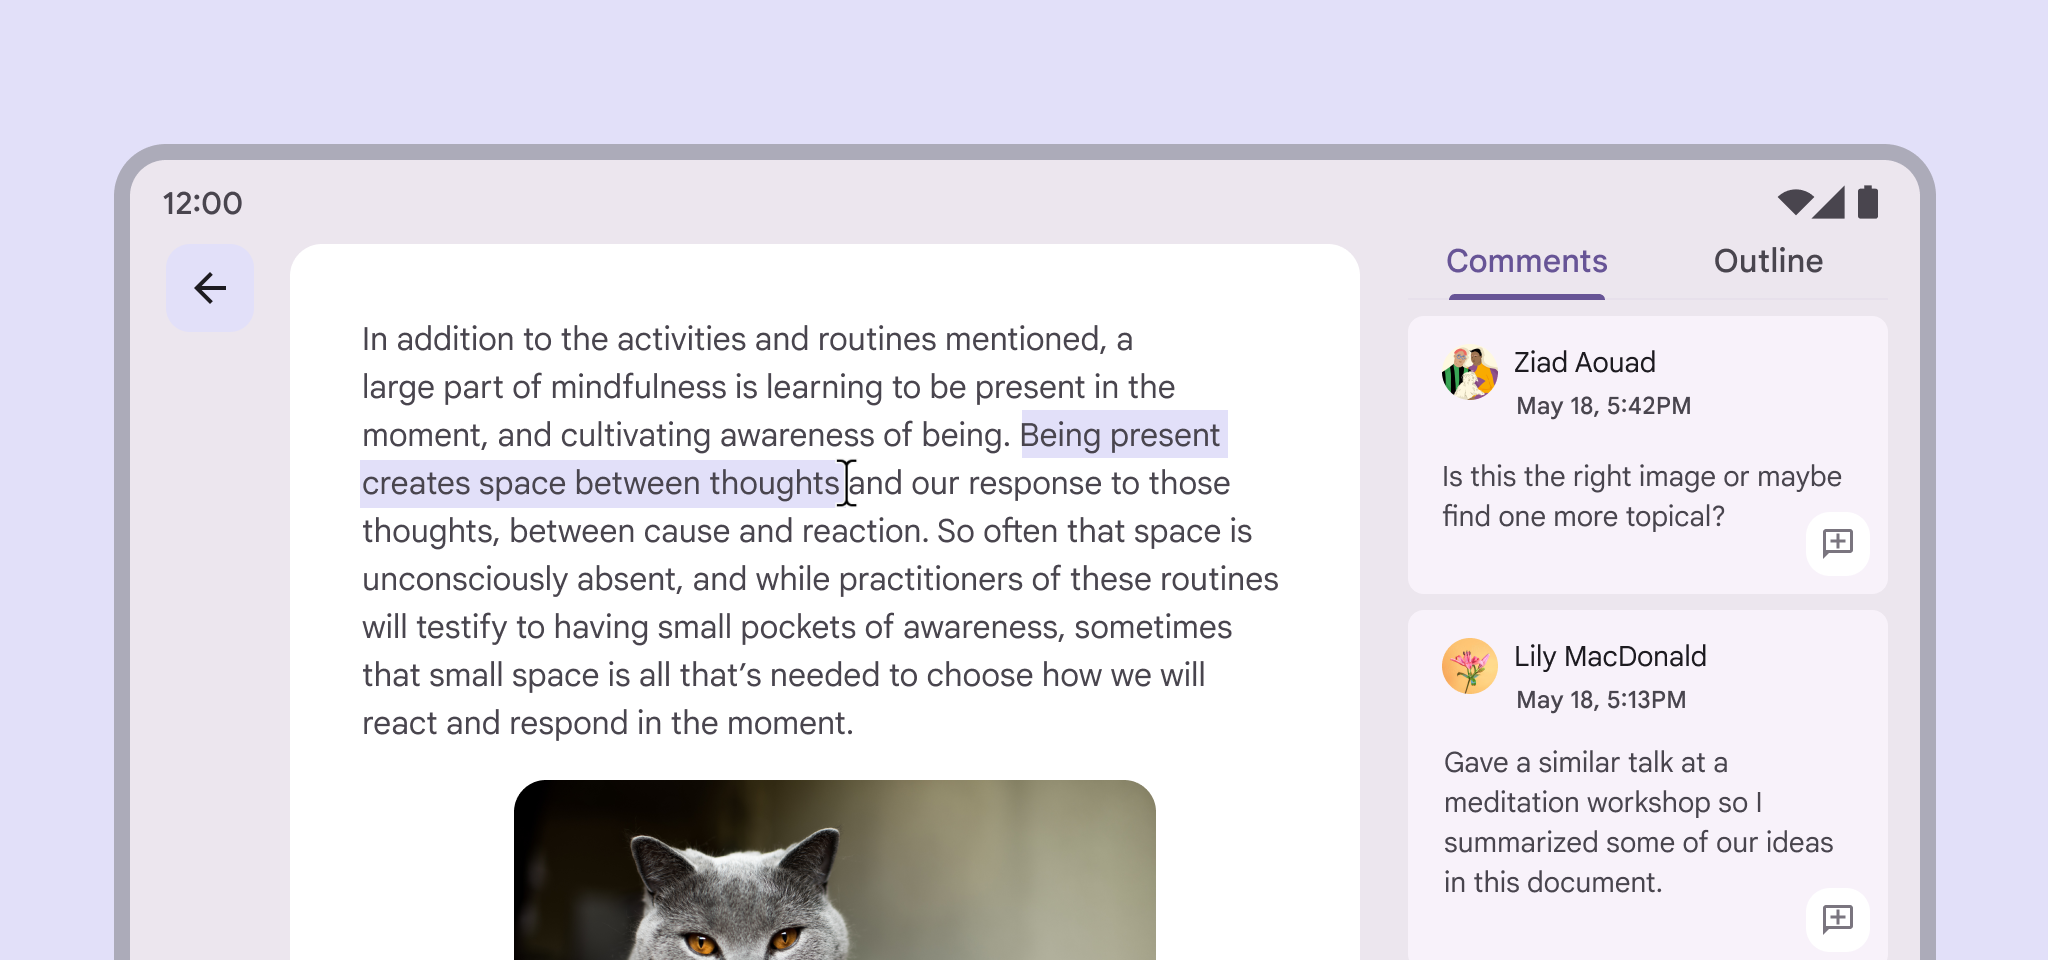
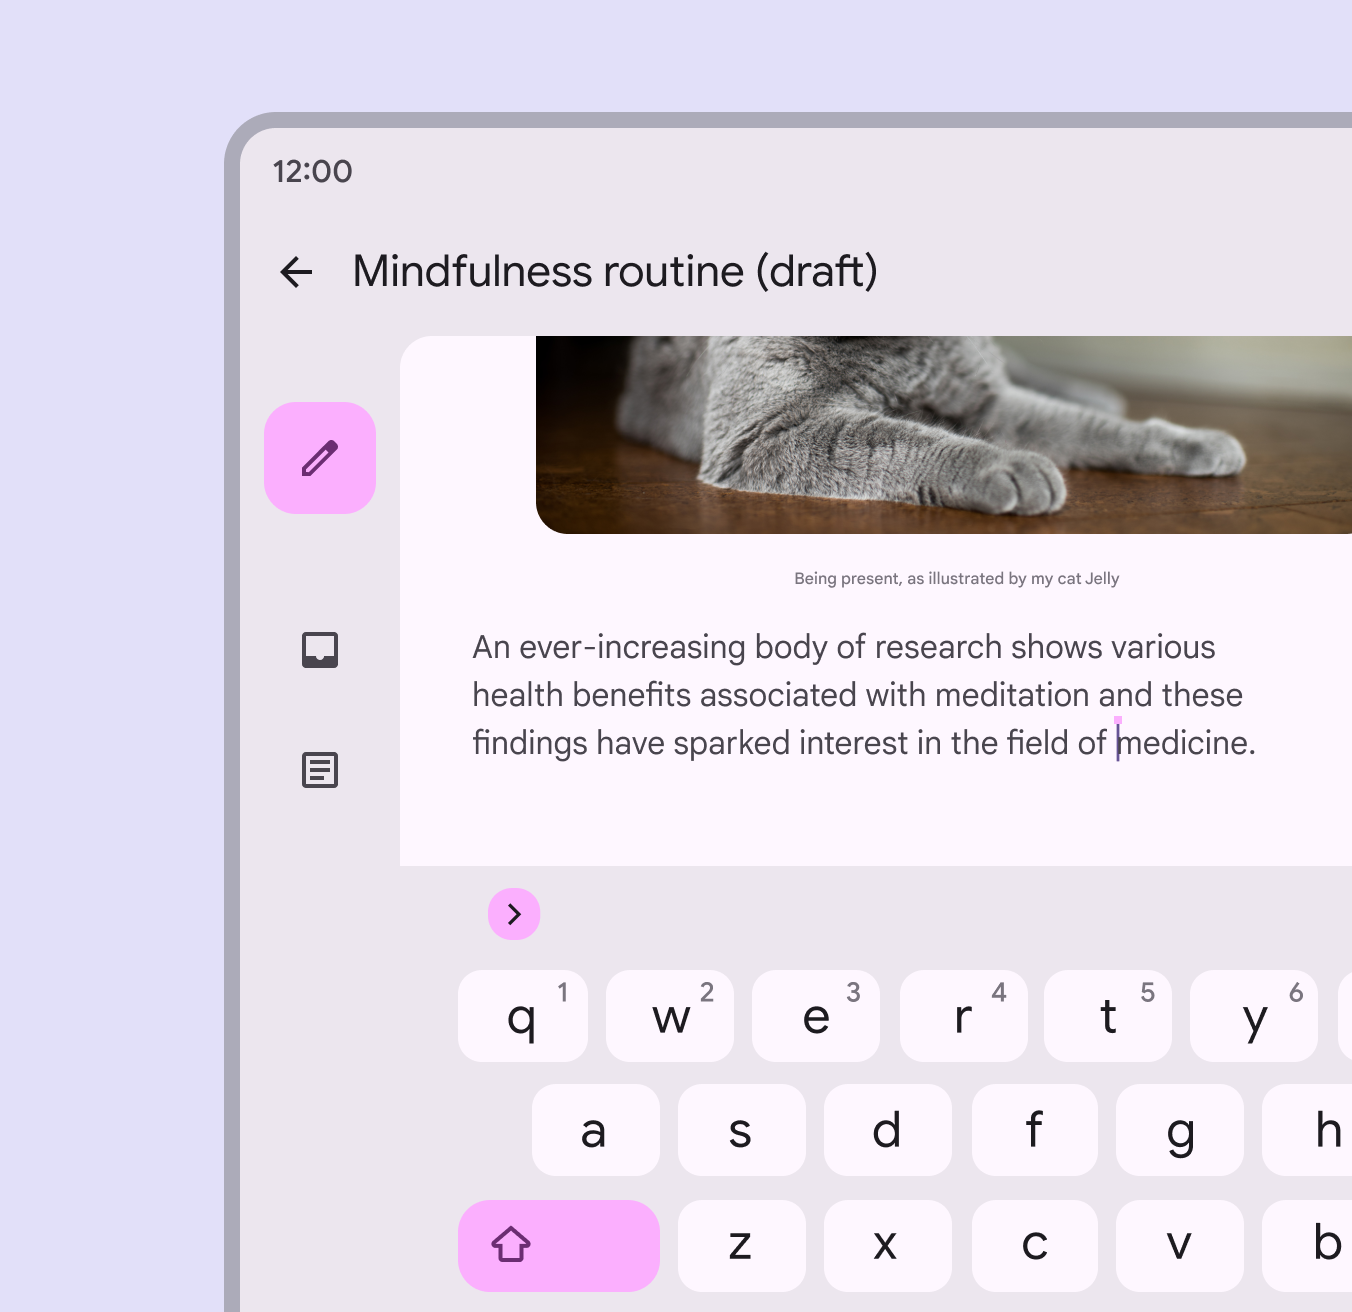
Editing interface on a large screen device. The selected text is highlighted and the text cursor is visible.
Designing for inputs allows people to use the inputs they prefer, like a mouse to highlight text on a tablet

External inputs for devices ​

People can use external inputs like a mouse, keyboard, or stylus with their phone, tablet, foldable, TV, laptop, or desktop computer. When someone connects an external input to their device, they expect it to behave in familiar and useful ways. Designing for different input methods can make a product more usable and accessible on all screen sizes.

Common features of external inputs ​

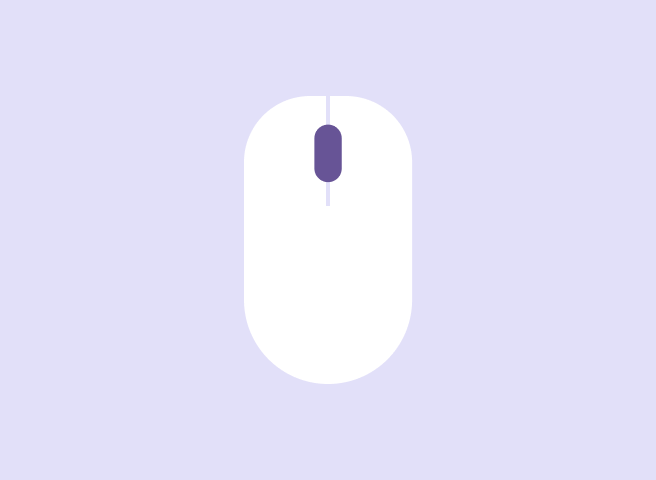
Mouse

  • Left and right click
  • Mouse wheel
  • Extra buttons
Image of a mouse.

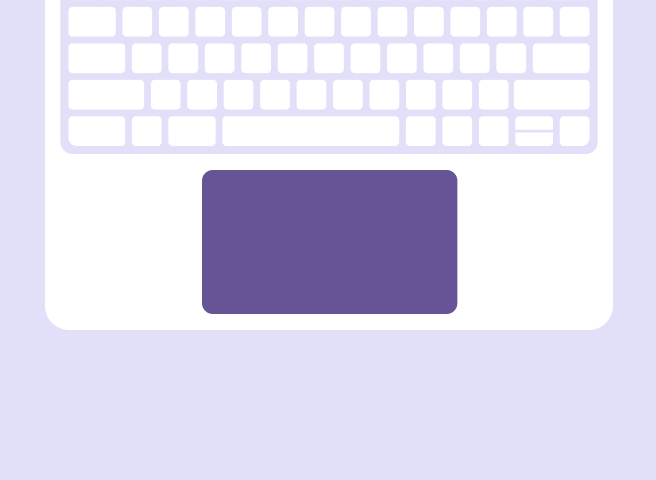
Trackpad

  • Left and right click
  • Gestures
  • Haptics
Image of a laptop keyboard and trackpad.

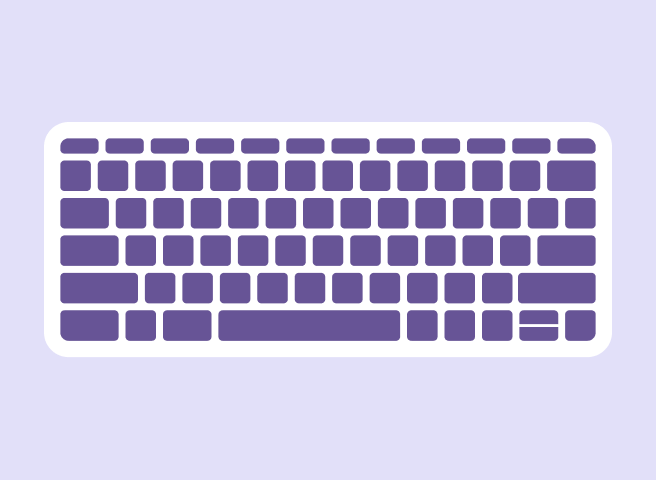
Physical keyboard

  • Replaces virtual keyboard
  • Media keys
  • Modifier keys
Image of a keyboard.

Input device behaviors ​

Depending on the input device, designers and developers can implement behaviors that meet standard conventions and user expectations.

Input device actionAnticipated behavior
Mouse and trackpad movementShow a mouse cursor on the screen
Primary clickTreat mouse clicks differently than touch events
Secondary clickActivate context menus
HoverChange component states
HighlightAllow text to be selected by the mouse cursor
Mouse wheel and trackpad two finger dragScroll list vertically and horizontally
Trackpad pinchZoom an element or page
Physical keyboardHide and show on screen keyboard

Mouse and cursor interactions ​

When an external mouse input device is used, a mouse cursor should be shown, regardless of the device type.

A mouse may be connected to tablets, laptops, phones, foldables, and more. On some devices, it's possible to use an external input device simultaneously with touch input.

On devices that don't specifically recognize mouse or stylus input, the mouse is treated as touch input.

Primary click ​

A mouse click or stylus tap should demonstrate the same feedback as touch input. One example of this is showing the ripple for a pressed state.
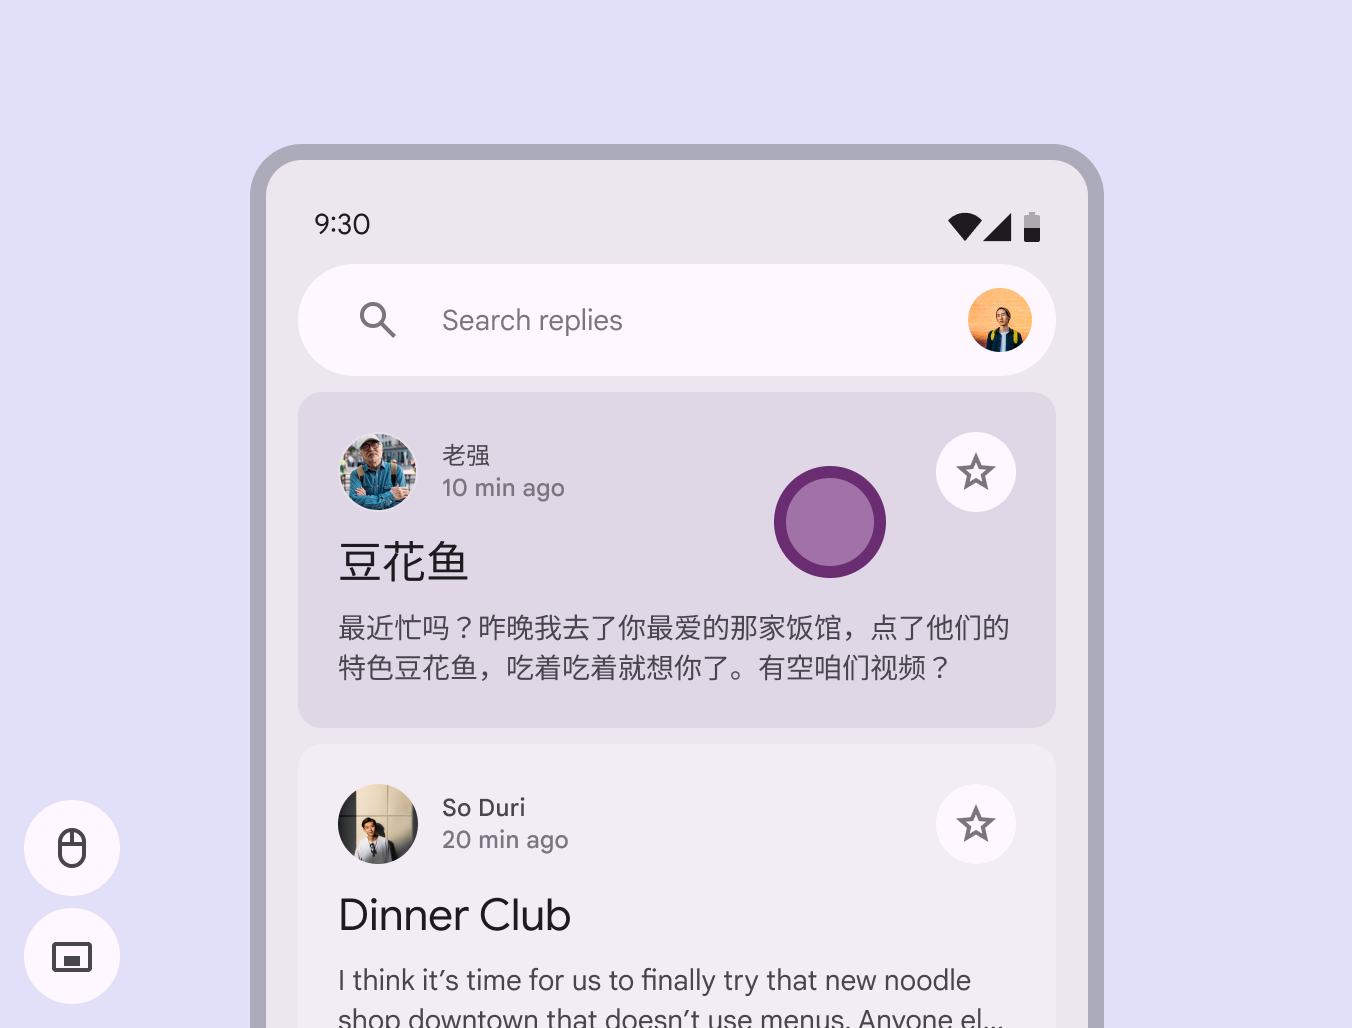
A view of a display with a visible mouse cursor.
A visible mouse cursor is seen when the external input is connected

Secondary click ​

Context menus ​

A secondary click (whether using a single button or two fingers on a trackpad) should activate a context menu. The context menu shows additional options for the object that's clicked. See menus for more usage and guidelines.
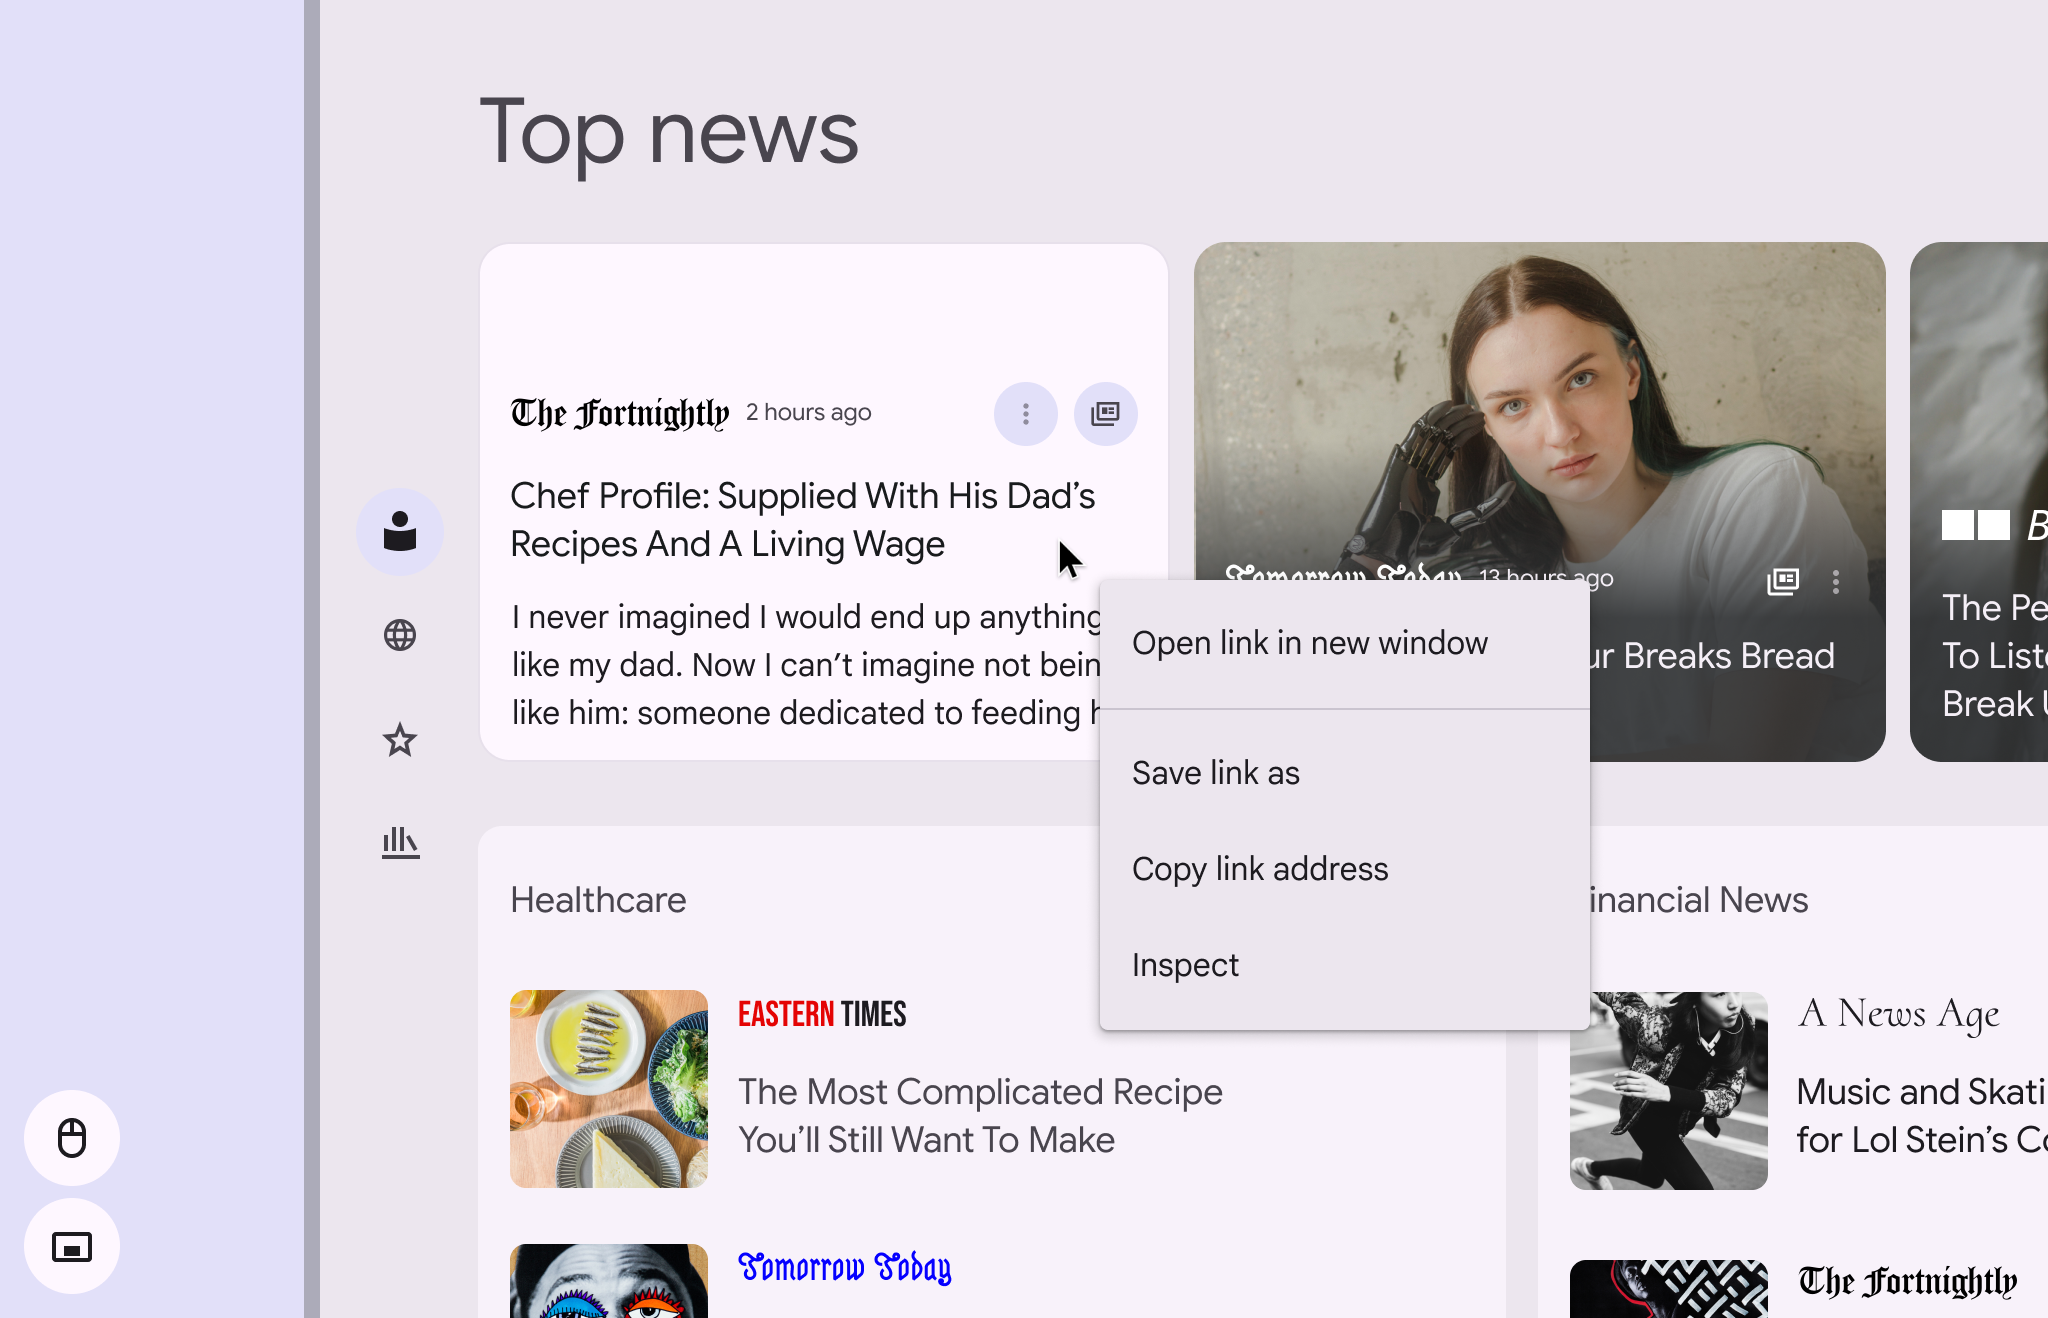
A context menu pop up from a link with the options: Open link in new window, Save link as, Copy link location, and Inspect.
The context menu should appear when right clicking with a mouse or trackpad

Hover ​

When using a mouse cursor, help users discover interactive objects by enabling visual changes. When the mouse rests on an interactive element, the hover state is a valuable cue for interaction. See states for styles and guidelines.

Hovering with a cursor (or stylus) should also invoke tooltips when applicable. See tooltips for guidance.
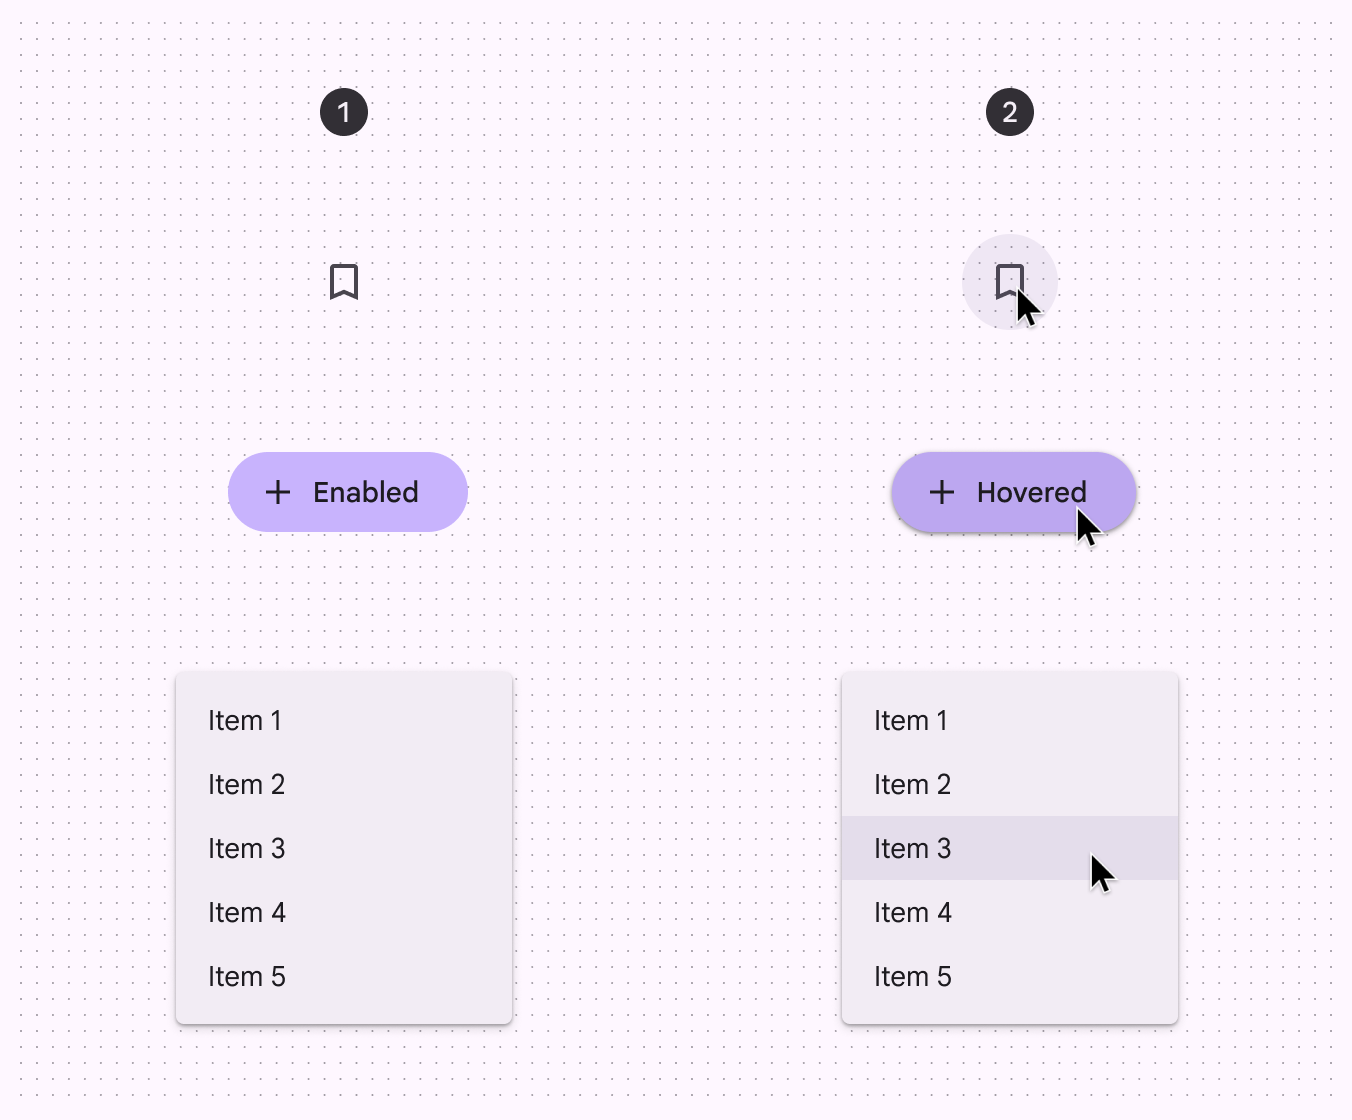
Icon button, floating action button, and menu items in their hovered and not hovered states.
  1. Components without a hover state
  2. Components with a hover state change applied

Cursors ​

Cursors appear when using external input devices like a mouse or trackpad. The cursor can change to communicate more information about interactive elements.

Pointer

By default, external input control should be rendered as a pointer.
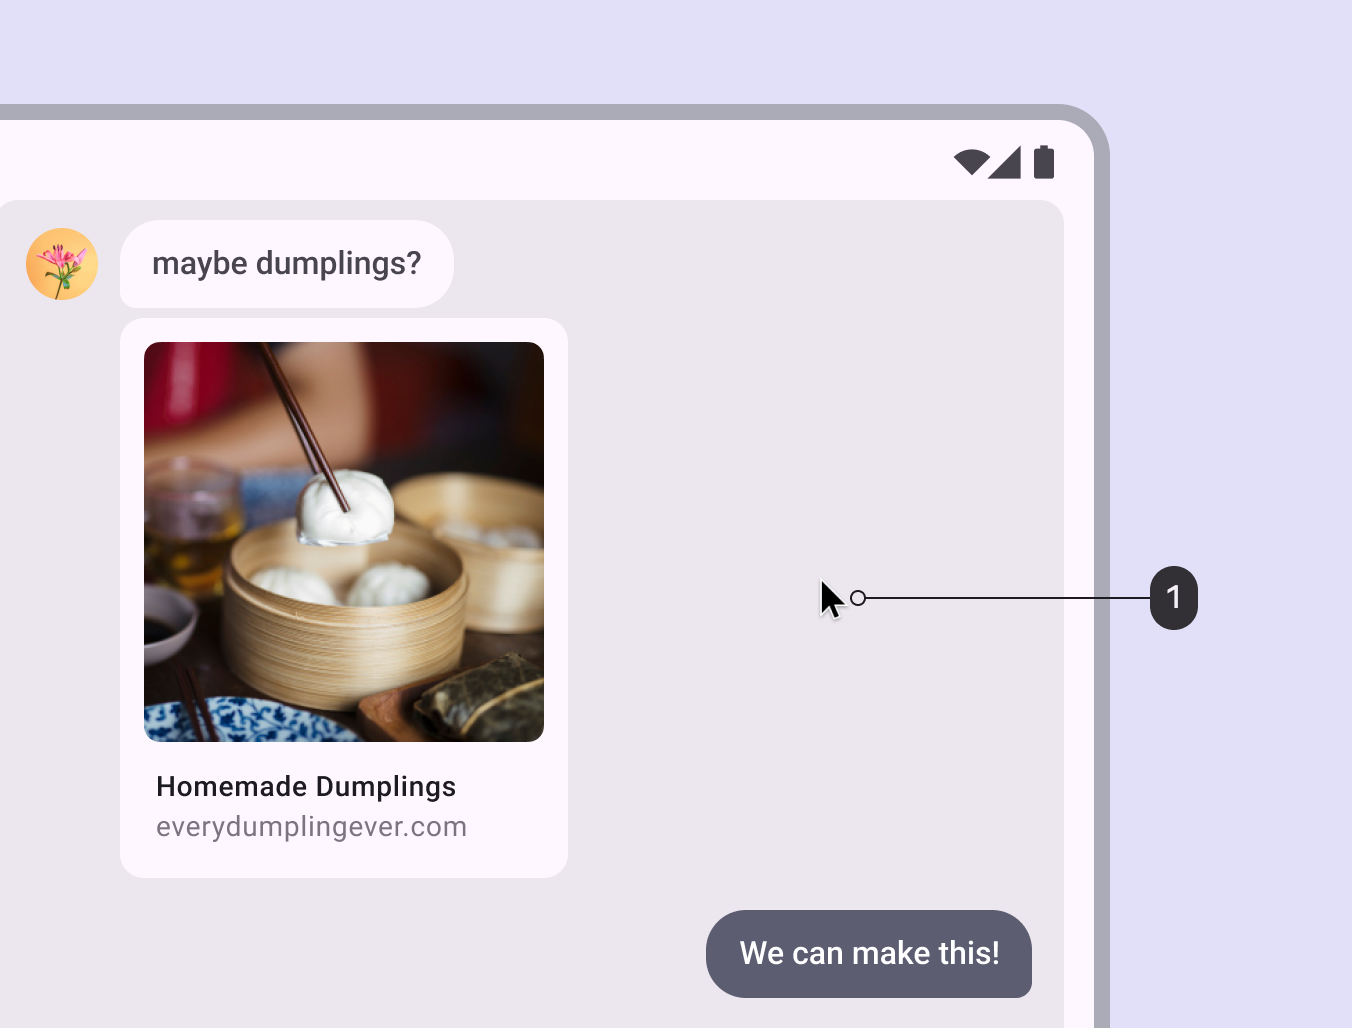
A cursor rendered as a pointer.
  1. A pointer provides a visible indicator for input controls

Hand

The cursor should appear as a hand to indicate links or linked images.
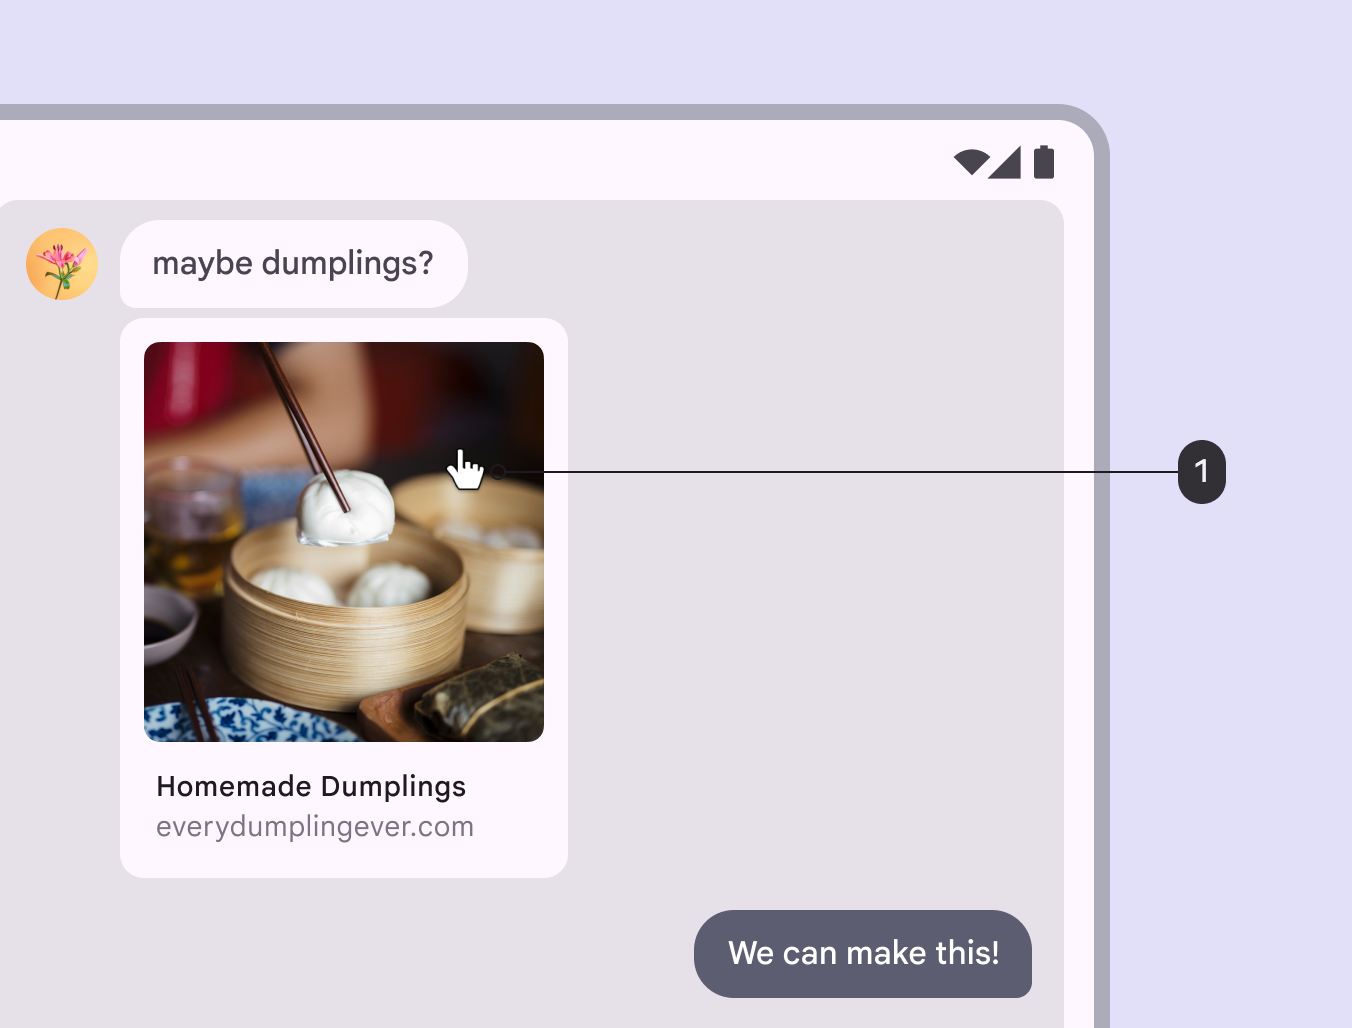
A link cursor (hand) shown when hovering over a linked image.
  1. The hand cursor is used for links and clickable images

Resize arrows

The cursor should change to resize arrows on the boundaries of resizable elements.
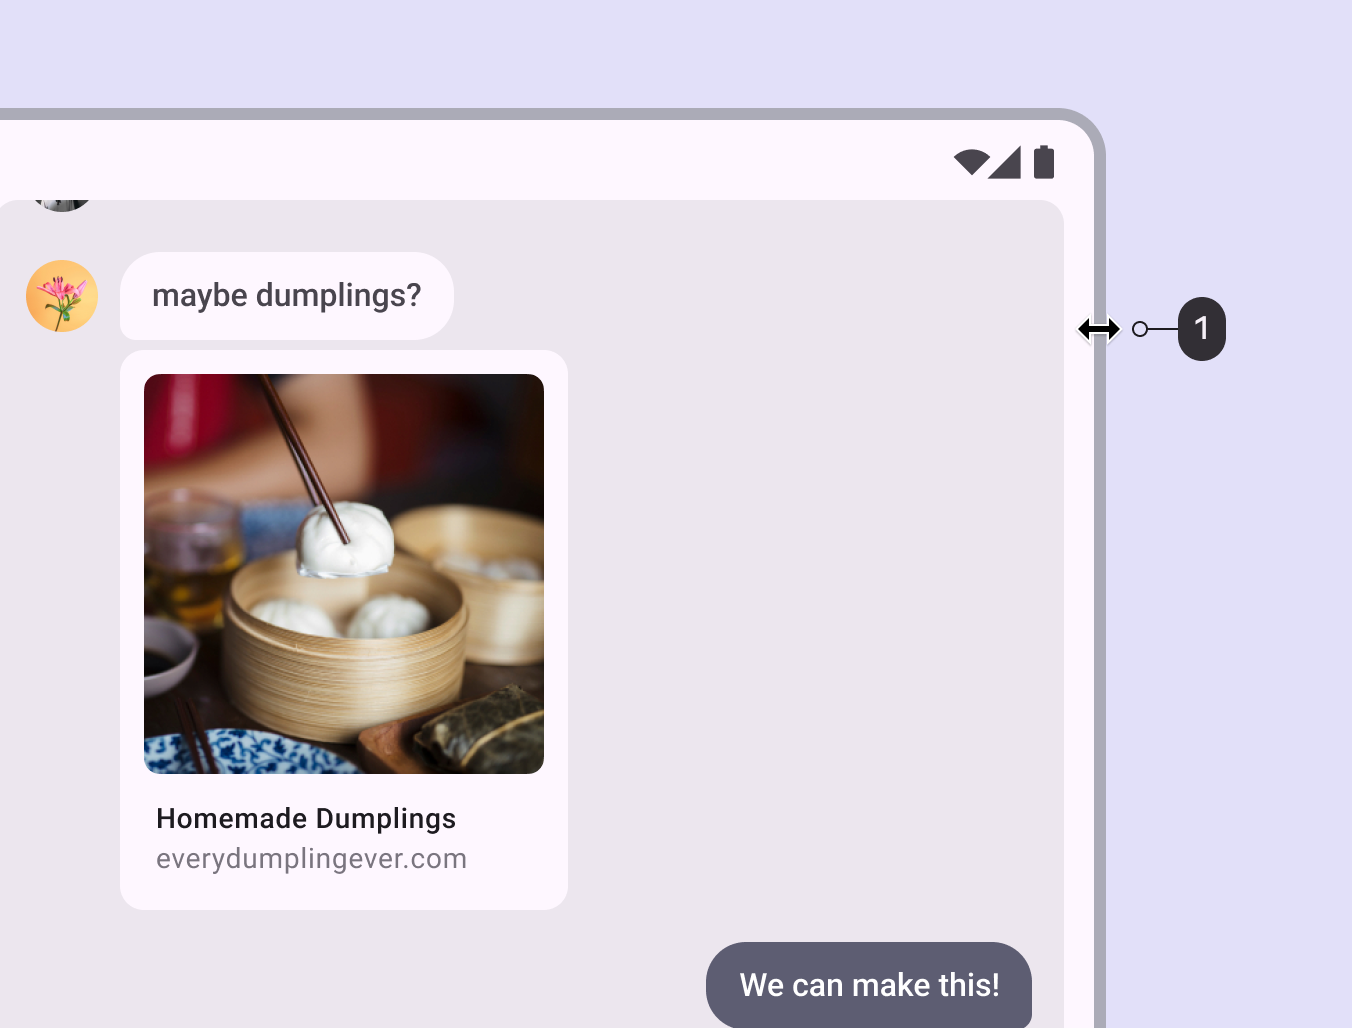
A cursor at the edge of the screen as resize arrows.
  1. Resize arrows indicate an element can be resized

I-beam

The cursor should appear as an I-beam when hovering on text. When manipulating editable text, the following interactions apply:

  • Single click places the cursor
  • Double click selects a word
  • Triple click selects a paragraph
  • Single click deselects text and repositions the cursor
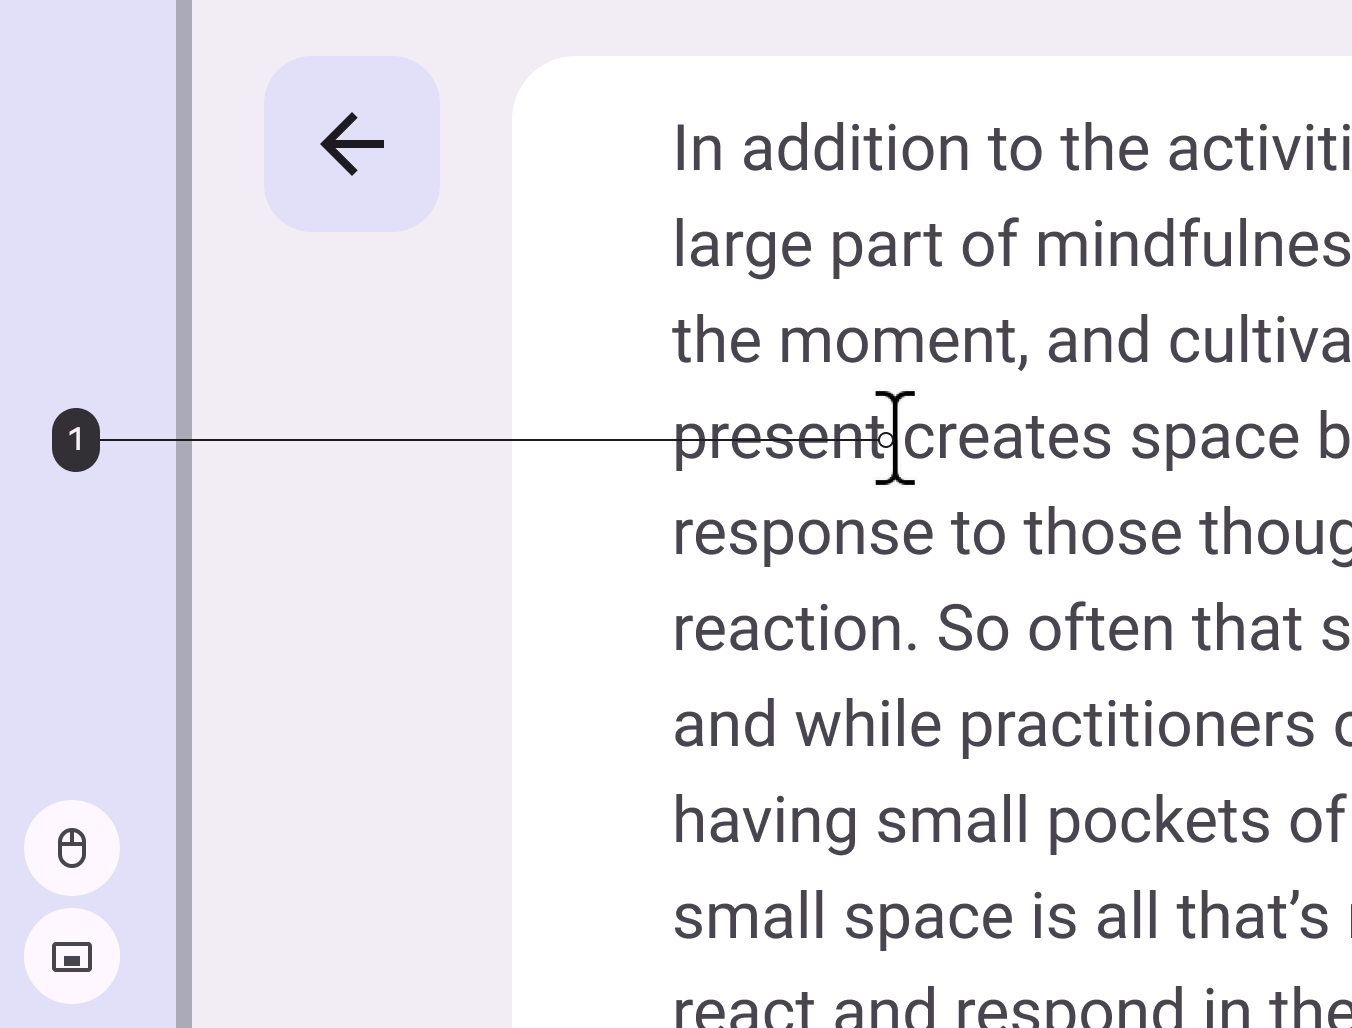
I-beam cursor hovering over selectable text.
  1. An I-beam cursor indicates selectable text

Text selection

When selecting text using a mouse, trackpad, or stylus:

  • Highlight the selected area using a single color
  • Don’t show touch controls next to the highlighted area
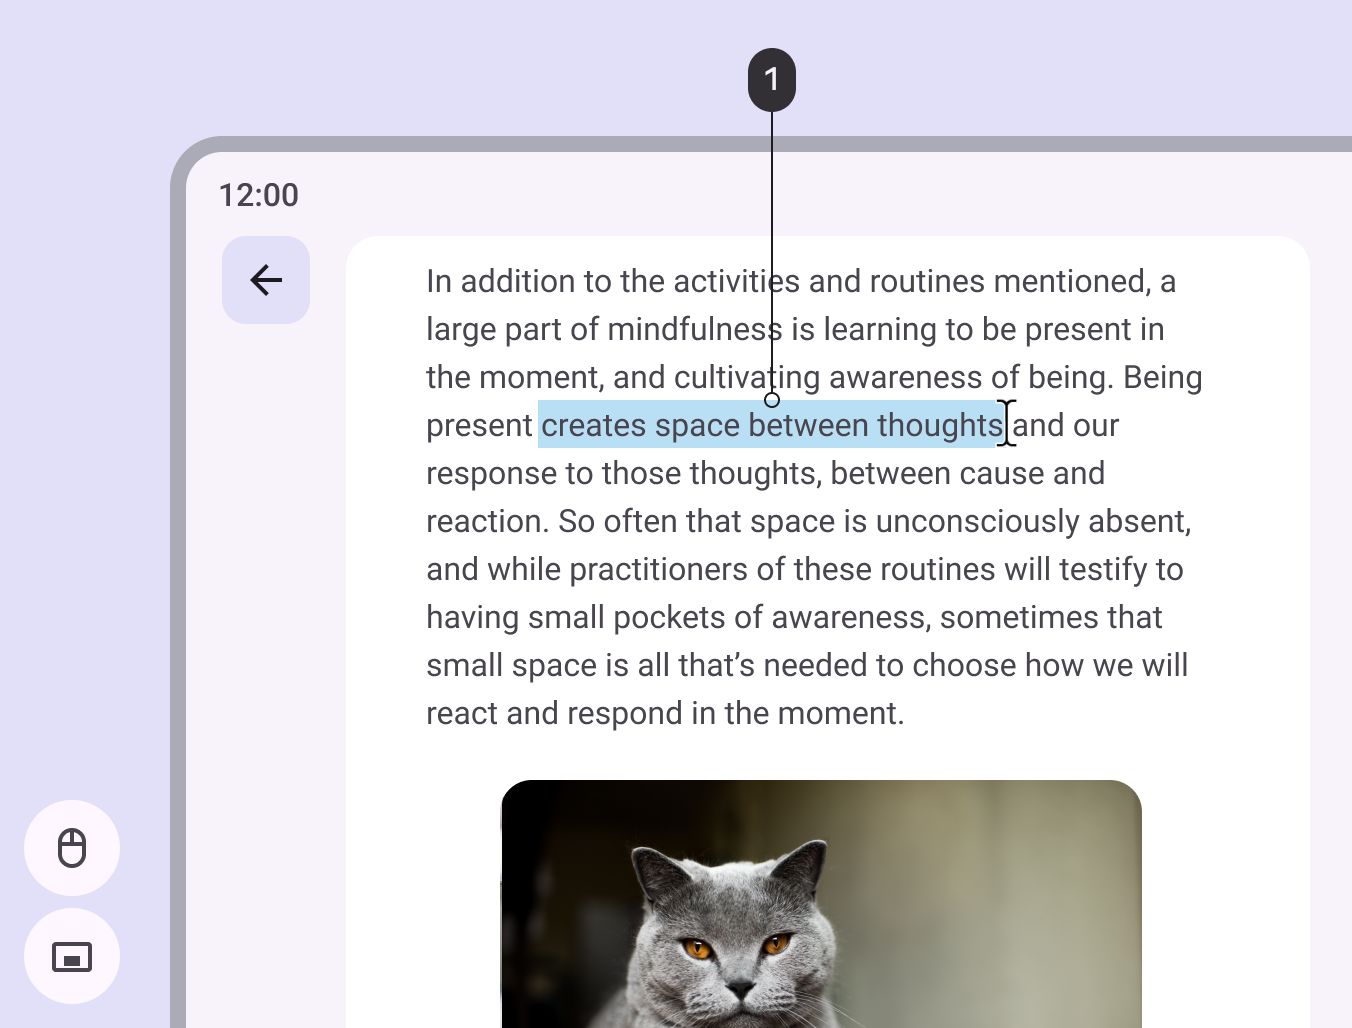
Highlighted text in a single color.
  1. Selected text shows a visible highlight

Text selection with touch control ​

When interacting using touch, always show touch controls, even if other inputs are connected.

When using a mouse, trackpad, or stylus, show the I-beam and context menu, even if it's a touch device.
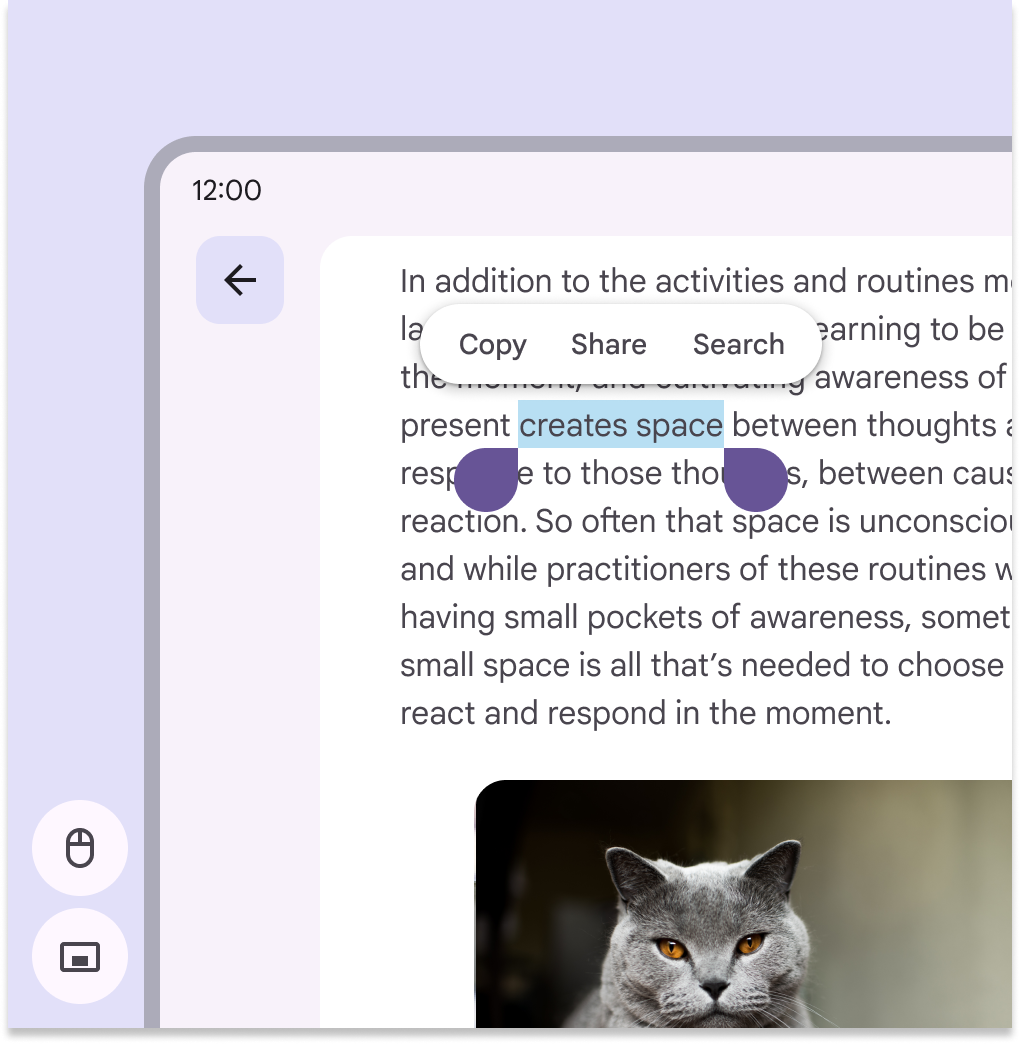
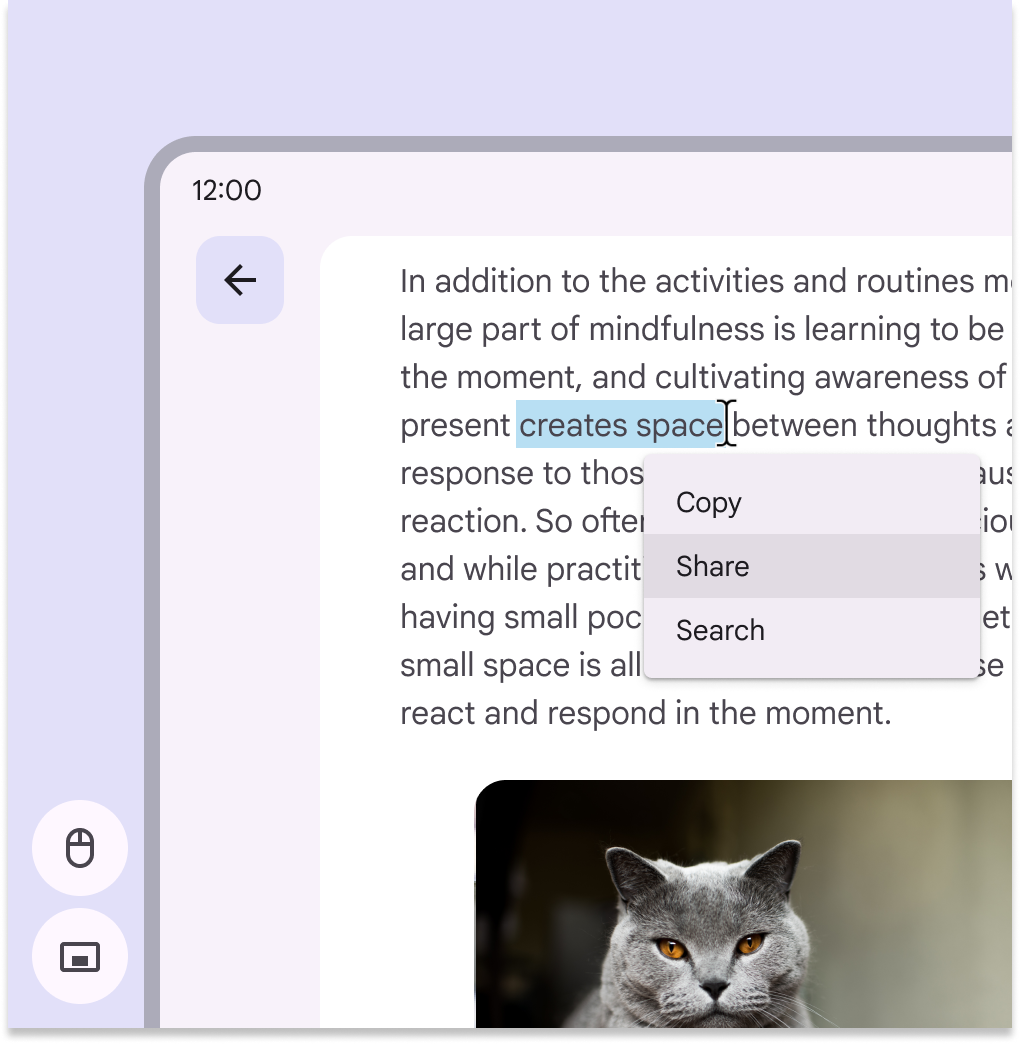
Touch controls are produced on selected text, with mouse and trackpad detected.
When using a touchscreen to select text, show touch controls
Selected text with a context menu, with mouse and trackpad detected.
When using a mouse, trackpad, or stylus to select text, use the right-click context menu

Stylus input

When using a stylus, cursors are usually not necessary, unless they communicate tool properties such as brush size or shape.
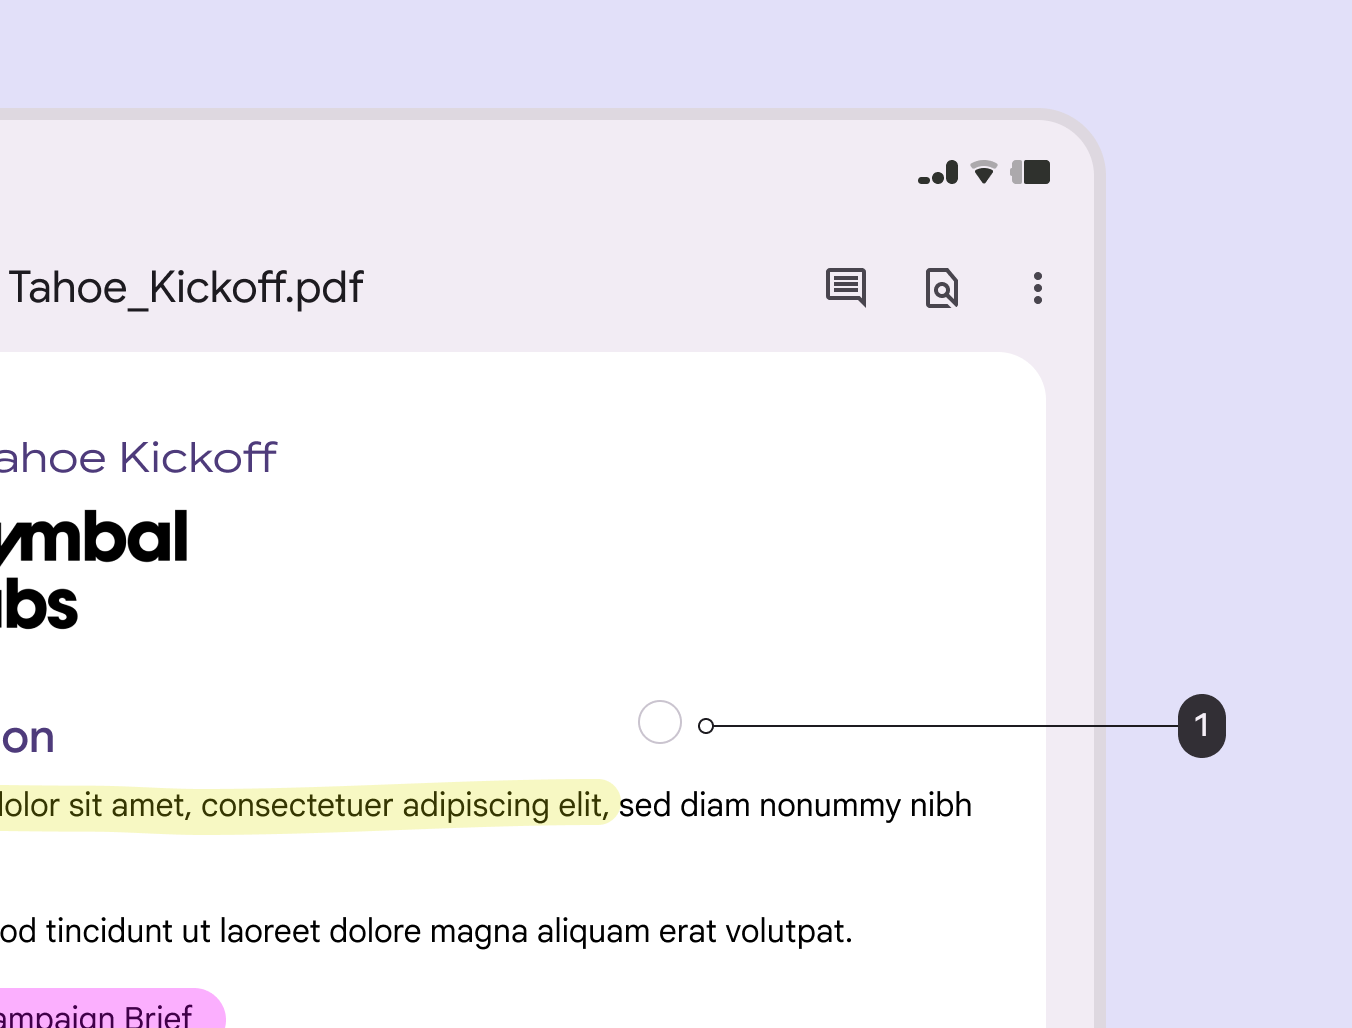
A cursor rendered as a circle.
  1. The circle cursor indicates the selected stylus tool and size

Mouse wheel and trackpad gestures ​

When an external mouse or touchpad is used, the mouse wheel and trackpad gesture allow more actions.

Vertical scroll

When a cursor is positioned on a list, the mouse wheel and two-finger touchpad gesture should allow vertical scrolling of the list.

Scrolling a vertical list using the mouse wheel or trackpad gestures. Note that only the detail panel under the cursor scrolls.

Touch scroll & mouse text selection ​

Upon touch and drag gesture, the text area will scroll. With a mouse interaction, dragging in a text area will select the text.

On a touch screen, dragging upward scrolls the field down
When using a mouse, dragging upward selects text and images

Horizontal scroll ​

Mouse users should be able to scroll with a mouse wheel to navigate horizontally scrolling fields. Trackpad users should be able to scroll using a two-finger horizontal gesture.

Carousels can scroll horizontally using a scroll wheel or trackpad

Physical keyboard ​

When a physical keyboard is connected to a device, either externally or as a built-in laptop keyboard, users should be able to perform any actions that the virtual keyboard provides, and more.

Show and hide virtual keyboard ​

A virtual keyboard should appear or hide in response to the presence of a physical keyboard.
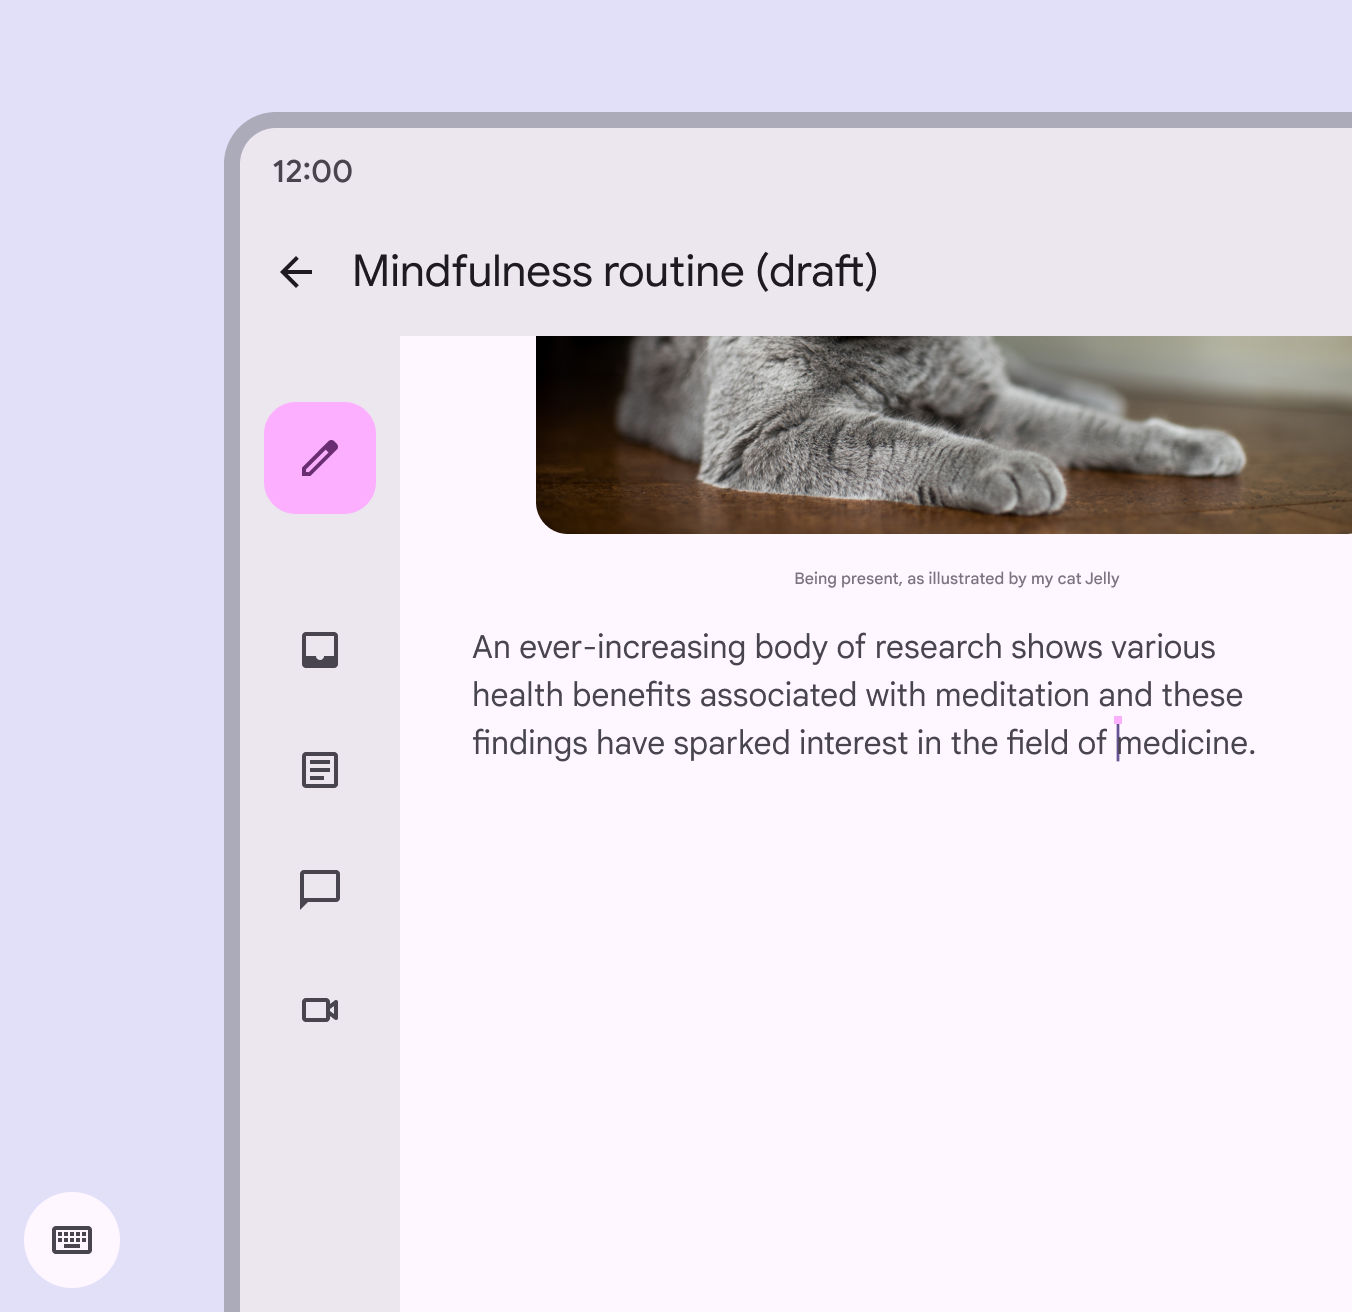
Text being entered into a field with no on-screen keyboard displayed.
Do When a physical keyboard is attached, hide the virtual keyboard
Text being entered into a field with an on-screen keyboard.
Do When a physical keyboard is removed, show the virtual keyboard

Common keyboard interactions ​

Enter key ​

People typically expect the Enter key on a physical keyboard to be enabled by developers to allow a common function like sending a message.

The Enter key typically triggers actions like sending a message

Spacebar control ​

People typically expect the Spacebar (or available media keys) to be enabled to play and pause music or video.

Pressing Space usually pauses and plays media

Tab focus ​

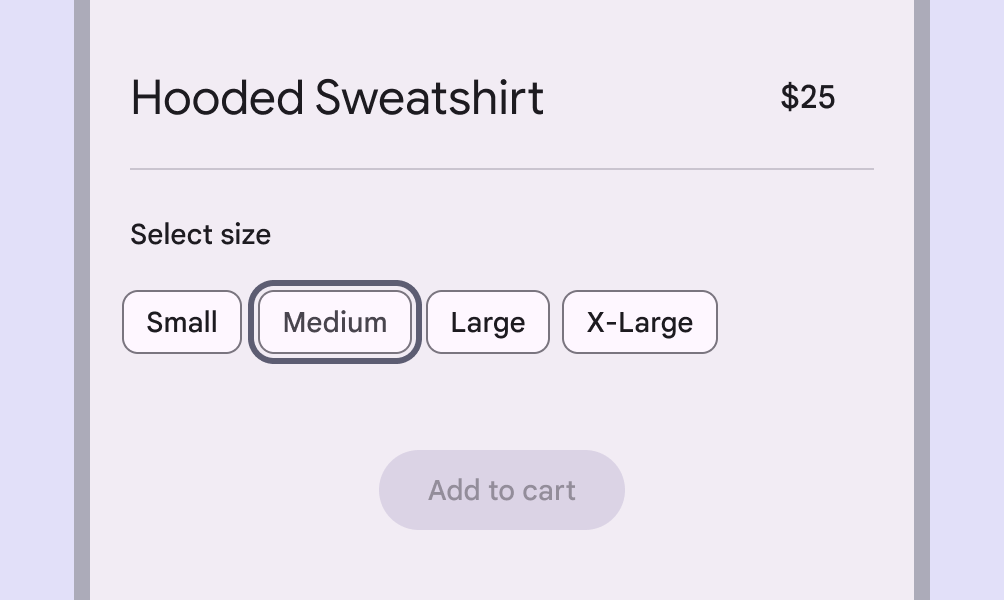
When keyboard users navigate a page using Tab, the focus on interactive items must follow a logical order. On most pages, that means left to right, top to bottom.

When focused from a keyboard or other input device, the focus state includes a ring-like keyboard focus indicator.
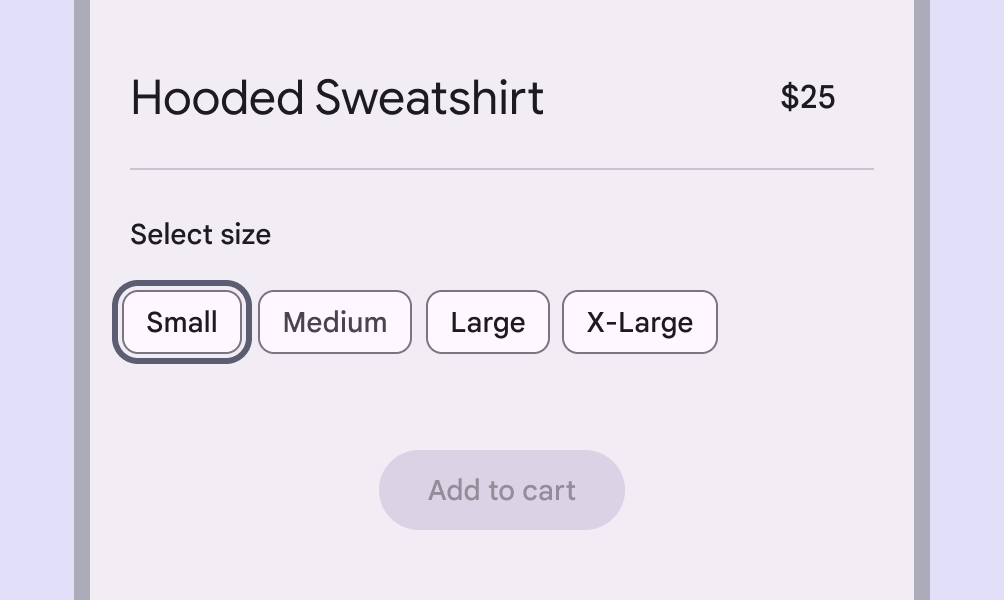
Tab focus is on “small,” which is one of four size options for sweatshirts at an online store.
Tab focus includes a visible keyboard focus indicator
Tab focus is on “medium,” which is one of four size options for sweatshirts at an online store.
The focus state moves elements as the user presses Tab on their keyboard

Escape key ​

People typically expect the Escape key on a physical keyboard to dismiss elements, remove focus, or clear selections.

The Escape key should dismiss any visible modal elements like menus, dialogs, or bottom sheets
The Escape key should remove any visible focus indicators and set the focus order to 0
The Escape key should remove the text cursor when typing, but should not remove already-typed text
Pager
Previous pageGestures
Next pageSelection

Released under the Apache 2.0 or CC BY 4.0

Copyright © 2018-Present Google

https://m3.material.io/foundations/interaction/inputs

Released under the Apache 2.0 or CC BY 4.0

Copyright © 2018-Present Google