Skip to content
Material Design 3
Main Navigation
v3
v2
v1

English

简体中文
繁體中文
Español
Français
Русский
Português – Brasil
Deutsch
日本語
한국어
Italiano
Polski
Türkçe
čeština
magyar

English

简体中文
繁體中文
Español
Français
Русский
Português – Brasil
Deutsch
日本語
한국어
Italiano
Polski
Türkçe
čeština
magyar

Appearance

Sidebar Navigation

Foundations

Accessibility

Overview: Principles

Overview: Assistive technology

Designing: Overview

Designing: Color contrast

Designing: Structure

Designing: Flow

Designing: Elements

Writing and text: Best practices

Writing and text: Text truncation

Writing and text: Text resizing

Building for all: User needs

Building for all: Co-design

Content design

Overview

Alt text

Global writing: Overview

Global writing: Word choice

Notifications

Style guide: UX writing best practices

Style guide: Word choice

Style guide: Grammar and punctuation

Customizing Material

Devices

Watches: Overview

Watches: Foundations

Watches: Styles

Watches: Layout

XR

Design: Overview

Design: Interaction

Design: Layout

Design: Accessibility

Components: Overview

Components: App bars

Components: Dialogs

Components: Nav bar

Components: Nav rail

Components: Toolbars

Design tokens: Overview

Design tokens: How to use tokens

Interaction

Gestures

Inputs

Selection

States: Overview

States: State layers

States: Applying states

Layout

Overview: Overview

Overview: Parts of layout

Overview: Adaptive design

Scaffold: Overview

Scaffold: Bars

Scaffold: Rails

Scaffold: Panes

Grids & spacing: Overview

Grids & spacing: Grids

Grids & spacing: Spacing

Grids & spacing: Density

Breakpoints: Overview

Breakpoints: Compact

Breakpoints: Medium

Breakpoints: Expanded

Breakpoints: Large & extra-large

Bidirectionality & RTL

Canonical examples: Overview

Canonical examples: Feed

Canonical examples: List-detail

Canonical examples: Supporting pane

Usability: Overview

Usability: Applying M3 Expressive

Material A-Z

Styles

Color

Color system: Overview

Color system: How the system works

Color roles

Color schemes

Choosing a scheme

Static: Baseline

Static: Custom brand

Dynamic: Choosing a source

Dynamic: User-generated source

Dynamic: Content-based source

Advanced: Overview

Advanced: Apply colors

Advanced: Define new colors

Advanced: Adjust existing colors

Color resources

Elevation: Overview

Elevation: Applying elevation

Elevation: Tokens

Icons: Overview

Icons: Designing icons

Icons: Applying icons

Motion

Motion physics system: How it works

Motion physics system: Specs

Easing and duration: Applying easing and duration

Easing and duration: Tokens & specs

Transitions: Transition patterns

Transitions: Applying transitions

Shape: Overview & principles

Shape: Corner radius scale

Shape: Shape morph

Spacing: Overview

Spacing: Applying spacing

Spacing: Tokens

Typography: Overview

Typography: Fonts

Typography: Type scale & tokens

Typography: Applying type

Typography: Editorial treatments

Components

App bars: Overview

App bars: Specs

App bars: Guidelines

App bars: Accessibility

Badges: Overview

Badges: Specs

Badges: Guidelines

Badges: Accessibility

Buttons

All buttons

Button groups: Overview

Button groups: Specs

Button groups: Guidelines

Button groups: Accessibility

Buttons: Overview

Buttons: Specs

Buttons: Guidelines

Buttons: Accessibility

Extended FABs: Overview

Extended FABs: Specs

Extended FABs: Guidelines

Extended FABs: Accessibility

FAB menu: Overview

FAB menu: Specs

FAB menu: Guidelines

FAB menu: Accessibility

FABs: Overview

FABs: Specs

FABs: Guidelines

FABs: Accessibility

Icon buttons: Overview

Icon buttons: Specs

Icon buttons: Guidelines

Icon buttons: Accessibility

Segmented buttons: Overview

Segmented buttons: Specs

Segmented buttons: Guidelines

Segmented buttons: Accessibility

Split button: Overview

Split button: Specs

Split button: Guidelines

Split button: Accessibility

Cards: Overview

Cards: Specs

Cards: Guidelines

Cards: Accessibility

Carousel: Overview

Carousel: Specs

Carousel: Guidelines

Carousel: Accessibility

Checkbox: Overview

Checkbox: Specs

Checkbox: Guidelines

Checkbox: Accessibility

Chips: Overview

Chips: Specs

Chips: Guidelines

Chips: Accessibility

Date & time pickers

Date pickers: Overview

Date pickers: Specs

Date pickers: Guidelines

Date pickers: Accessibility

Time pickers: Overview

Time pickers: Specs

Time pickers: Guidelines

Time pickers: Accessibility

Dialogs: Overview

Dialogs: Specs

Dialogs: Guidelines

Dialogs: Accessibility

Divider: Overview

Divider: Specs

Divider: Guidelines

Divider: Accessibility

Lists: Overview

Lists: Specs

Lists: Guidelines

Lists: Accessibility

Loading & progress

Loading indicator: Overview

Loading indicator: Specs

Loading indicator: Guidelines

Loading indicator: Accessibility

Progress indicators: Overview

Progress indicators: Specs

Progress indicators: Guidelines

Progress indicators: Accessibility

Menus: Overview

Menus: Specs

Menus: Guidelines

Menus: Accessibility

Navigation

Navigation bar: Overview

Navigation bar: Specs

Navigation bar: Guidelines

Navigation bar: Accessibility

Navigation drawer: Overview

Navigation drawer: Specs

Navigation drawer: Guidelines

Navigation drawer: Accessibility

Navigation rail: Overview

Navigation rail: Specs

Navigation rail: Guidelines

Navigation rail: Accessibility

Radio button: Overview

Radio button: Specs

Radio button: Guidelines

Radio button: Accessibility

Search: Overview

Search: Specs

Search: Guidelines

Search: Accessibility

Sheets

Bottom sheets: Overview

Bottom sheets: Specs

Bottom sheets: Guidelines

Bottom sheets: Accessibility

Side sheets: Overview

Side sheets: Specs

Side sheets: Guidelines

Side sheets: Accessibility

Sliders: Overview

Sliders: Specs

Sliders: Guidelines

Sliders: Accessibility

Snackbar: Overview

Snackbar: Specs

Snackbar: Guidelines

Snackbar: Accessibility

Switch: Overview

Switch: Specs

Switch: Guidelines

Switch: Accessibility

Tabs: Overview

Tabs: Specs

Tabs: Guidelines

Tabs: Accessibility

Text fields: Overview

Text fields: Specs

Text fields: Guidelines

Text fields: Accessibility

Toolbars: Overview

Toolbars: Specs

Toolbars: Guidelines

Toolbars: Accessibility

Tooltips: Overview

Tooltips: Specs

Tooltips: Guidelines

Tooltips: Accessibility

On this page

States: Applying states ​

States show the interaction status of a component or UI element

Enabled ​

An enabled state communicates an interactive component or element. Enabled states use the default styling for each interactive component.
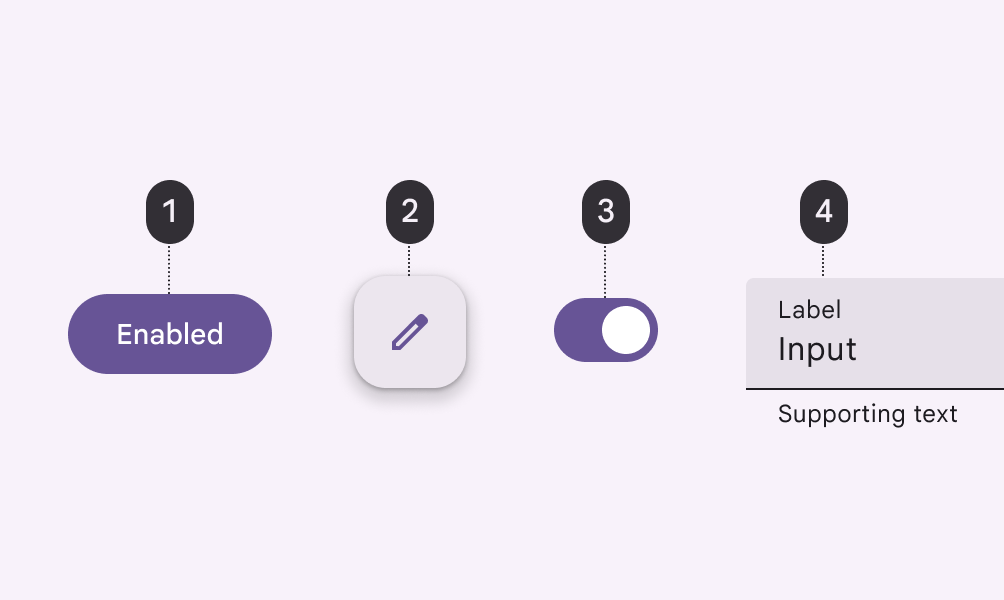
Enabled state of 4 components.

Enabled states for:

  1. Button
  2. FAB
  3. Switch
  4. Text field

Disabled ​

A disabled state communicates when a component or element isn’t interactive. This state is visually communicated through color changes and reduced elevation.

Disabled states don't need to meet Material's contrast requirements.
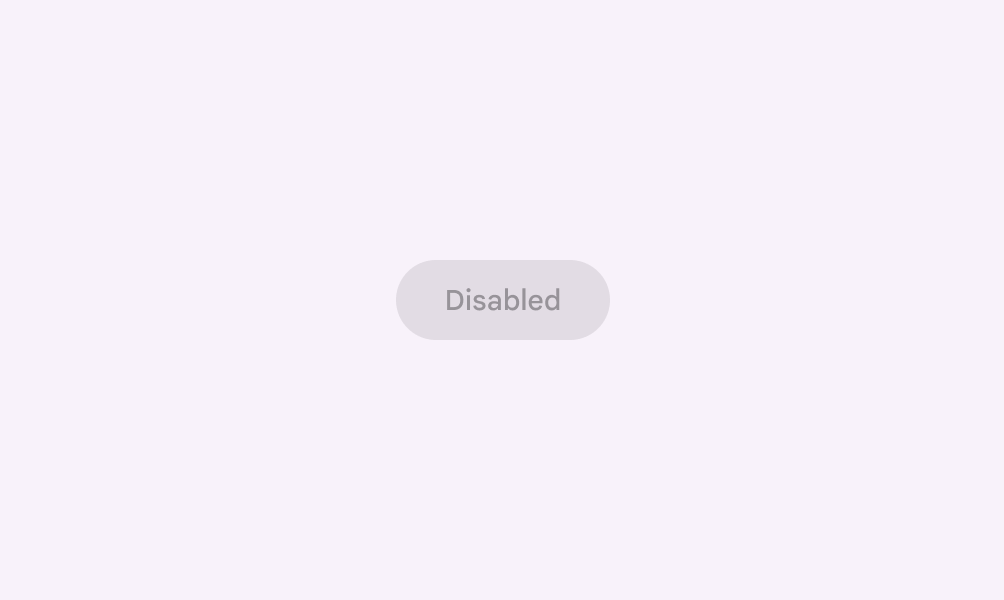
Low opacity solitary button labeled disabled, indicates a  disabled/inoperable state.

Disabled button

Disabled states are inherited by action, selection, and input components:

  • Buttons
  • Cards
  • Checkboxes
  • Chips
  • List items
  • Radio buttons
  • Switches
  • Text fields
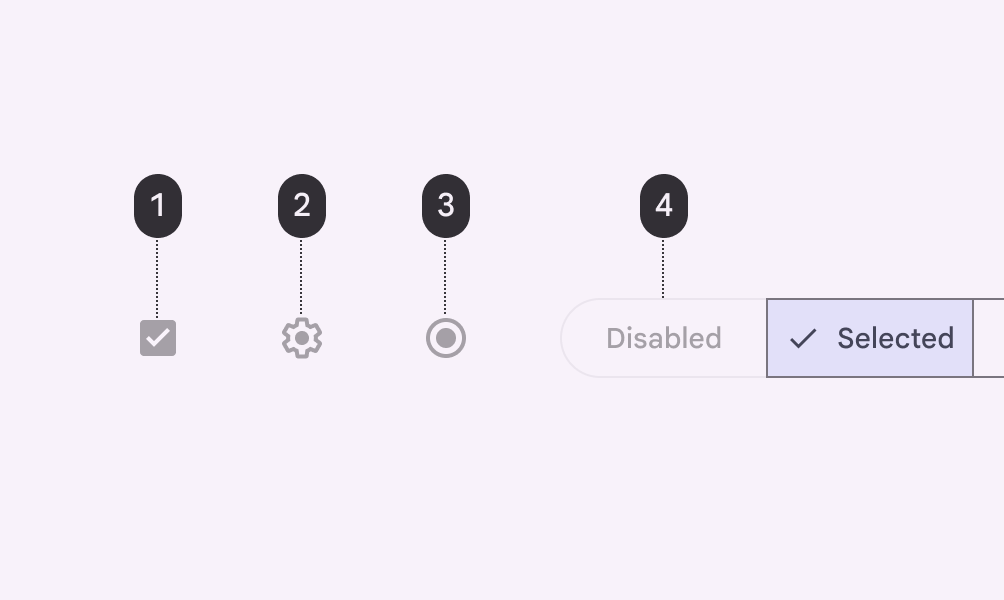
Inoperable state of 4 components.

Disabled states for:

  1. Checkbox
  2. Icon button
  3. Radio button
  4. Segmented button

Disabled states aren't inherited by communication, containment, navigation, and some actions components: 

  • App bars
  • Badges
  • Dialogs
  • Floating action buttons (FABs)
  • Menus
  • Navigation bar, drawer, and rail
  • Sheets
  • Tabs
  • Tooltips
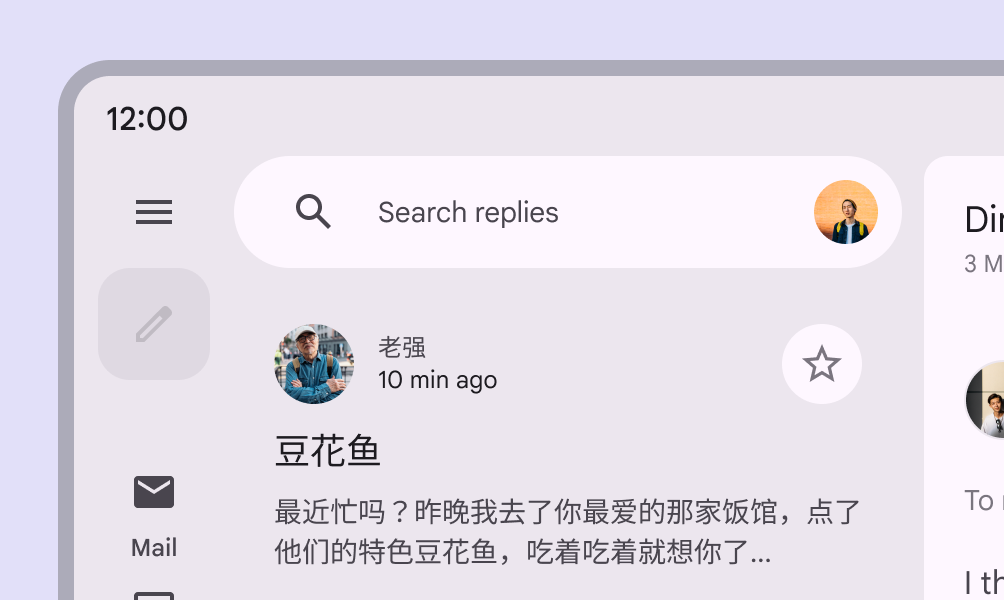
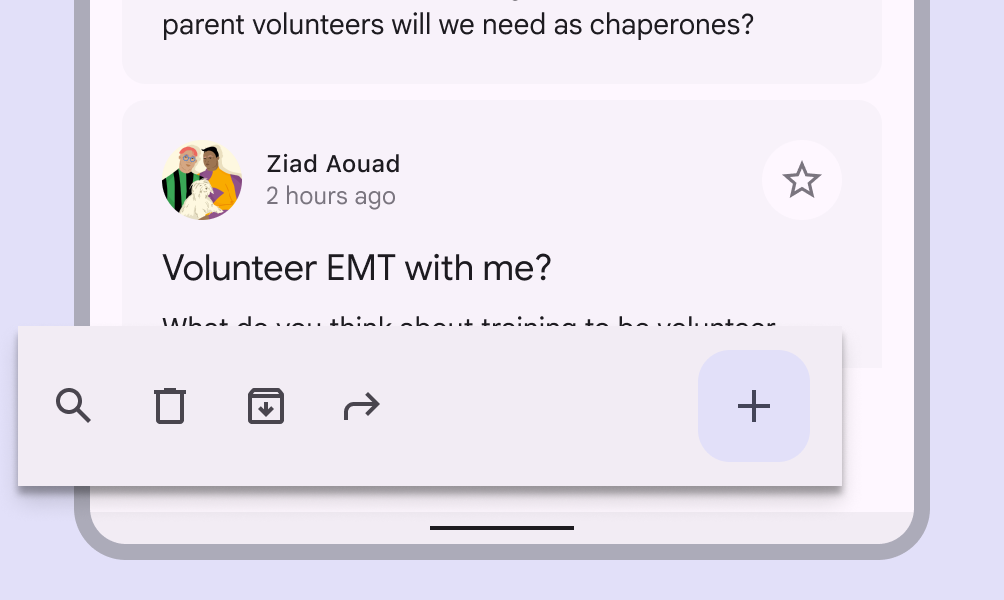
Screen erroneously showing edit FAB in inoperable state, though the edit function is unavailable.
Don’t

If the action represented in the FAB is unavailable, the FAB shouldn't appear

Behavior

Disabled components can’t be focused, dragged, or pressed, and they don’t change state when tapped or hovered over.

A disabled button doesn’t inherit hover or other state layers

There can be any number of disabled states in a layout.
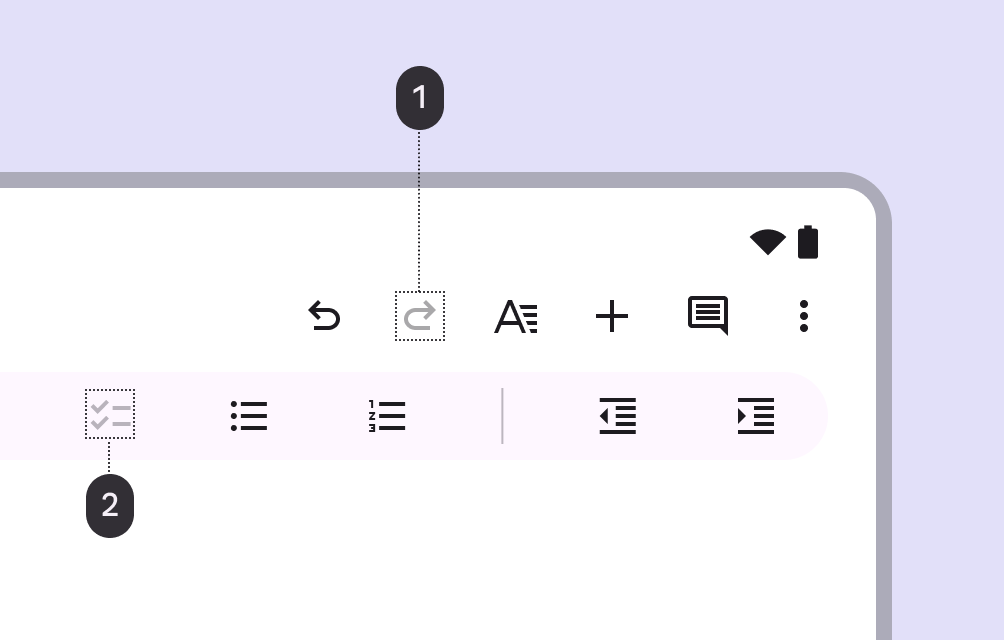
Disabled components on a screen.
  1. Disabled redo icon button
  2. Disabled checklist icon button

Hover ​

Hover states are initiated by the user pausing over an interactive element using a cursor.

The lower-emphasis surface overlay for hover states can be applied to the entire component, elements within a component, or as a circular shape over part of the component.
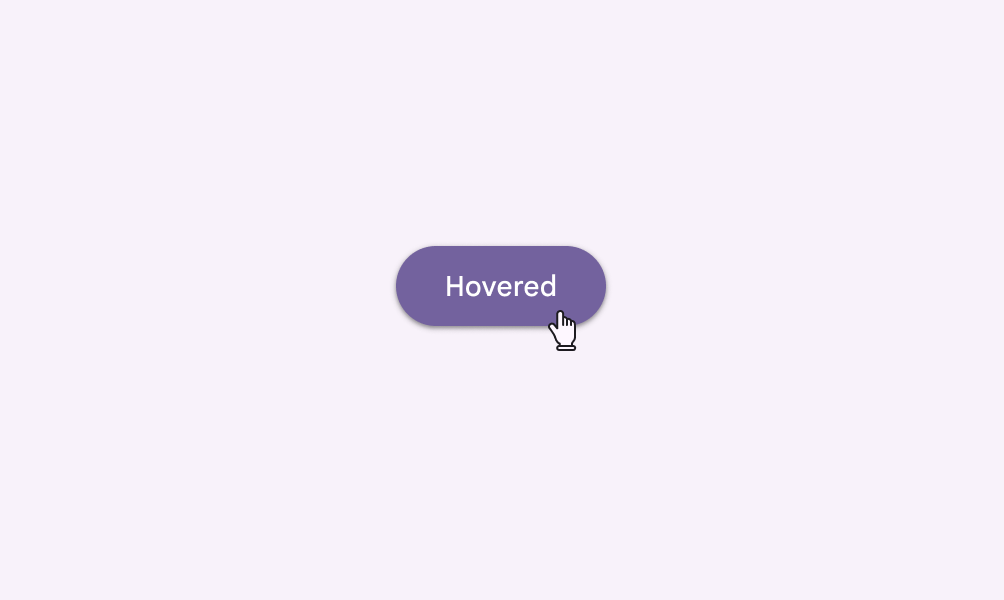
Cursor moves toward button which reads “enabled” and when the cursor touches the button text changes to “hovered.”

Hovered button

Hover states are inherited by action, selection, and input components:

  • Buttons
  • Cards
  • Checkbox
  • Chips
  • Date and time pickers
  • List items
  • Slider
  • Switch
  • Text fields
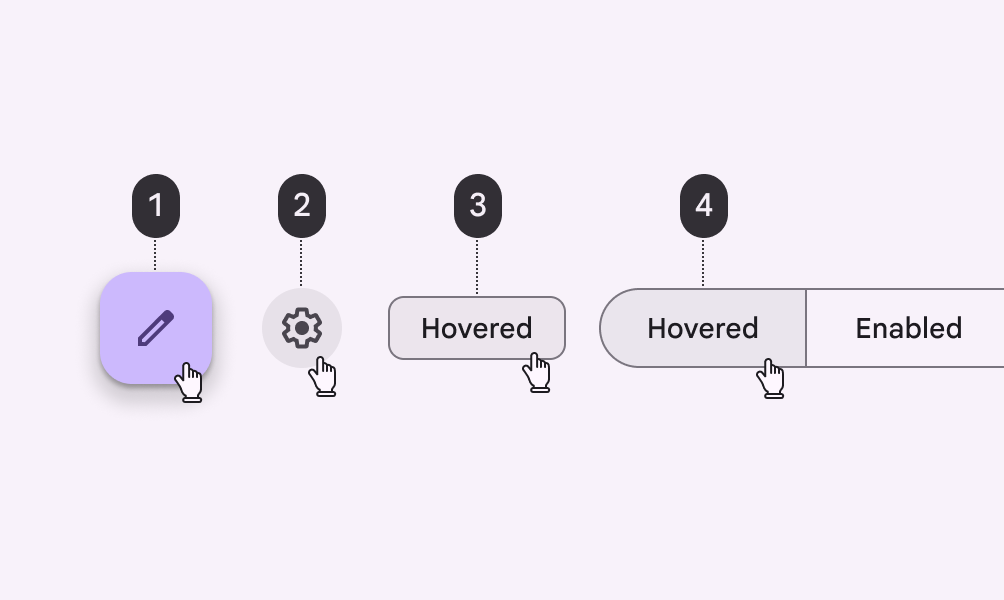
Hover state of 4 components.

Hovered states for:

  1. FAB
  2. Icon button
  3. Chip
  4. Segmented buttons

Hover states aren’t inherited by communication, containment, or navigation components:

  • App bars
  • Badges
  • Dialogs
  • Menus
  • Navigation bar, drawer, and rail
  • Sheets
  • Tabs
Mobile screen with the whole  app bar wrongly in hover state.
Don’t

The individual components that are actionable within the app bar inherit hover states, not the whole app bar

Behavior

Hover states are initiated by the user pausing over an interactive element using a cursor.

Hover states appear and disappear using a low-emphasis animated fade

Hover states can be combined with focused, activated, selected, or pressed states.

A selected filter chip in both selected and hover states

There can only be one hover state at a time in a layout.

Hover state can only be on one element at a time based on cursor position

Focused ​

A focused state communicates when a user has highlighted an element using a keyboard or voice. Focus states apply to all interactive components.

The higher-emphasis surface overlay for focused states can be applied to the entire component, elements within a component, or as a circular shape over part of the component.
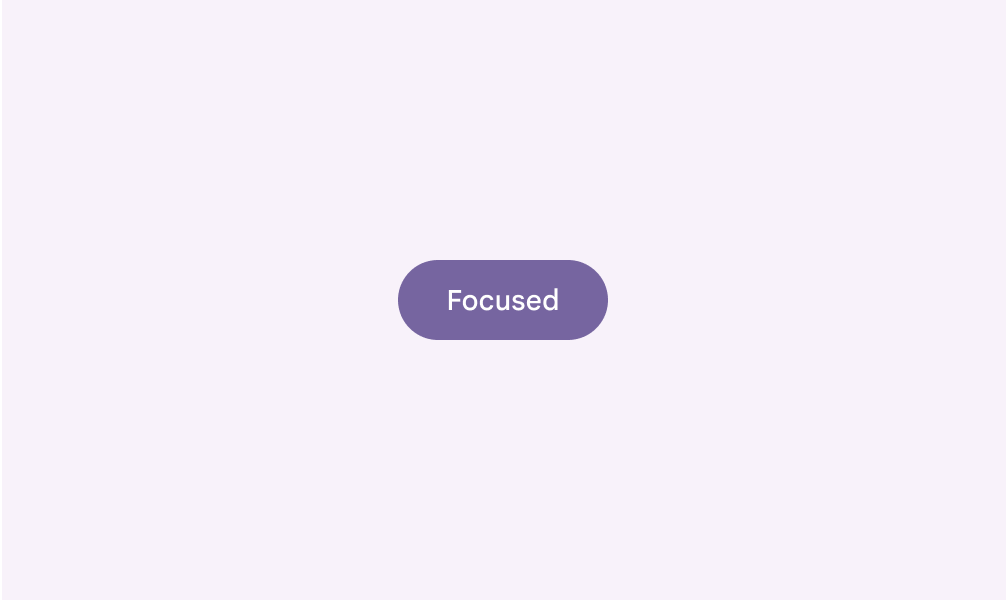
A button in focused state.

Focused button

Focus states are inherited by action, selection, and input components:

  • Buttons
  • Cards
  • Checkbox
  • Chips
  • Date and time pickers
  • List items
  • Selection controls
  • Text fields
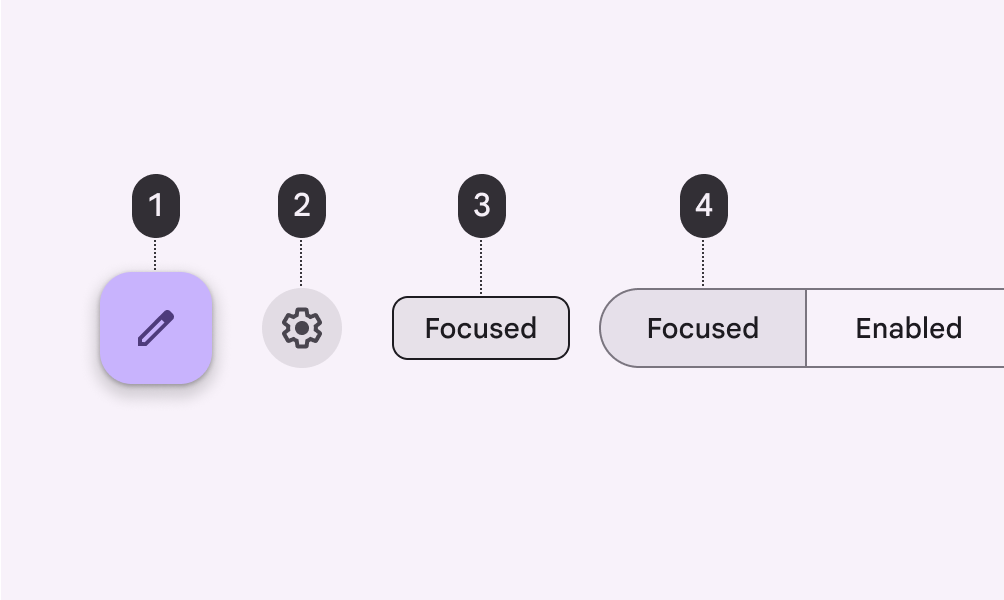
Focus state of 4 components.

Focused states for:

  1. FAB
  2. Icon button
  3. Chip
  4. Segmented buttons

Focus states aren’t inherited by most communication, containment, or navigation components:

  • App bars
  • Badges
  • Banner
  • Card
  • Dialogs
  • Navigation bar, drawer, and rail
  • Sheets
Mobile screen showing  entire app bar in focus state, which is an error.
Don’t

The individual components that are actionable within the app bar inherit focus states, not the whole app bar

Keyboard focus indicator

Many people use the Tab key or other shortcut to navigate the interactive elements of a web page, like links, buttons, and chips.

When an element is tabbed to, it appears in its focused state with a ring-like keyboard focus indicator. This indicator helps web users know where they are on the page.

While focused, an element can be acted on with the keyboard.
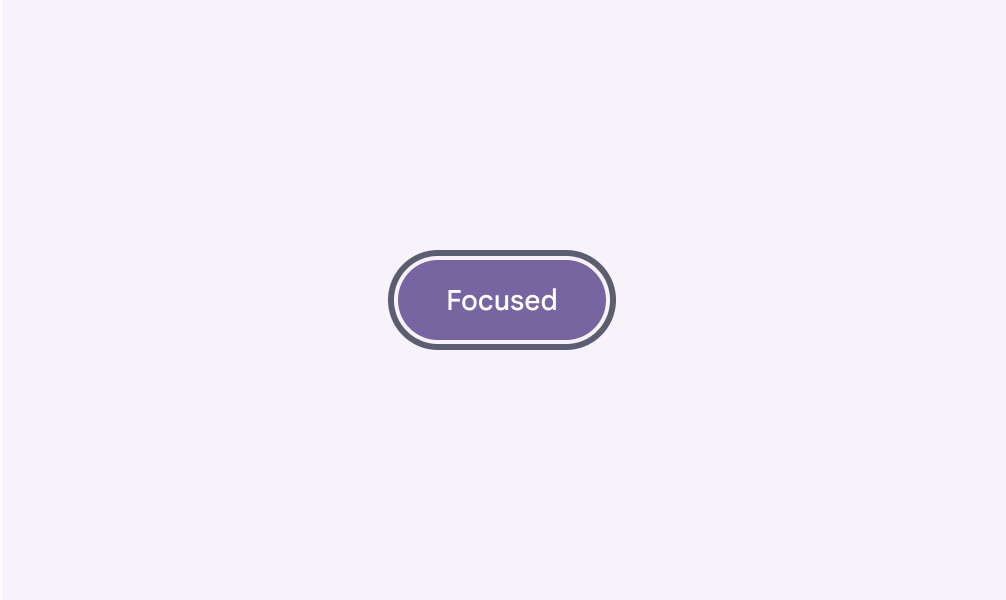
A single filled button in focused state, displaying the keyboard focus indicator.

Keyboard focus indicator for a filled button

Behavior

Focus states are initiated by the user by pressing the Tab key on the keyboard (or equivalent).

Focus states can be represented in combination with hover, activated, or selected states.
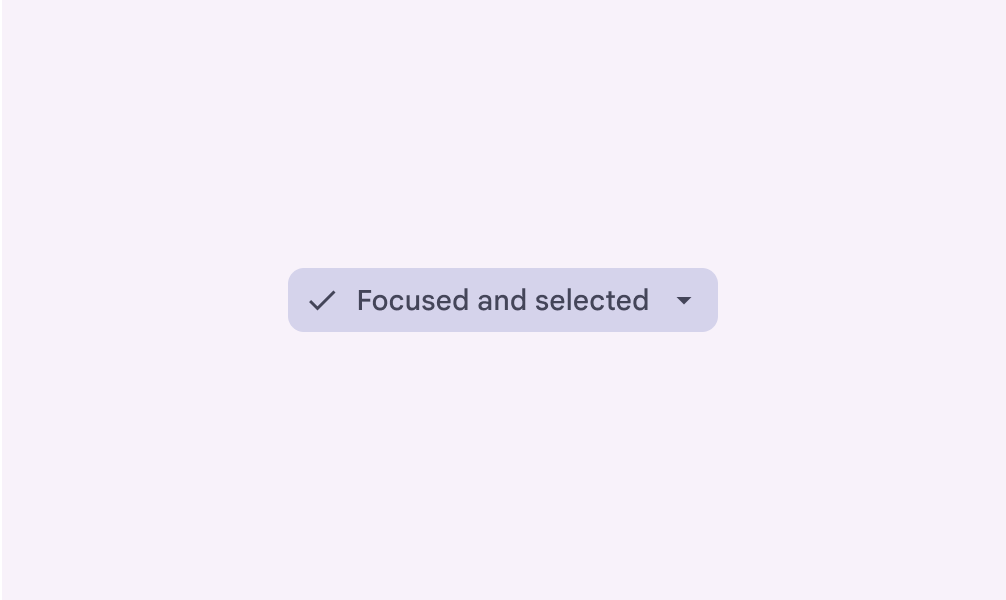
A single filter chip simultaneously in selected state and focus state.

A selected filter chip in both selected and focused states

There can only be one focus state at a time in a layout.

A focus state applied to one card at a time

Pressed ​

A pressed state communicates a user-initiated tap or click via cursor, keyboard, or voice input. This state applies to all interactive components.

Pressed states trigger a change in composition and should be high-emphasis.

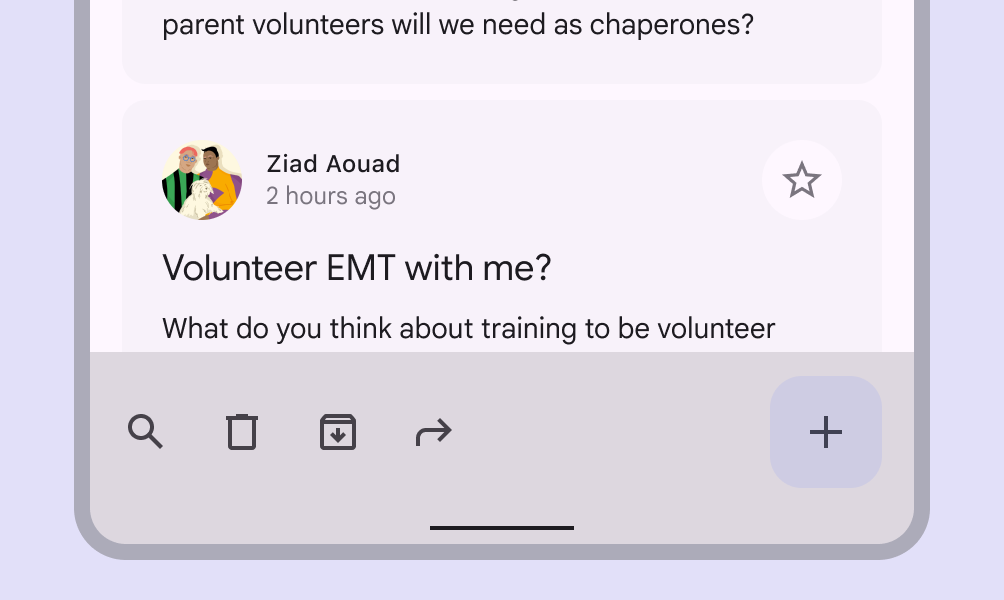
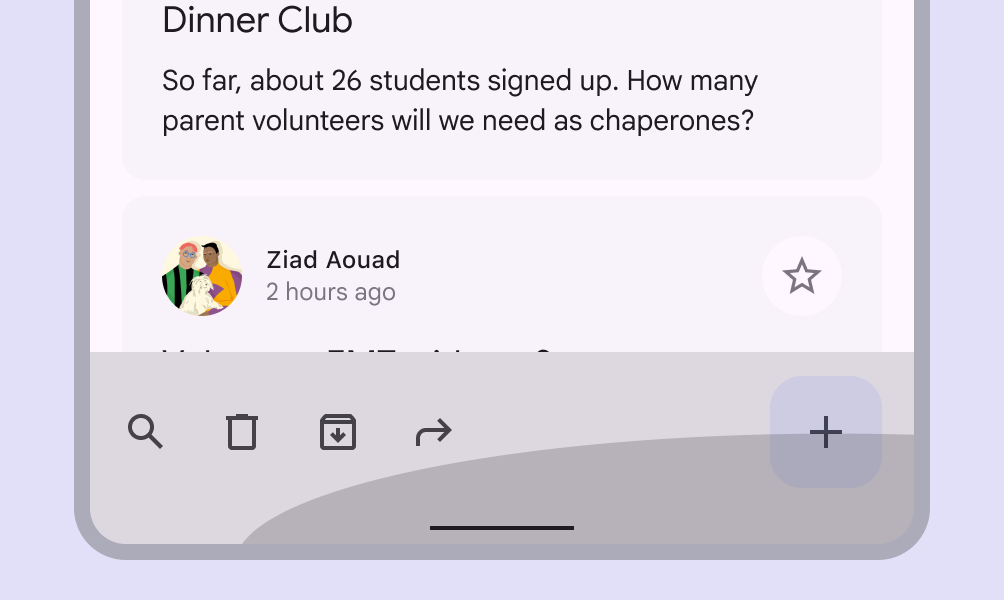
A ripple overlay signifies a pressed state. It can be applied to an entire component or elements within a component, or as a circular shape over part of the component.
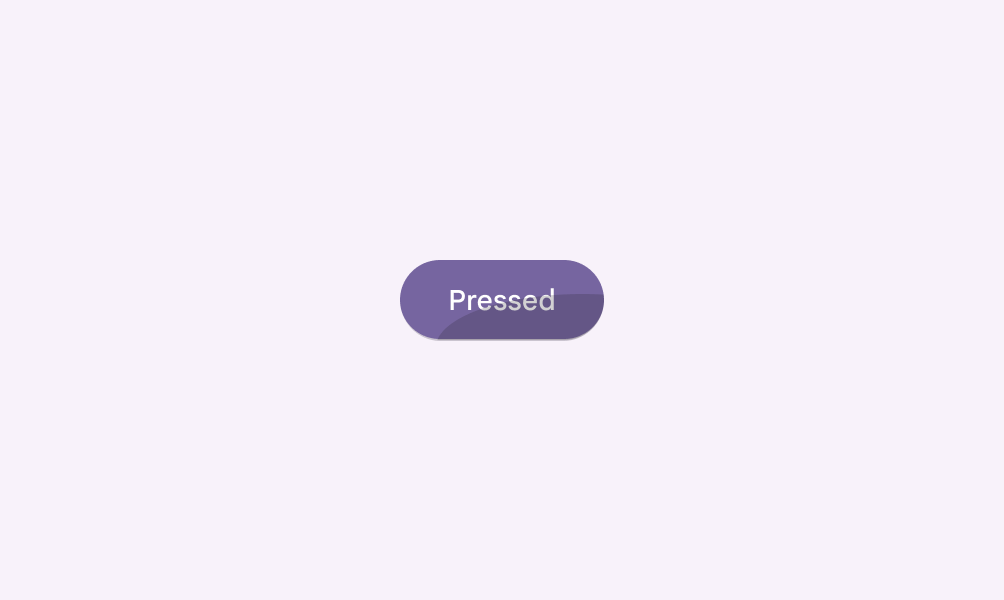
Button using a ripple overlay to signify it’s in a pressed state.

Pressed button

Some components, such as buttons or cards, can inherit elevation to signify a pressed state.
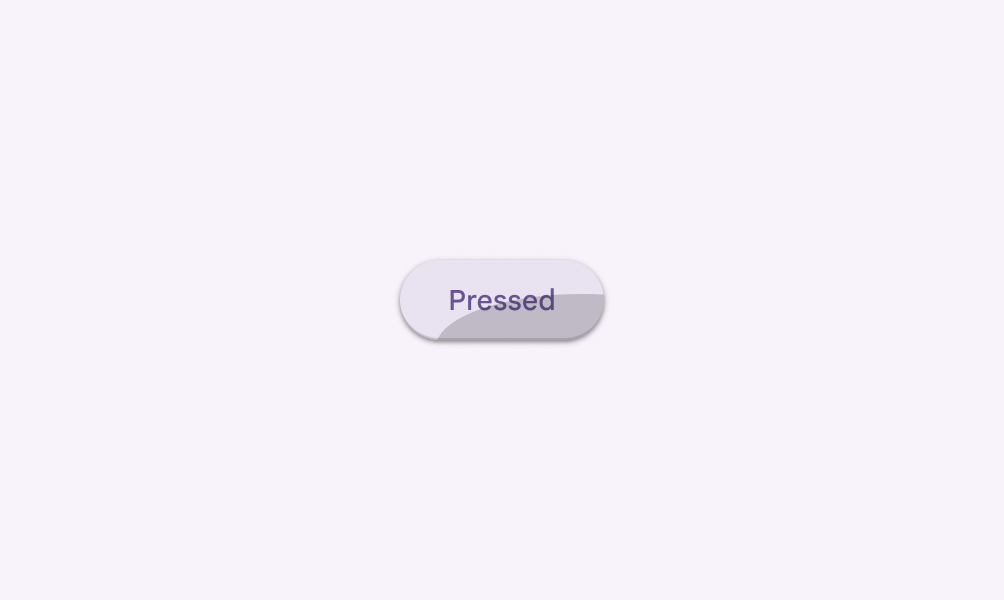
Button using elevation to signify it’s in a pressed state.

Pressed button with elevation

Pressed states are inherited by action, selection, and some containment components:

  • Buttons
  • Cards
  • Checkbox
  • Chips
  • List items
  • Text fields
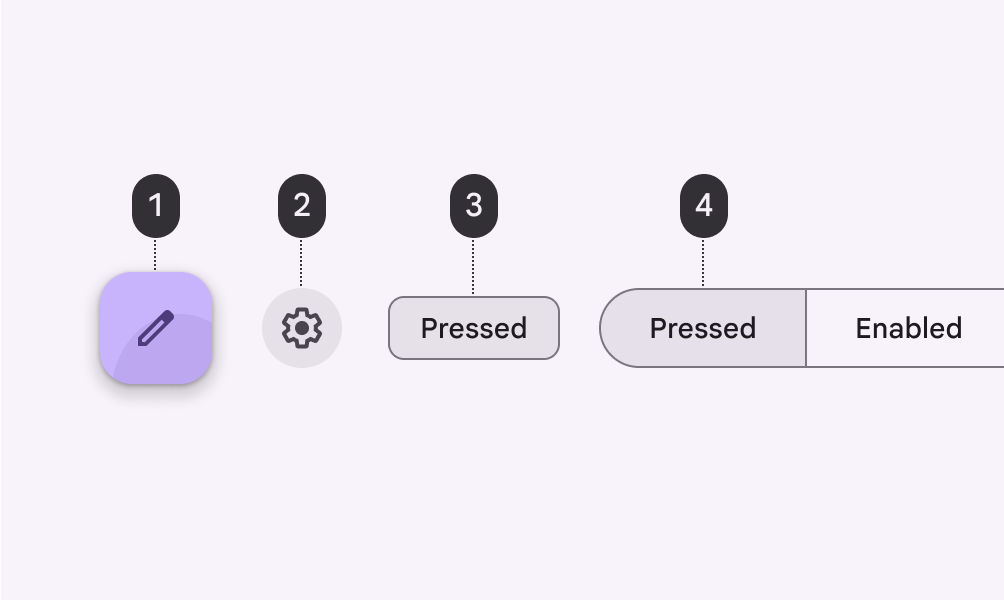
Four components shown in pressed state.

Pressed states for:

  1. FAB
  2. Icon button
  3. Chip
  4. Segmented button

Pressed states aren’t inherited by communication, navigation, or some containment components:

  • App bars
  • Badges
  • Bottom navigation
  • Dialogs
  • Menus
  • Sheets
  • Tabs
Mobile screen showing  entire app bar in pressed state is an error.
Don’t

The individual components that are actionable within the app bar inherit pressed states, not the whole app bar

Behavior

Pressed states are initiated by user keyboard or voice input on an interactive element.

Activated states appear in user-initiated order

Pressed states can be combined with hovered, focused, activated, or selected states.

Activated states can be represented in combination with hover and focus

There may only be a single pressed state at a time in a layout.

A pressed state applied to one card at a time

Dragged ​

A dragged state occurs when a user presses and moves an element or component. Dragged states should be low emphasis, to avoid distracting users from their task.

Dragged states use a lower emphasis overlay. It can be applied to the entire component or to elements within a component.

Some components, such as list items, chips, or cards, can inherit elevation to signify a dragged state.
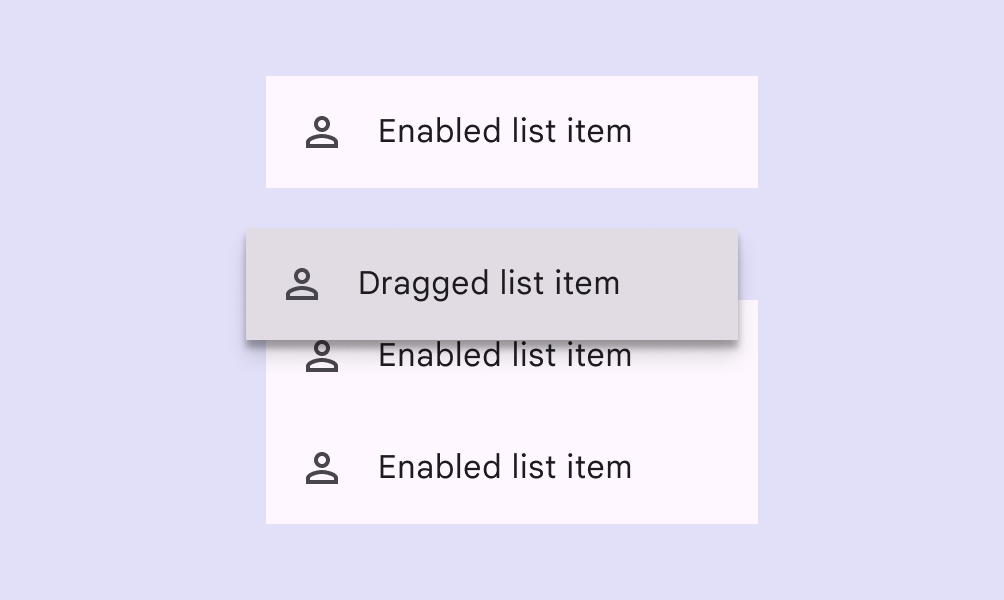
List item shown in dragged state.

Dragged list item

Dragged states are inherited by some containment and selection components:

  • Cards
  • Chips
  • List items
  • Sliders
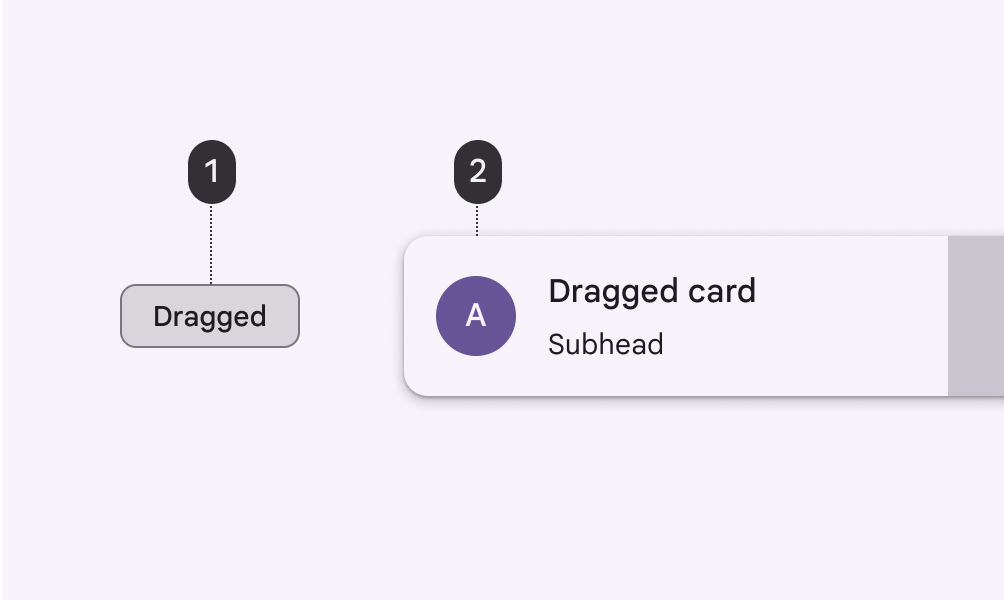
A chip and a card both shown in dragged state.

Dragged states for:

  1. Chip
  2. Card

Dragged states aren’t inherited by action, communication, navigation, or some containment components:

  • App bars
  • Badges
  • Buttons
  • Dialogs
  • Menus
  • Navigation bar, drawer, and rail
Mobile screen with app bar in dragged state is an error.
Don’t

Components like an app bar that require consistent placement should not inherit dragged states

Behavior

Dragged states are initiated when users touch and hold elements, using an input method such as a tap or click.

A list item in a dragged state

There may only be a single dragged state at a time within a layout.

Dragged state applied to one card at a time

Pager
Previous pageStates: State layers
Next pageOverview: Overview

Released under the Apache 2.0 or CC BY 4.0

Copyright © 2018-Present Google

https://m3.material.io/foundations/interaction/states/applying-states

Released under the Apache 2.0 or CC BY 4.0

Copyright © 2018-Present Google